Introduction
If the lights on your utility trailer are no longer functional, use this guide to replace the lights so that your trailer is street legal!
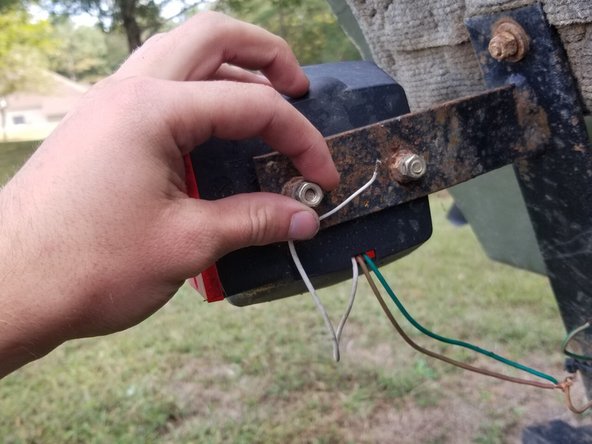
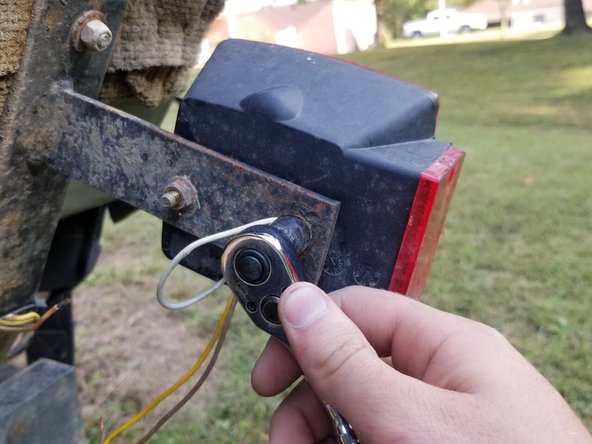
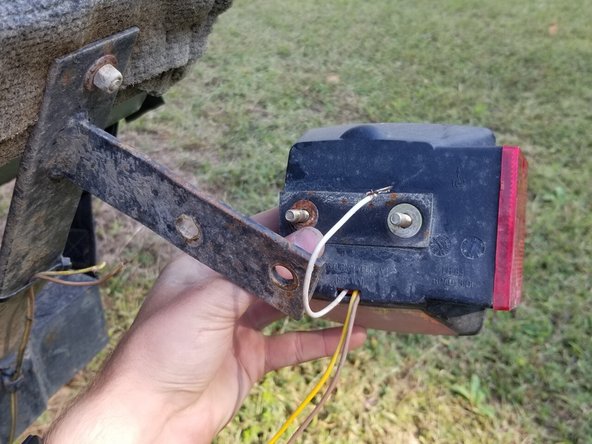
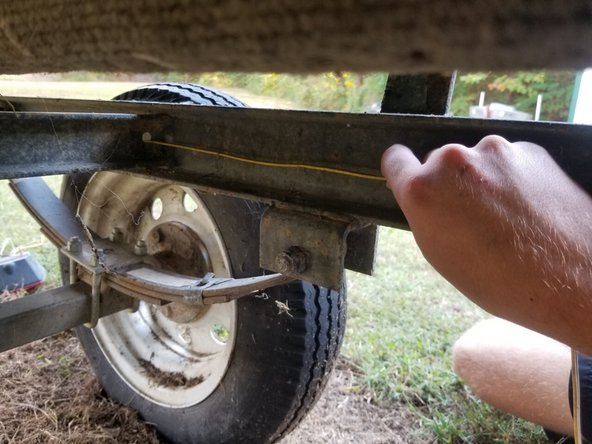
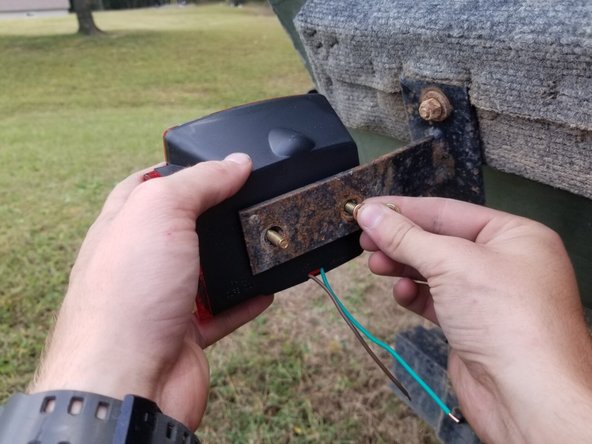
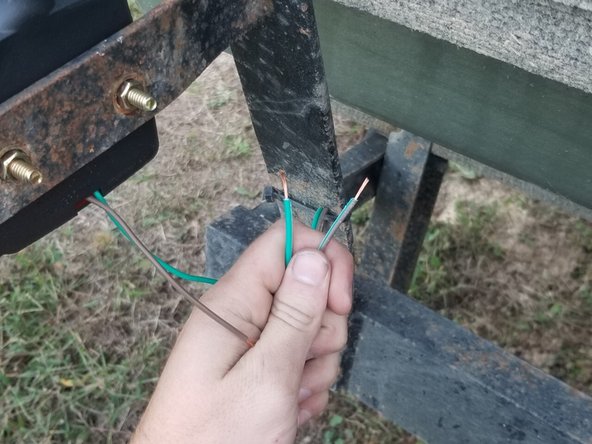
The lights on a utility trailer consist of a running light, brake light, and turn signal that are controlled by two wires that run from the tongue of the trailer to the back and connect to the lights.
Before using this guide, search and go through a guide on how to properly use wire strippers to strip the ends of wires.
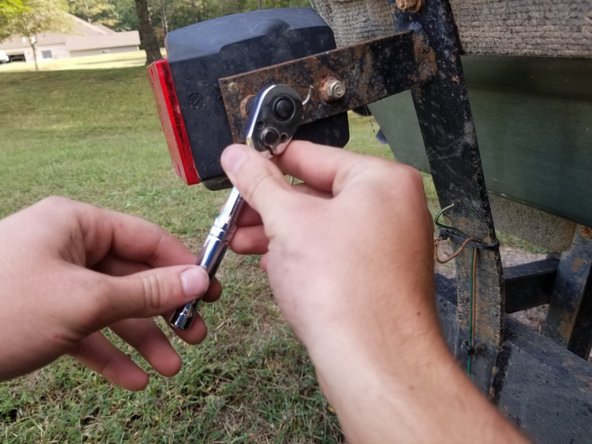
Also, prior to making the fix, check to make sure the male adaptor for the lights is not plugged into the female adaptor on your vehicle. If not unplugged, there is risk of electrical shock.
After finishing the fix, be sure to plug into your vehicle to ensure proper function of your new trailer lights.
Ce dont vous avez besoin


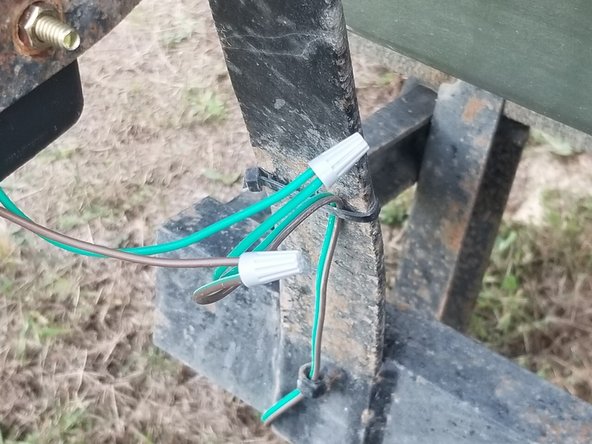

To test that you were successful, attach the male adapter to your vehicle and test the brake lights and turn signals.
To test that you were successful, attach the male adapter to your vehicle and test the brake lights and turn signals.
Annulation : je n'ai pas terminé ce tutoriel.
Une autre personne a terminé cette réparation.

Équipe

University of Memphis, Team S1-G15, Bishop Fall 2020 Membre de l'équipe University of Memphis, Team S1-G15, Bishop Fall 2020
UM-BISHOP-F20S1G15
1 membre
2 tutoriels rédigés