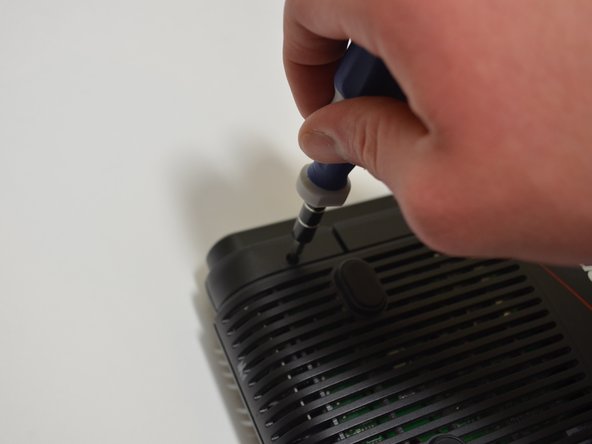
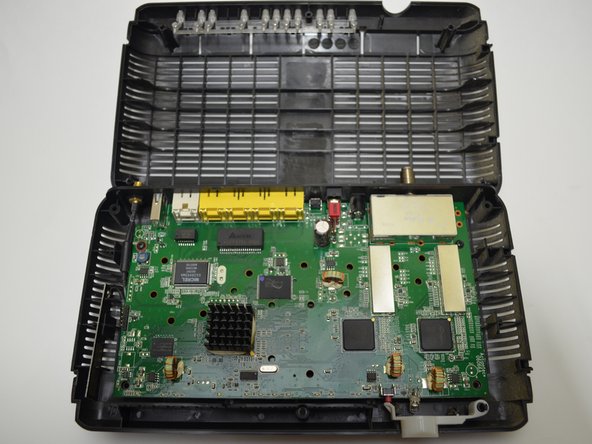
Aller au contenu principal

Verizon M1424WR Motherboard Replacement

Ce dont vous avez besoin

  1. Verizon M1424WR Motherboard Replacement, Motherboard: étape 1, image 1 de 1
    • Flip the device so that the bottom is facing up.

  2. Verizon M1424WR Motherboard Replacement: étape 2, image 1 de 3 Verizon M1424WR Motherboard Replacement: étape 2, image 2 de 3 Verizon M1424WR Motherboard Replacement: étape 2, image 3 de 3
    • Warning: The design and location of the plastic clips holding this shroud make it extremely difficult to release. Take your time and use a second pry tool if necessary.

    • Insert the plastic-opening tool under the silver labeled casing.

    • Carefully pry at different intervals around the silver labeled casing to separate the silver casing from the top and bottom casing.

  3. Verizon M1424WR Motherboard Replacement: étape 3, image 1 de 2 Verizon M1424WR Motherboard Replacement: étape 3, image 2 de 2
    • Unscrew the five 10-mm screws on the bottom of the router using a Phillips #0 screwdriver.

  4. Verizon M1424WR Motherboard Replacement: étape 4, image 1 de 2 Verizon M1424WR Motherboard Replacement: étape 4, image 2 de 2
    • Use a plastic-opening tool and pry the top casing from the bottom casing to expose the circuit board in the bottom half of the device.

  5. Verizon M1424WR Motherboard Replacement: étape 5, image 1 de 3 Verizon M1424WR Motherboard Replacement: étape 5, image 2 de 3 Verizon M1424WR Motherboard Replacement: étape 5, image 3 de 3
    • Locate the two 10-mm screws on either side of the circuit board.

    • Unscrew the two 10-mm screws using a Phillips #0 screwdriver.

    • Keep track of the red rubber washer you remove from underneath one of the screws.

  6. Verizon M1424WR Motherboard Replacement: étape 6, image 1 de 1
    • Lift the front of the circuit board up from the bottom casing.

  7. Verizon M1424WR Motherboard Replacement: étape 7, image 1 de 1
    • Pull the circuit board towards you until it is separate from the bottom casing.

Conclusion

To reassemble your device, follow these instructions in reverse order.

2 autres ont terminé cette réparation.

Jeffrey Fox

Membre depuis le 09/17/14

347 Réputation

3 tutoriels rédigés

Équipe

0 commentaires

Ajouter un commentaire

Nombre de vues :

Dernières 24 heures : 2

7 derniers jours : 5

30 derniers jours : 8

Total : 758