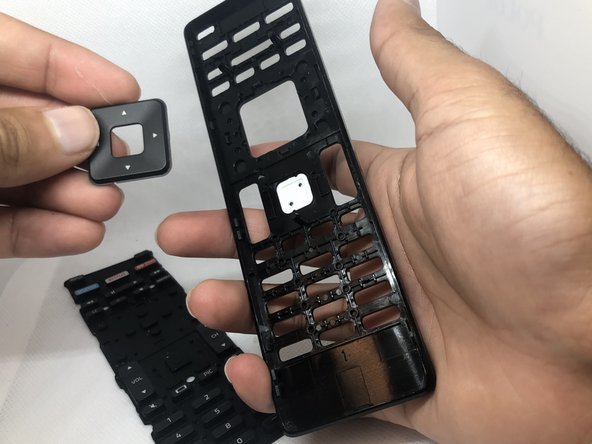
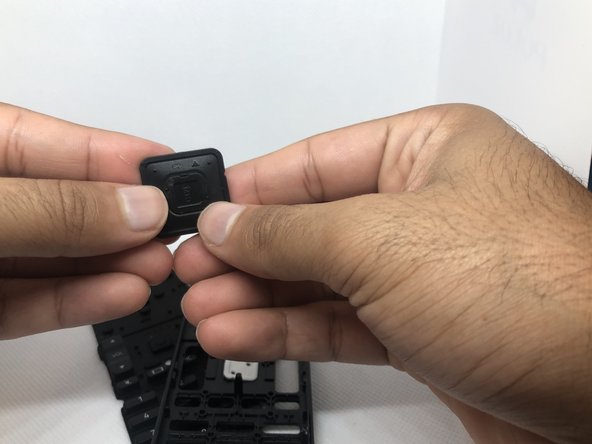
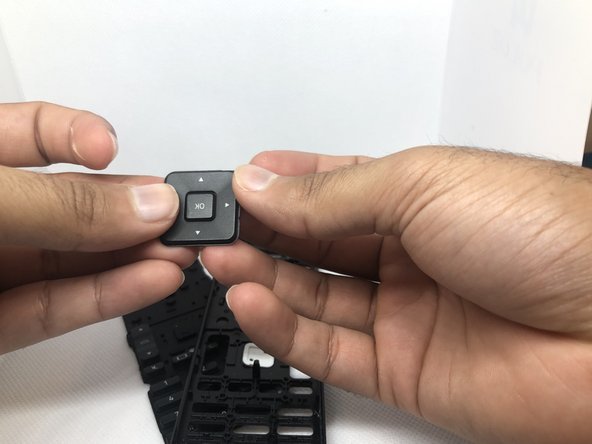
Aller au contenu principal

Vizio Smart TV Remote Control "Ok" Button Replacement

Ce dont vous avez besoin

  1. Vizio Smart TV Remote Control "Ok" Button Replacement, "Ok" button: étape 1, image 1 de 2 Vizio Smart TV Remote Control "Ok" Button Replacement, "Ok" button: étape 1, image 2 de 2
    • Open the back cover with the direction of the arrow.

  2. Vizio Smart TV Remote Control "Ok" Button Replacement: étape 2, image 1 de 2 Vizio Smart TV Remote Control "Ok" Button Replacement: étape 2, image 2 de 2
    • Remove the two batteries.

  3. Vizio Smart TV Remote Control "Ok" Button Replacement: étape 3, image 1 de 3 Vizio Smart TV Remote Control "Ok" Button Replacement: étape 3, image 2 de 3 Vizio Smart TV Remote Control "Ok" Button Replacement: étape 3, image 3 de 3
    Outil utilisé dans cette étape :
    iFixit Opening Tool
    $1.99
    J'achète
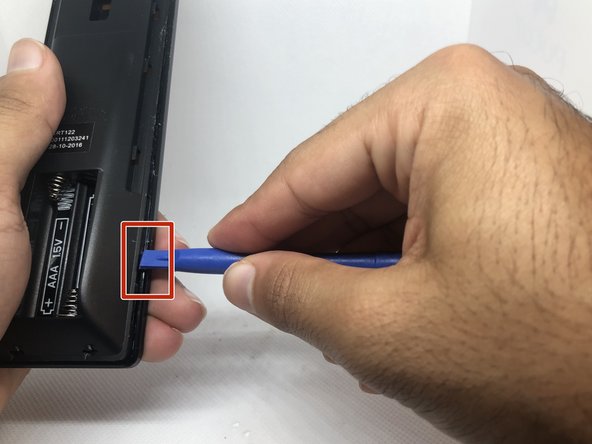
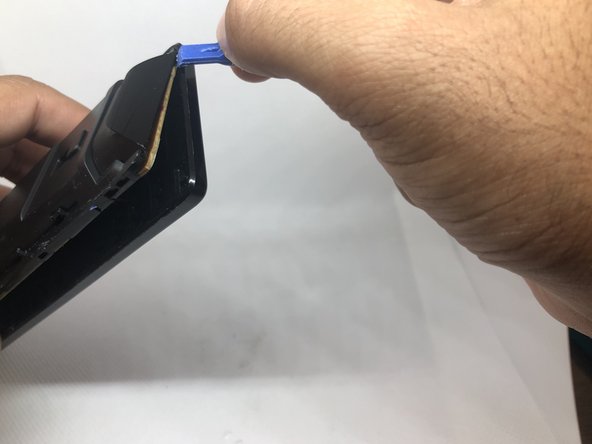
    • Use the plastic opening tool to unlock the device. Place the tool in the thin space that separates the base from the control panel.

  4. Vizio Smart TV Remote Control "Ok" Button Replacement: étape 4, image 1 de 2 Vizio Smart TV Remote Control "Ok" Button Replacement: étape 4, image 2 de 2
    • Move the opening tool between the two sides to lift the base up slightly.

    • Continue on the other side of the remote.

  5. Vizio Smart TV Remote Control "Ok" Button Replacement: étape 5, image 1 de 2 Vizio Smart TV Remote Control "Ok" Button Replacement: étape 5, image 2 de 2
    • Remove the rubber buttons pad.

  6. Vizio Smart TV Remote Control "Ok" Button Replacement: étape 6, image 1 de 2 Vizio Smart TV Remote Control "Ok" Button Replacement: étape 6, image 2 de 2
    • Remove the arrows pad from the plastic cover.

  7. Vizio Smart TV Remote Control "Ok" Button Replacement: étape 7, image 1 de 3 Vizio Smart TV Remote Control "Ok" Button Replacement: étape 7, image 2 de 3 Vizio Smart TV Remote Control "Ok" Button Replacement: étape 7, image 3 de 3
    • Place the "ok" button in the middle of the arrow pad.

Conclusion

To reassemble your device, follow these instructions in reverse order.

Une autre personne a terminé cette réparation.

Ghalib Alqahtani

Membre depuis le 09/22/19

172 Réputation

1 tutoriel rédigé

0 commentaires

Ajouter un commentaire

Nombre de vues :

Dernières 24 heures : 1

7 derniers jours : 11

30 derniers jours : 65

Total : 7,552