Aller au contenu principal

Vtech Emil the Panda

Ce dont vous avez besoin

  1. Vtech Emil the Panda, Vtech Emil the Panda: étape 1, image 1 de 3 Vtech Emil the Panda, Vtech Emil the Panda: étape 1, image 2 de 3 Vtech Emil the Panda, Vtech Emil the Panda: étape 1, image 3 de 3
    • First you must detach thes round yellow plugs which cover the screws.

    • There are 6 short screws around the "display"

    • ...and two longer screws under that "display"

  2. Vtech Emil the Panda: étape 2, image 1 de 1
    • Here a view of these screws

  3. Vtech Emil the Panda: étape 3, image 1 de 3 Vtech Emil the Panda: étape 3, image 2 de 3 Vtech Emil the Panda: étape 3, image 3 de 3
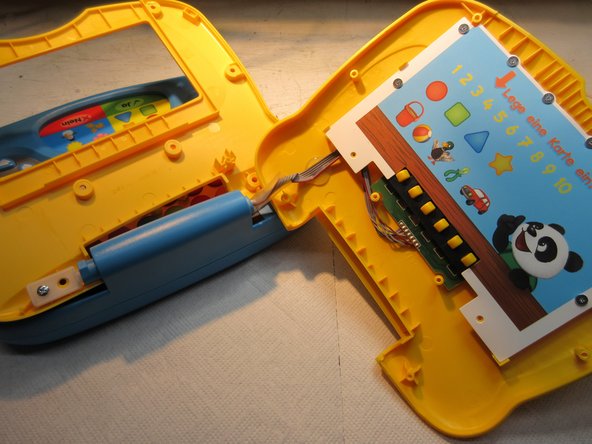
    • Now just pull it to open.

    • Down there is a spring and a plastic part, look at the pictures

  4. Vtech Emil the Panda: étape 4, image 1 de 3 Vtech Emil the Panda: étape 4, image 2 de 3 Vtech Emil the Panda: étape 4, image 3 de 3
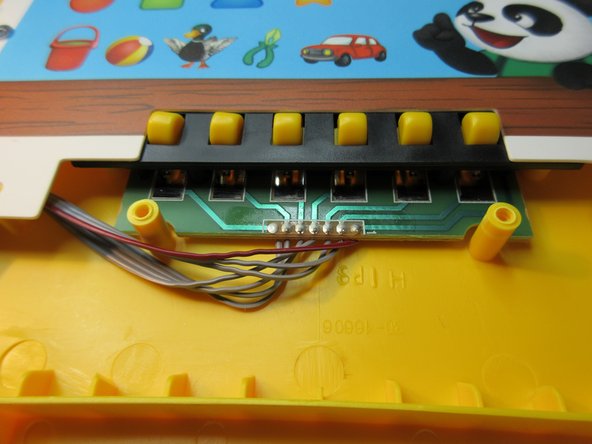
    • There you have these contact springs.

  5. Vtech Emil the Panda: étape 5, image 1 de 2 Vtech Emil the Panda: étape 5, image 2 de 2
    • The springs are deoxidized with a electronics-cleaner-spray.

    • After reassembling, Emil nnow knows every card and can talk and sing.

    • Done. :)

Conclusion

To reassemble your device, follow these instructions in reverse order.

Une autre personne a terminé cette réparation.

Schwarzstein

Membre depuis le 07/15/13

2 813 Réputation

13 tutoriels rédigés

0 commentaires

Ajouter un commentaire

Nombre de vues :

Dernières 24 heures : 1

7 derniers jours : 8

30 derniers jours : 10

Total : 686