Aller au contenu principal

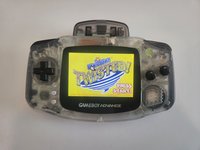
WarioWare: Twisted! Rumble Motor Replacement

Ce dont vous avez besoin

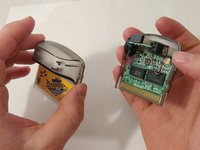
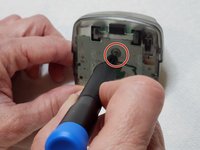
  1. WarioWare: Twisted! Rumble Motor Replacement, Rumble Motor: étape 1, image 1 de 2 WarioWare: Twisted! Rumble Motor Replacement, Rumble Motor: étape 1, image 2 de 2
    • Use a Tri-point Y0 screwdriver to remove the single 3 mm screw located at the back of the game.

    • Remove the cover to expose the control module electronics board underneath.

  2. WarioWare: Twisted! Rumble Motor Replacement: étape 2, image 1 de 3 WarioWare: Twisted! Rumble Motor Replacement: étape 2, image 2 de 3 WarioWare: Twisted! Rumble Motor Replacement: étape 2, image 3 de 3
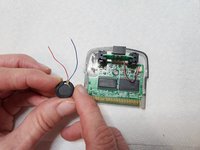
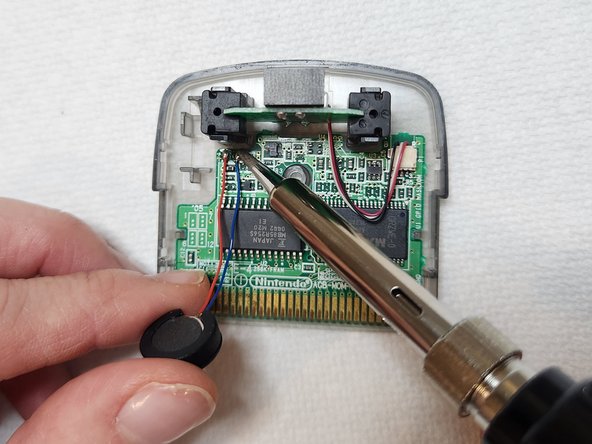
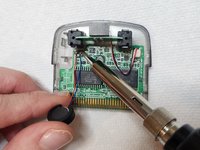
    • Heat up the soldering iron to approximately 350 degrees Fahrenheit.

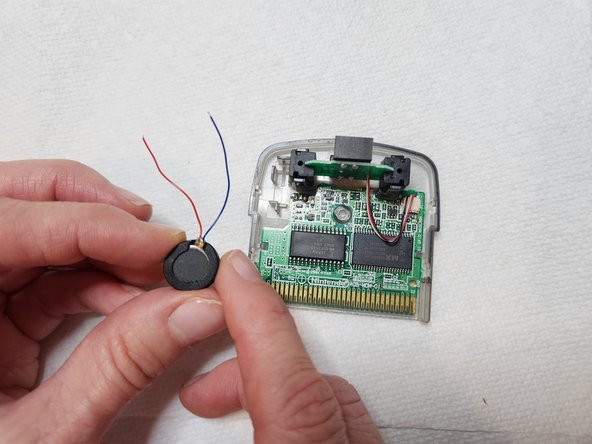
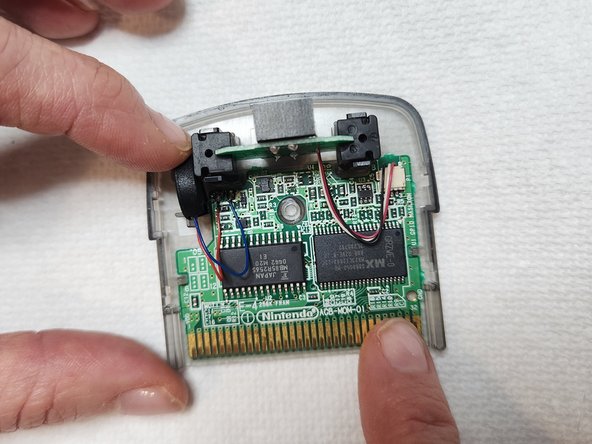
    • Remove the rumble motor from the slot.

    • For more information on soldering, refer to How to Solder and Desolder Connections.

    • Apply the tip of the soldering iron to the connection points, causing the red and blue wires to melt and detach.

    • Separate the old rumble motor from the board and set it aside.

    • The soldering iron will be very hot. Do not touch the tip of the iron. It will cause severe burns.

  3. WarioWare: Twisted! Rumble Motor Replacement: étape 3, image 1 de 3 WarioWare: Twisted! Rumble Motor Replacement: étape 3, image 2 de 3 WarioWare: Twisted! Rumble Motor Replacement: étape 3, image 3 de 3
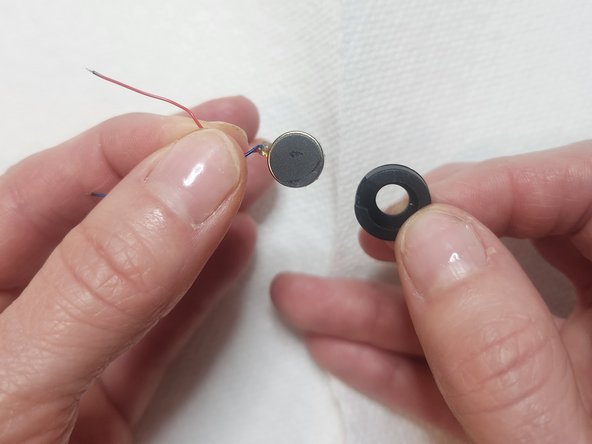
    • Use your hands to remove the black sleeve from the old rumble motor.

    • Set the old rumble motor aside.

    • Use your hands to place the black sleeve onto the new rumble motor you're using.

  4. WarioWare: Twisted! Rumble Motor Replacement: étape 4, image 1 de 3 WarioWare: Twisted! Rumble Motor Replacement: étape 4, image 2 de 3 WarioWare: Twisted! Rumble Motor Replacement: étape 4, image 3 de 3
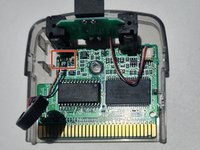
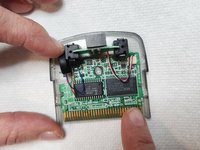
    • Place the red wire onto the plus (left) side, and the blue wire onto the minus (right) side.

    • To reattach the red and blue wires, carefully bring the tip of the soldering iron into contact with the connection points.

    • The soldering iron will be hot. Do not touch the tip of the iron.

    • Place the new rumble motor back in its slot.

    • Turn off the soldering iron after you finish this step.

  5. WarioWare: Twisted! Rumble Motor Replacement: étape 5, image 1 de 3 WarioWare: Twisted! Rumble Motor Replacement: étape 5, image 2 de 3 WarioWare: Twisted! Rumble Motor Replacement: étape 5, image 3 de 3
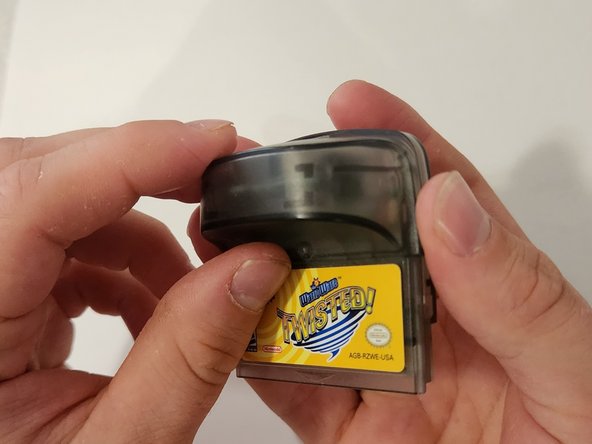
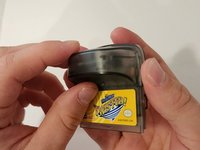
    • Put the cover back on the game.

    • Gently push the two sides back together.

  6. WarioWare: Twisted! Rumble Motor Replacement: étape 6, image 1 de 2 WarioWare: Twisted! Rumble Motor Replacement: étape 6, image 2 de 2
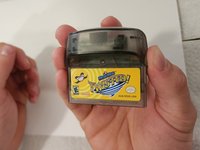
    • Use your Tri-point Y0 screwdriver to screw the single 3 mm screw back into place.

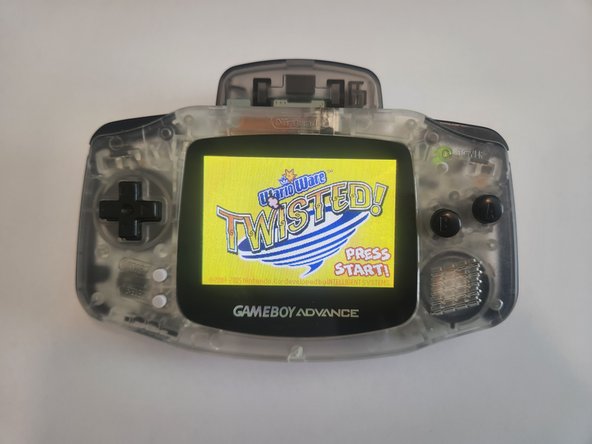
    • Test the game to make sure the problem is fixed and you should be ready to play!

Conclusion

I hope this guide solved your problem, and your game should work like new again!

Une autre personne a terminé cette réparation.

Brent Thompson

Membre depuis le 06/21/23

133 Réputation

1 tutoriel rédigé

Équipe

Un commentaire

Nice post and please provide more information. Thanks for sharing.

cunez - Réponse

Ajouter un commentaire

Nombre de vues :

Dernières 24 heures : 2

7 derniers jours : 15

30 derniers jours : 99

Total : 801