Aller au contenu principal

Wexford CT-166TF Plastic Casing Replacement

Ce dont vous avez besoin

  1. Wexford CT-166TF Plastic Casing  Replacement, Settings Knob: étape 1, image 1 de 1
    • Locate the knob at the top of the fan.

  2. Wexford CT-166TF Plastic Casing  Replacement: étape 2, image 1 de 1
    • Remove the knob by gripping it and pulling straight up. Use a spudger if it is difficult to grip.

    • When reassembling, be sure to align the bottom of the new knob and the turning mechanism in the fan before pushing down.

  3. Wexford CT-166TF Plastic Casing  Replacement, Plastic Casing: étape 3, image 1 de 1
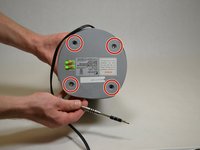
    • Using the plastic opening tool, turn the device over and remove the black plastic covers over the four screw holes.

  4. Wexford CT-166TF Plastic Casing  Replacement: étape 4, image 1 de 2 Wexford CT-166TF Plastic Casing  Replacement: étape 4, image 2 de 2
    • Remove the four screws underneath the plastic covers.

  5. Wexford CT-166TF Plastic Casing  Replacement: étape 5, image 1 de 2 Wexford CT-166TF Plastic Casing  Replacement: étape 5, image 2 de 2
    • Remove 5 smaller screws visible through small holes between the base and the casing.

  6. Wexford CT-166TF Plastic Casing  Replacement: étape 6, image 1 de 2 Wexford CT-166TF Plastic Casing  Replacement: étape 6, image 2 de 2
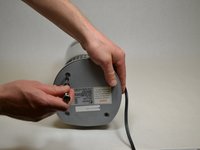
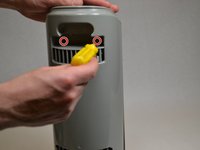
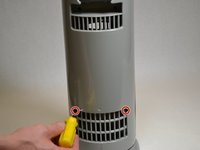
    • Remove four screws on the back, two near the top and two near the bottom.

  7. Wexford CT-166TF Plastic Casing  Replacement: étape 7, image 1 de 1
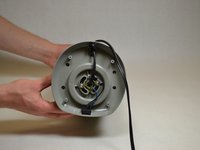
    • Pull off the back casing.

  8. Wexford CT-166TF Plastic Casing  Replacement: étape 8, image 1 de 2 Wexford CT-166TF Plastic Casing  Replacement: étape 8, image 2 de 2
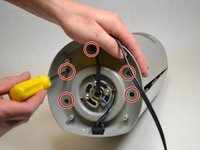
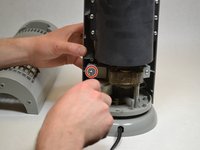
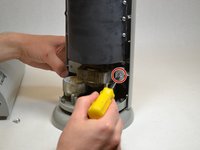
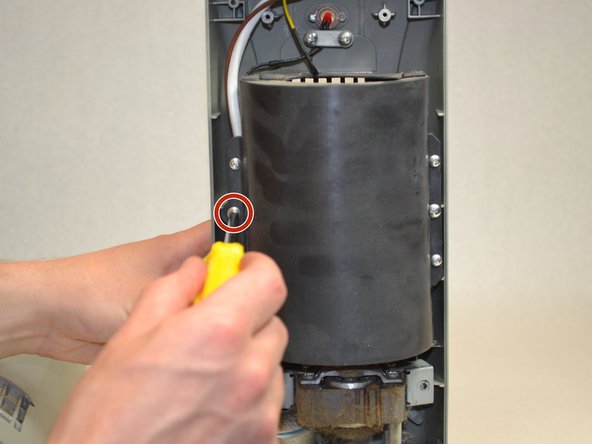
    • Remove the 2 screws that attach the front part of the casing to the motor.

  9. Wexford CT-166TF Plastic Casing  Replacement: étape 9, image 1 de 2 Wexford CT-166TF Plastic Casing  Replacement: étape 9, image 2 de 2
    • Remove the two middle screws attaching the black plastic cover to the front .

  10. Wexford CT-166TF Plastic Casing  Replacement: étape 10, image 1 de 1
    • Remove the two screws attached to the white bar near the red light on the top of the front casing.

  11. Wexford CT-166TF Plastic Casing  Replacement: étape 11, image 1 de 1
    • Remove the two screws keeping the button attached to the top of the casing.

Conclusion

To reassemble your device, follow these instructions in reverse order.

Une autre personne a terminé cette réparation.

Cameron Mattson

Membre depuis le 04/05/17

101 Réputation

1 tutoriel rédigé

Équipe

UW Tacoma, Team S3-G4, Liner Spring 2017 Membre de l'équipe UW Tacoma, Team S3-G4, Liner Spring 2017

UWT-LINER-S17S3G4

4 membres

3 tutoriels rédigés

0 commentaires

Ajouter un commentaire

Nombre de vues :

Dernières 24 heures : 0

7 derniers jours : 1

30 derniers jours : 5

Total : 331