Introduction
A broken fence may cause many issues, such as your pet getting out, the pesky home owners association giving you a fine, or maybe you just do not like the way it looks. Replacing a picket on a wooden fence is much easier than it seems, and this guide is here to prove that. With just a few simple steps and a quick run to the hardware store, you will have that picket replaced in no time.
Before completing the rest of this guide, complete Step 1. This is needed to get the measurements of the picket you are replacing so you can purchase a replacement.
This materials listed in this guide reflect the materials needed to replace a single picket. For every additional picket being replaced, add 6 x 2 1/2” Wood Nails.
Ce dont vous avez besoin
-
-
-
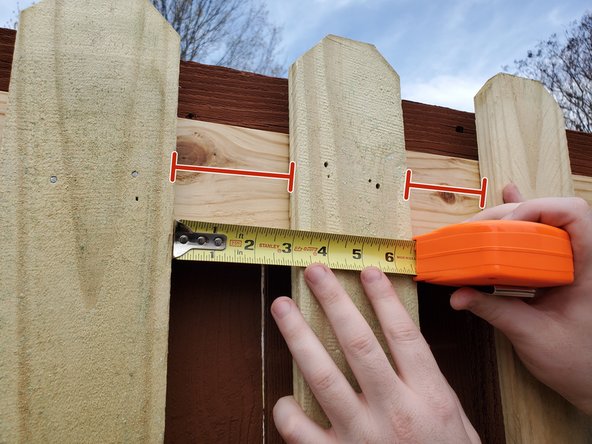
Hold a wood nail approximately 1 inch from the side of the picket.
-
You may place the first nail 1 inch away from either the left or right side of the picket. Each section uses 2 nails so it does not matter which side you choose to work on first.
-
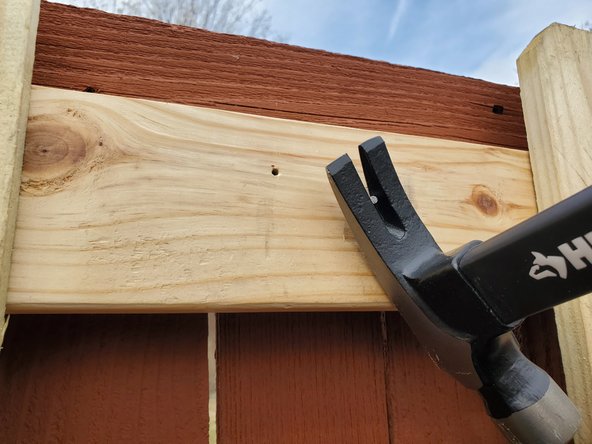
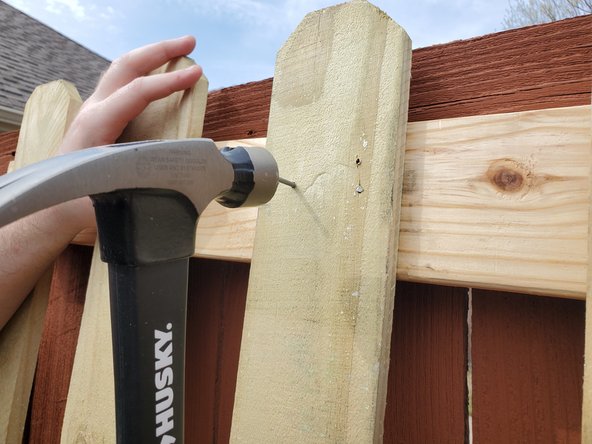
Lightly tap on the wood nail with the hammer to begin pushing the nail into the picket. Continue until the nail is fully in the picket.
-
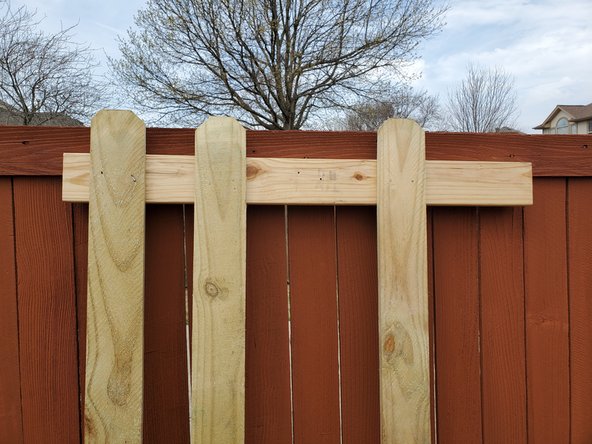
Repeat until there are 2 nails inserted in the picket at every cross section.
-


This guide only demonstrates how to replace a picket on a wooden fence. For questions regarding staining your fence and finding the right stain, I recommend talking with a worker at a hardware store near you. They can help you find the right product and make sure your new picket matches the rest of your fence.
This guide only demonstrates how to replace a picket on a wooden fence. For questions regarding staining your fence and finding the right stain, I recommend talking with a worker at a hardware store near you. They can help you find the right product and make sure your new picket matches the rest of your fence.
Équipe

University of North Texas, Team S1-G30, Raign Spring 2021 Membre de l'équipe University of North Texas, Team S1-G30, Raign Spring 2021
UNT-RAIGN-S21S1G30
1 membre
1 tutoriel rédigé