Ce dont vous avez besoin
-
-
Use a T9 screwdriver to unscrew (counter-clockwise direction) the black 13mm long screw circled in red from the back side to the lower left of the power connector.
-
-
-
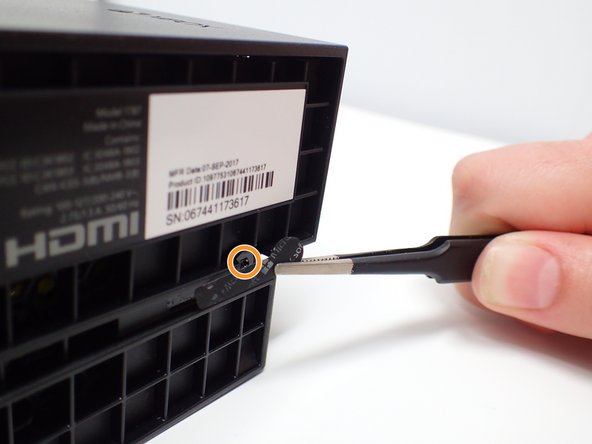
Remove the screw cover label outlined in red using a tweezer to gently pry up the lower-right side of the label. It's only necessary to pry it up until the screw is accessible. There's no need to take the label completely off.
-
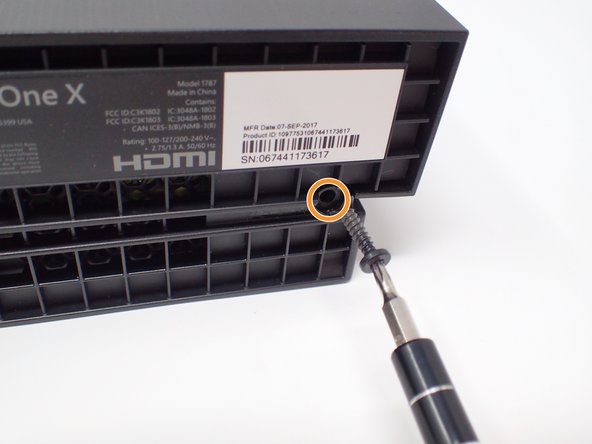
Use a T9 screwdriver to unscrew (counter-clockwise direction) the black 13mm long screw circled in yellow.
-
-
-
Rotate the Xbox One X so that the top case and the switch (watermelon key) are facing you.
-
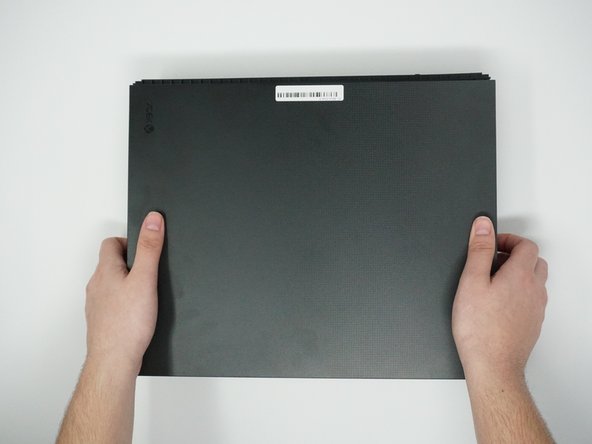
Hold the middle of the sides of the Xbox One X's top case with both hands and pull it about 1 cm horizontally toward your body. The left and right pull distance must be symmetrical
-
Hold the middle of the sides of the Xbox One X top case with both hands. First raise the right hand up about 1cm vertically, and separate the top case from the right side; then, raise the left hand up vertically about 1cm, separate the top case from the left side . At this point, the top case can be removed.
-
-
-
Grab the upper case and rotate the Xbox One X so that the left side is facing you.
-
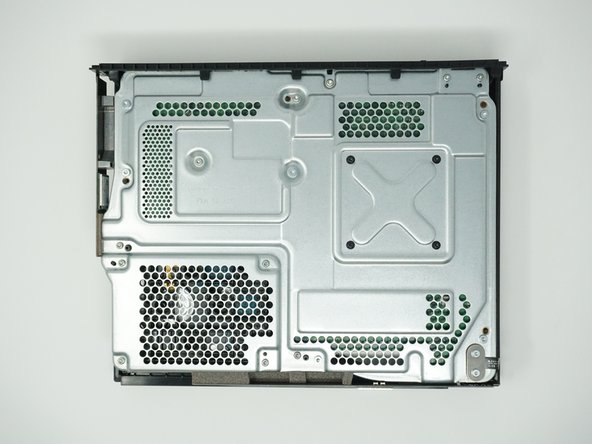
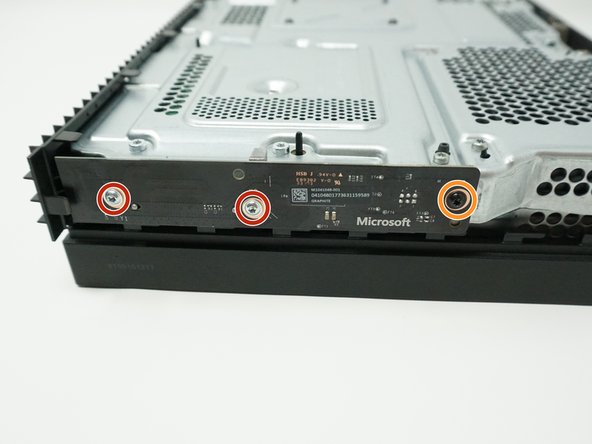
Use a T9 screwdriver to unscrew (counter-clockwise direction) the two silver 15mm long screws circled in red.
-
Use a T9 screwdriver to unscrew (counter-clockwise direction) the black 9mm long screw circled in orange.
-
-
-
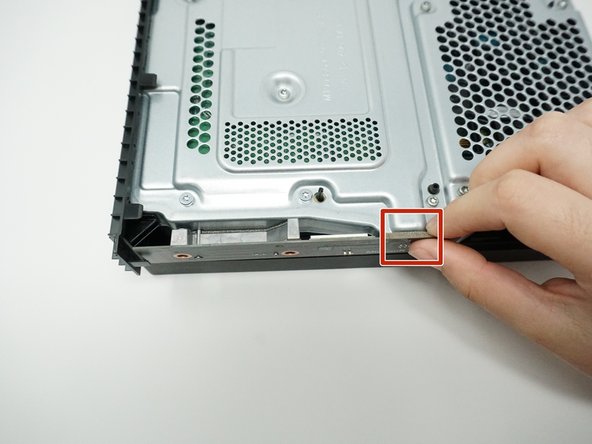
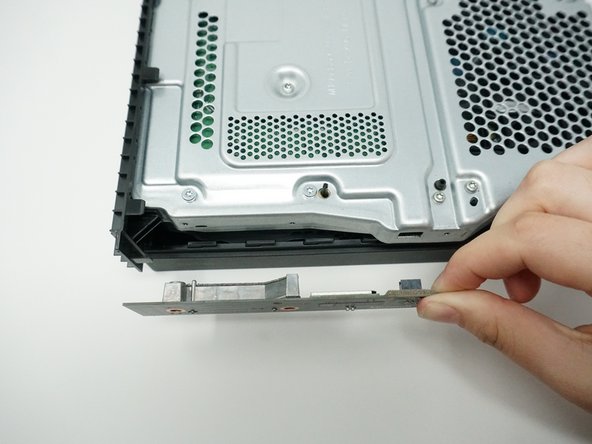
Hold the circuit board tightly by two fingers and pull it straight off towards you. Make sure to keep it level.
-
-
-
-
Grab the upper case and rotate the Xbox One X so that the infrared receiver is facing you.
-
Use a tweezer to gently pry up the black flip actuator of the white flex cable shown in the red box.
-
Notice: the white flex cable is held in by the white connector. It's held using a belt buckle type mechanism.
-
Lightly grab the white flex cable and carefully pull it downwards by using a tweezer, and the connector should come out. This should not require any force.
-
-
-
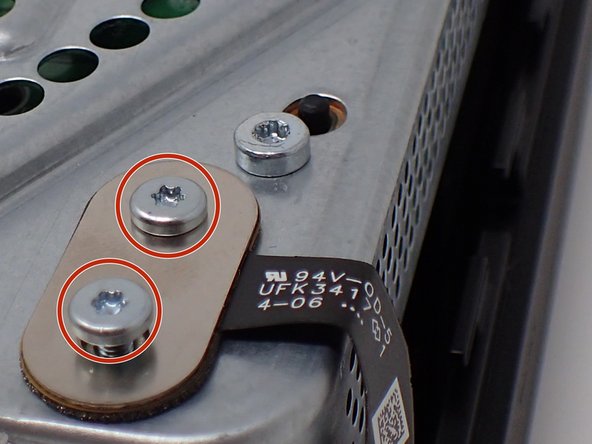
Use a T9 screwdriver to unscrew (counter-clockwise direction) the two silver 7mm long screws circled in red.
-
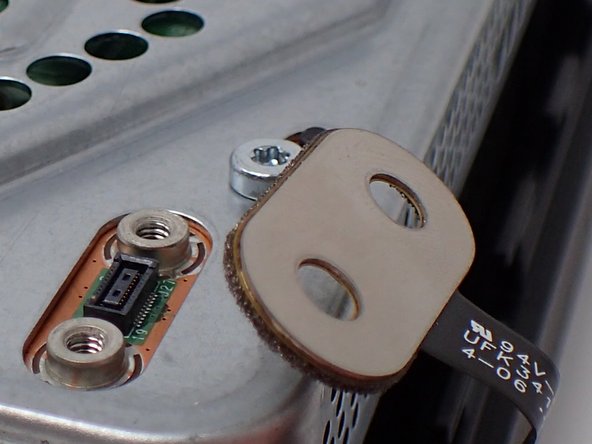
Use a tweezer to grab the oval plug and pull vertically to pry it out of the USB jack.
-
-
-
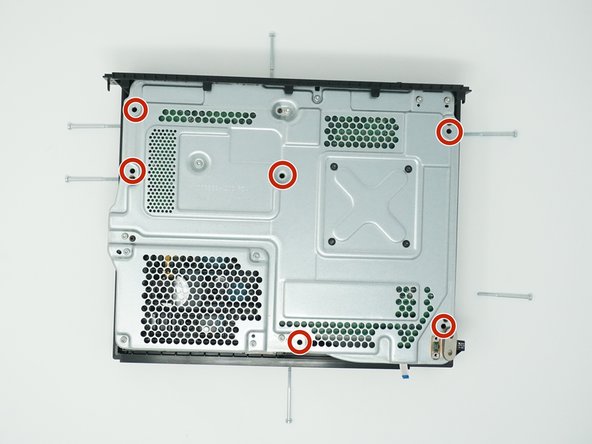
Use a T9 screwdriver to unscrew (counter-clockwise direction) the six silver 47mm long screws circled in red that hold the bottom case on.
-
-
-
Rotate the Xbox One X so that bottom case is facing upwards and the infrared receiver is facing you.
-
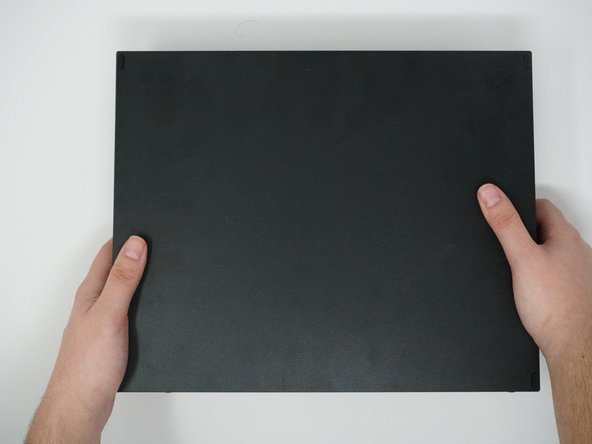
Grab the middle of the two sides of the bottom case by two hands and lift up vertically to remove the bottom case.
-
-
-
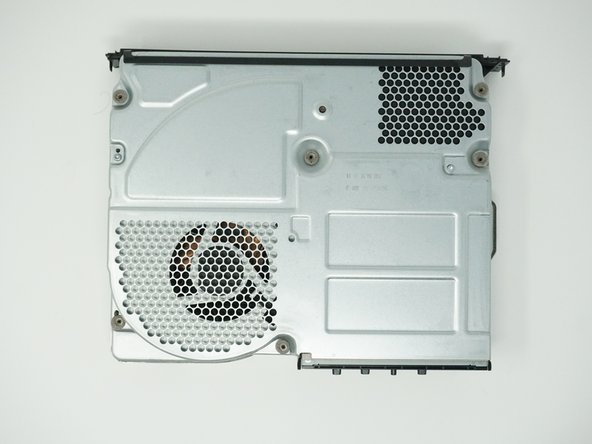
Rotate the Xbox One X so that the top is facing up and the infrared receiver is facing you.
-
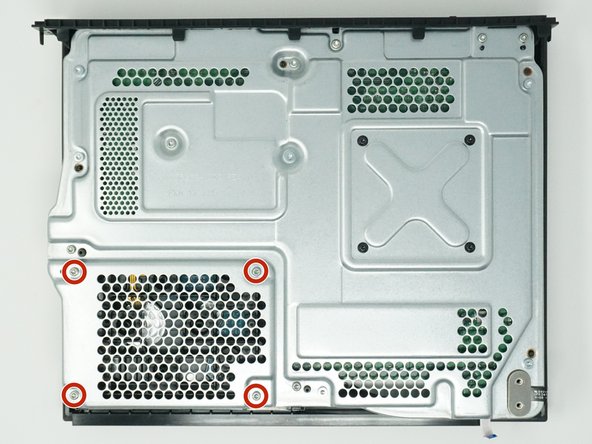
Use a T9 screwdriver to unscrew (counter-clockwise direction) the four silver 11mm long screws circled in red that hold the hard drive tray in.
-
-
-
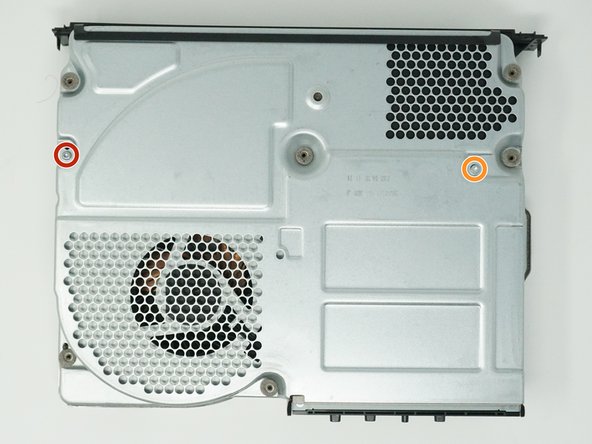
Rotate the Xbox One X so that the bottom is facing up and the infrared receiver is facing you.
-
Use a T9 screwdriver to unscrew (counter-clockwise direction) the 11mm long silver screw circled in red and the 7.5mm long silver screw circled in orange.
-
-
-
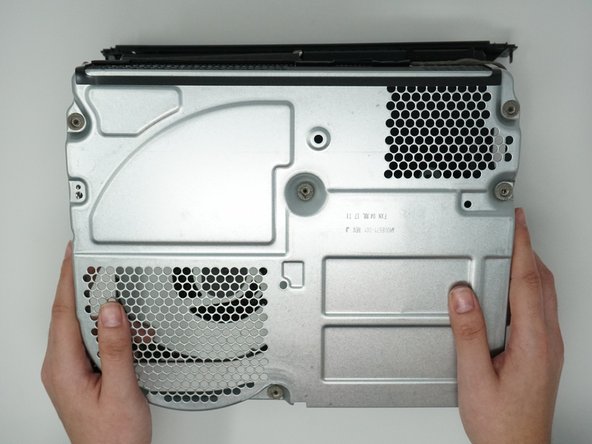
Grab the sides of the Xbox One X bottom metal case in the middle by two hands and lift up vertically to remove the bottom metal case.
-
-
-
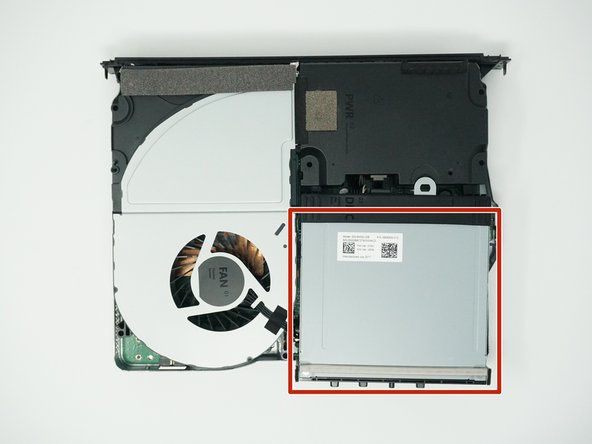
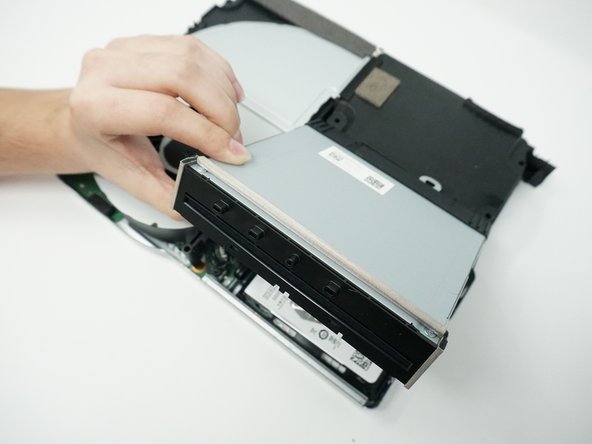
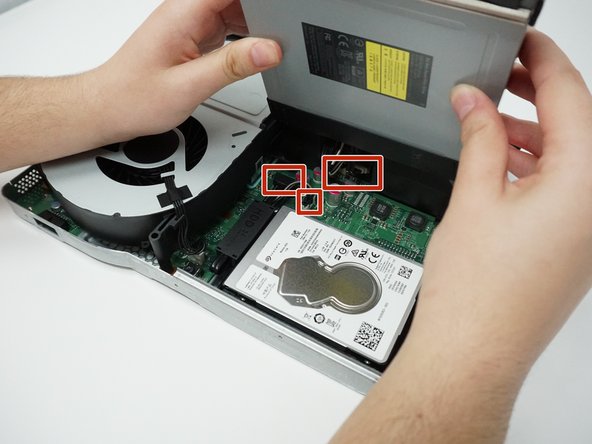
Flip the disk drive up. The three plugs underneath (outlined in red in the third image) don't need to be unplugged.
-
-
-
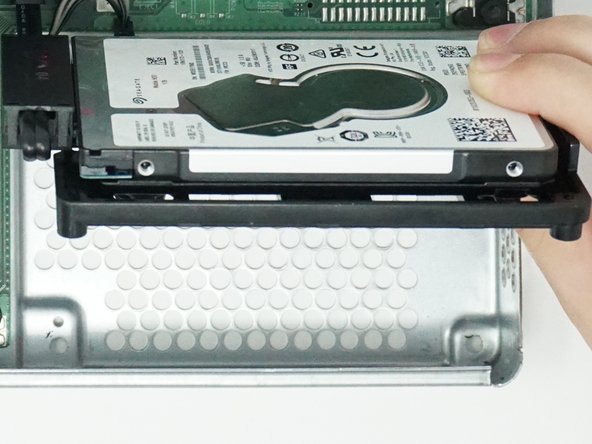
Turn over the hard drive.
-
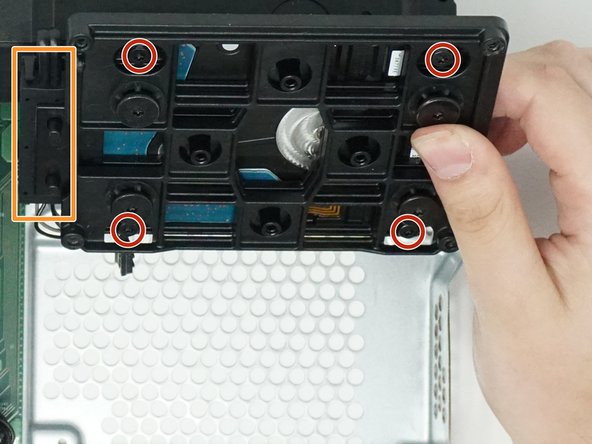
Use a T9 screwdriver to unscrew (counter-clockwise direction) the four black screws circled in red and remove the hard drive bracket.
-
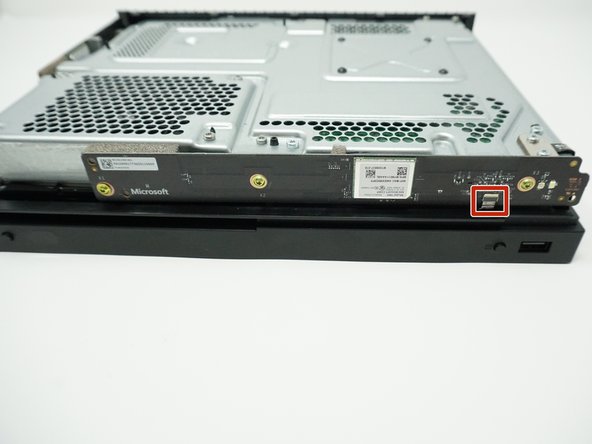
Unplug the hard drive connector outlined in orange and remove the hard drive.
-


When reassembling your device, follow the reverse order of instructions.
When reassembling your device, follow the reverse order of instructions.
Annulation : je n'ai pas terminé ce tutoriel.
18 autres ont terminé cette réparation.
Merci à ces traducteurs :
100%


Ces traducteurs nous aident réparer le monde ! Vous voulez contribuer ?
Commencez à traduire ›