Cette version peut contenir des modifications incorrectes. Passez au dernier aperçu vérifié.
Ce dont vous avez besoin
-
Cette étape n’est pas traduite. Aidez à la traduire
-
Flip the device over so that the batteries are closest to you.
-
Remove the battery lid by pressing the battery cover's tab and pulling it away from the device.
-
Push the battery against the spring and lift it out of the casing.
-
Repeat with the other battery.
-
-
Cette étape n’est pas traduite. Aidez à la traduire
-
Unscrew all eight 12mm Phillips head screws with a Philips #1 screwdriver.
-
-
Cette étape n’est pas traduite. Aidez à la traduire
-
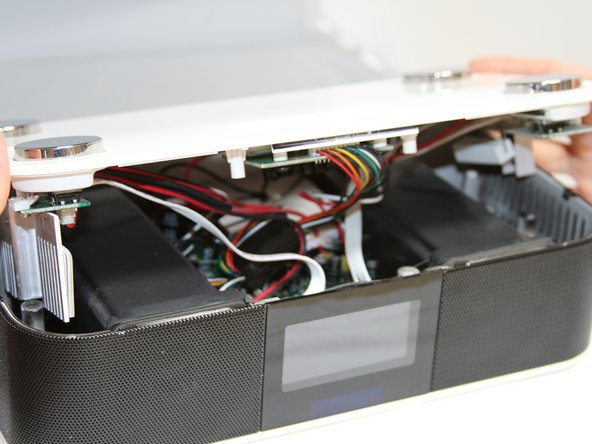
Flip the Luna back over so that the buttons are facing upward and the LCD screen is facing you.
-
Gently tilt the lid back 45 degrees so that the inside is exposed.
-
-
-
Cette étape n’est pas traduite. Aidez à la traduire
-
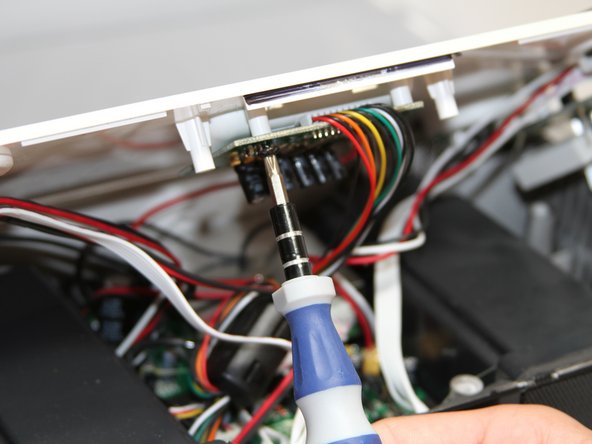
Unscrew the four black 7mm screws with the Phillips #1 screw driver that hold the middle circuit board to the top case.
-
-
Cette étape n’est pas traduite. Aidez à la traduire
-
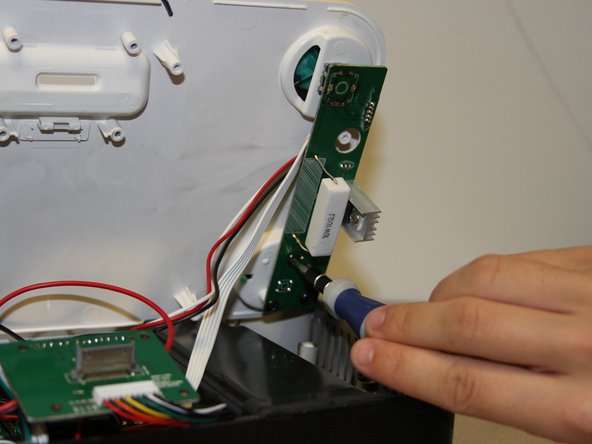
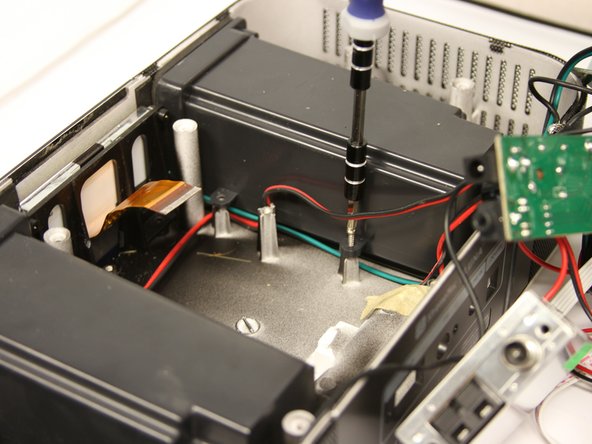
Unscrew the three 7 mm black screws using the Philips #1 screwdriver on the back end of the left and right circuit board.
-
-
Cette étape n’est pas traduite. Aidez à la traduire
-
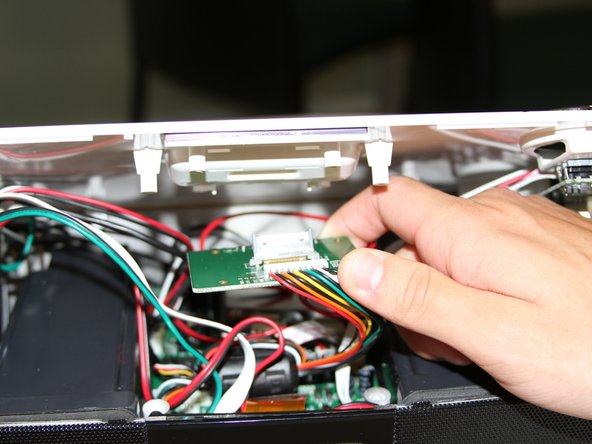
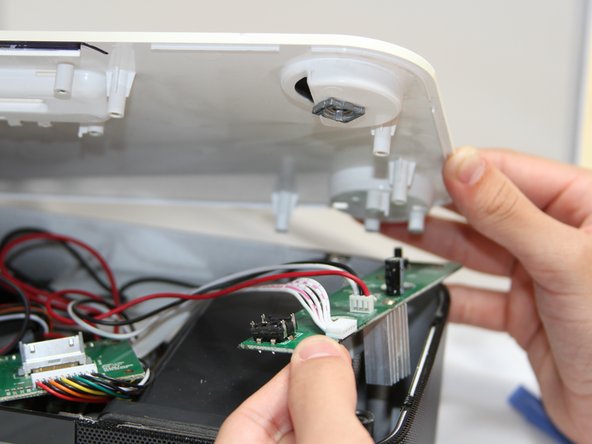
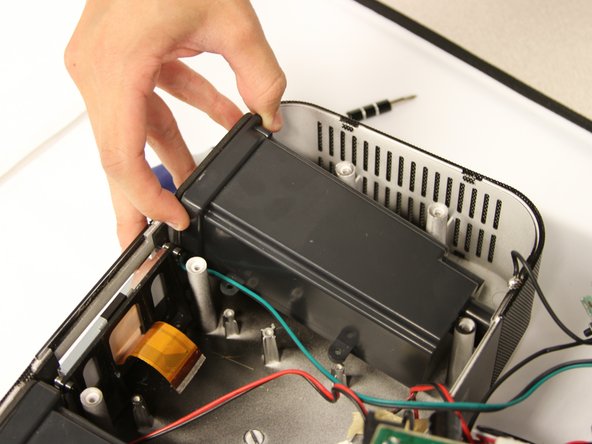
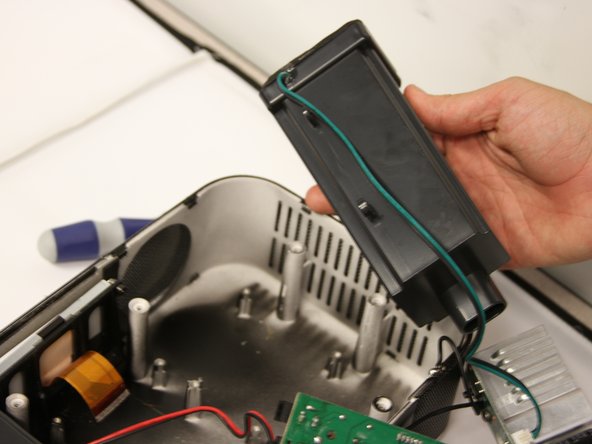
Use a plastic opening tool to pry the black connections away from the top casing.
-
-
Cette étape n’est pas traduite. Aidez à la traduire
-
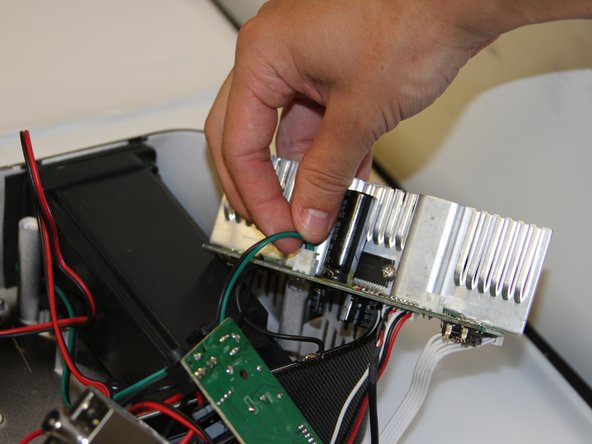
Turn the circuit boards over. Remove the two connections on the left side by pulling on the tabs.
-
-
Cette étape n’est pas traduite. Aidez à la traduire
-
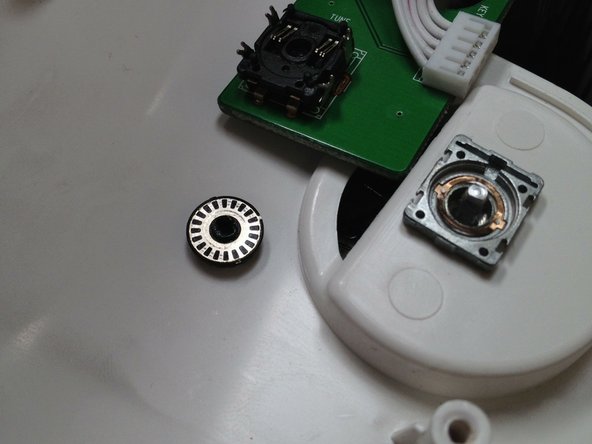
Unscrew four 7mm Phillips screws from the base of each speaker unit.
-


Équipe

Cal Poly, Team 3-47, Amido Spring 2013 Membre de l'équipe Cal Poly, Team 3-47, Amido Spring 2013
CPSU-AMIDO-S13S3G47
4 membres
8 tutoriels rédigés