Aller au contenu principal

ZTE Awe Screen Replacement

Ce dont vous avez besoin

  1. ZTE Awe Screen Replacement, Detach the mid frame: étape 1, image 1 de 1
    • Use the Phillips Head 00 screw driver to unscrew the seven 0.1mm screws from the phone's mid frame.

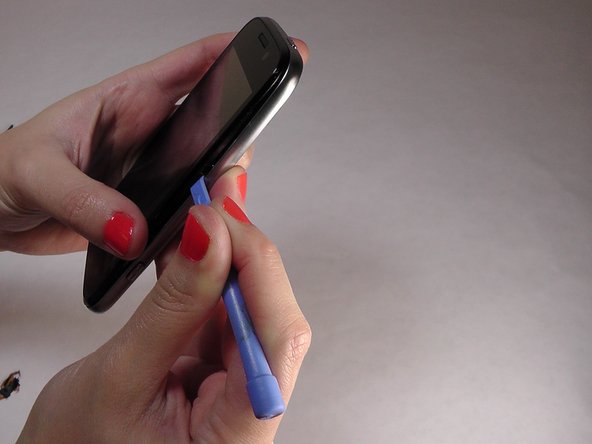
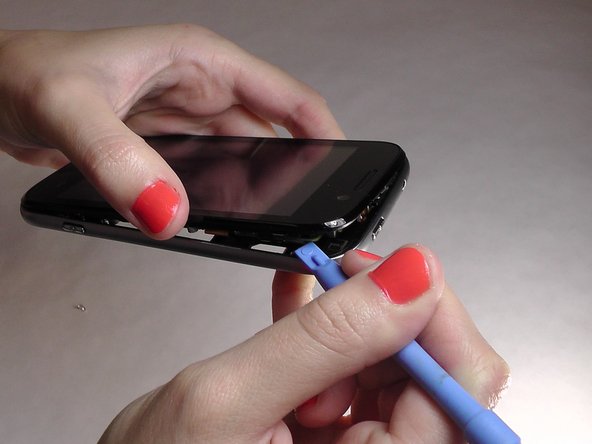
  2. ZTE Awe Screen Replacement, Separate the mid frame and the digitizer: étape 2, image 1 de 3 ZTE Awe Screen Replacement, Separate the mid frame and the digitizer: étape 2, image 2 de 3 ZTE Awe Screen Replacement, Separate the mid frame and the digitizer: étape 2, image 3 de 3
    • Wedge the flat end of the spudger between the mid frame and the digitizer.

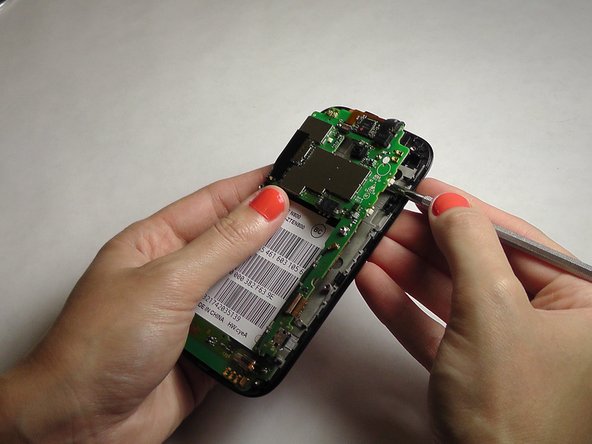
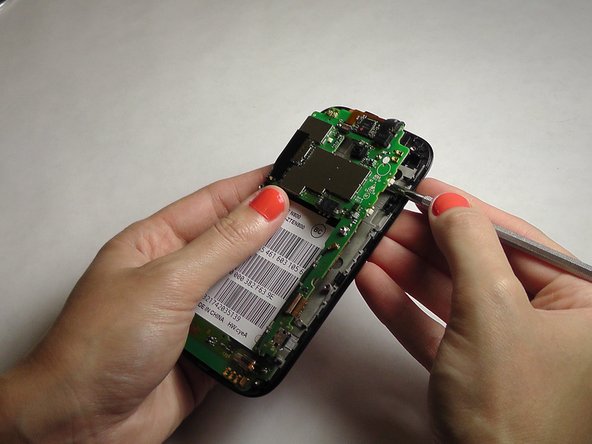
  3. ZTE Awe Screen Replacement, Expose the motherboard: étape 3, image 1 de 2 ZTE Awe Screen Replacement, Expose the motherboard: étape 3, image 2 de 2
    • Gently pry the mid frame away from the rest of the phone to expose the motherboard.

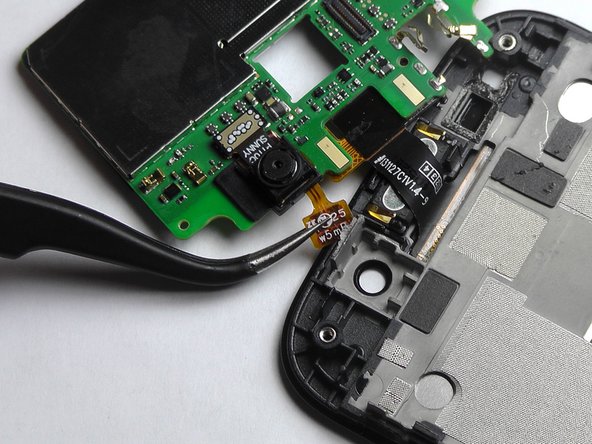
  4. ZTE Awe Screen Replacement, Remove the ribbon wires: étape 4, image 1 de 3 ZTE Awe Screen Replacement, Remove the ribbon wires: étape 4, image 2 de 3 ZTE Awe Screen Replacement, Remove the ribbon wires: étape 4, image 3 de 3
    • Use the tweezers to remove the four ribbon wires on the sides of the device.

  5. ZTE Awe Screen Replacement, Orient the motherboard: étape 5, image 1 de 1
    • Orient the motherboard to expose the mid frame.

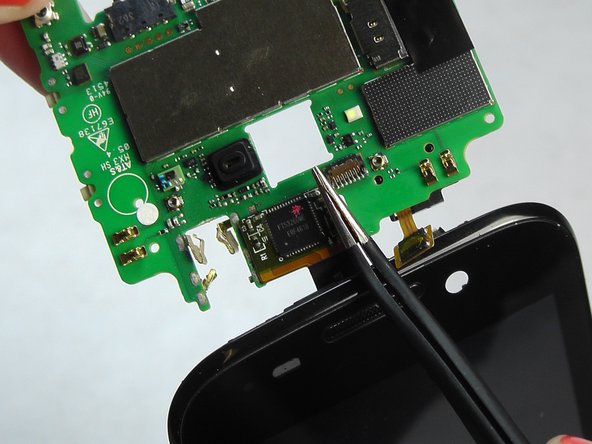
  6. ZTE Awe Screen Replacement, Remove the connector: étape 6, image 1 de 3 ZTE Awe Screen Replacement, Remove the connector: étape 6, image 2 de 3 ZTE Awe Screen Replacement, Remove the connector: étape 6, image 3 de 3
    • Remove the connector to free the motherboard from the screen.

  7. ZTE Awe Screen Replacement, Remove the cover: étape 7, image 1 de 1
    • Remove the back cover from the phone.

  8. ZTE Awe Screen Replacement, Remove battery: étape 8, image 1 de 1
    • Pry the battery up and out of the phone.

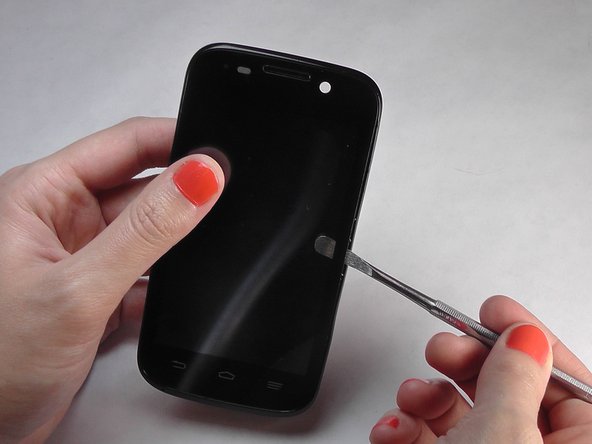
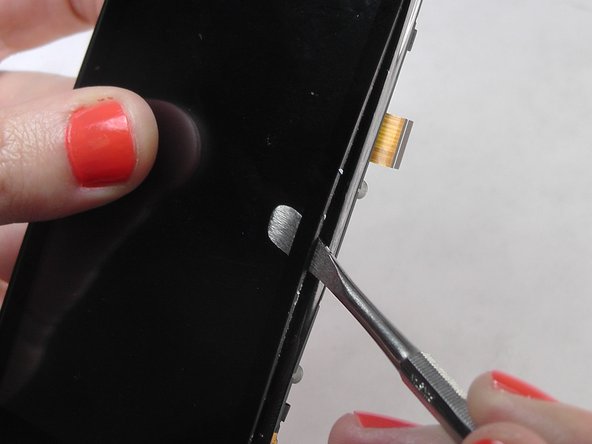
  9. ZTE Awe Screen Replacement: étape 9, image 1 de 3 ZTE Awe Screen Replacement: étape 9, image 2 de 3 ZTE Awe Screen Replacement: étape 9, image 3 de 3
    • Gently wedge the spudger in between the glass screen and the mid frame.

  10. ZTE Awe Screen Replacement, Separate the motherboard from the screen: étape 10, image 1 de 2 ZTE Awe Screen Replacement, Separate the motherboard from the screen: étape 10, image 2 de 2
    • Carefully pry the screen away from the motherboard.

  11. ZTE Awe Screen Replacement, Remove the ribbons: étape 11, image 1 de 3 ZTE Awe Screen Replacement, Remove the ribbons: étape 11, image 2 de 3 ZTE Awe Screen Replacement, Remove the ribbons: étape 11, image 3 de 3
    • Be careful when removing the ribbon wires. They are delicate.

  12. ZTE Awe Screen Replacement, Remove the remaining ribbons: étape 12, image 1 de 3 ZTE Awe Screen Replacement, Remove the remaining ribbons: étape 12, image 2 de 3 ZTE Awe Screen Replacement, Remove the remaining ribbons: étape 12, image 3 de 3
    • Remove the remaining two ribbon wires from their connectors.

  13. ZTE Awe Screen Replacement, Expose the digitizer: étape 13, image 1 de 3 ZTE Awe Screen Replacement, Expose the digitizer: étape 13, image 2 de 3 ZTE Awe Screen Replacement, Expose the digitizer: étape 13, image 3 de 3
    • Wedge the plastic spudger between the screen and the digitizer.

    • Gently pry apart the screen from the digitizer.

Conclusion

To reassemble your device, follow these instructions in reverse order.

12 autres ont terminé cette réparation.

Jennifer DeMeo

Membre depuis le 10/07/14

1 035 Réputation

5 tutoriels rédigés

Équipe

USF Tampa, Team 1-2, Leahy Fall 2014 Membre de l'équipe USF Tampa, Team 1-2, Leahy Fall 2014

USFT-LEAHY-F14S1G2

4 membres

10 tutoriels rédigés

0 commentaires

Ajouter un commentaire

Nombre de vues :

Dernières 24 heures : 0

7 derniers jours : 0

30 derniers jours : 5

Total : 14,169