Introduction
The replacement of the charging port in the Zeepad 7DRK is a moderately difficult task but the execution is quite simple given the right tools and the right help. The main aspect of this guide is the removal of the motherboard which the charging port is attached to. This may require prior knowledge with soldering and how to use a soldering iron properly since the port is soldered onto the motherboard.
Ce dont vous avez besoin
-
-
First find the power and volume buttons so that you are familiar with their location.
-
The smaller button is the power button and the larger button is the volume button.
-
-
-
-
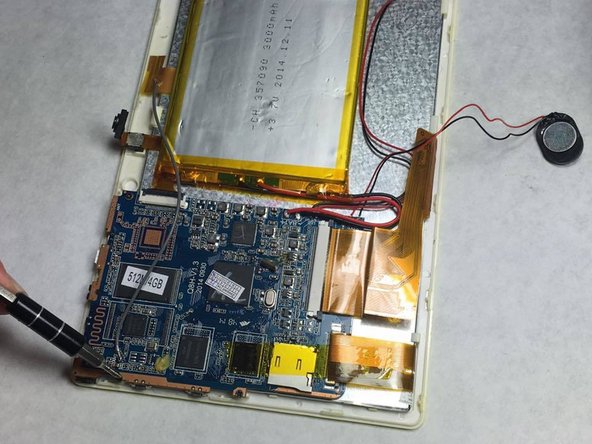
With the two halves of the tablet apart, you will see the motherboard. It is held on by three screws as well as three wire strips.
-
-
-
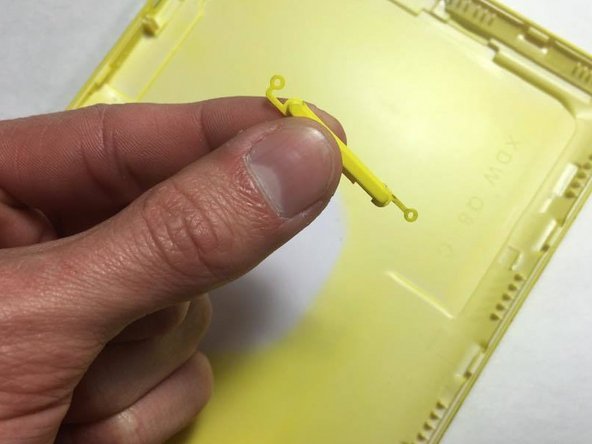
There are three wire strips that connect to the motherboard via small plastic clips. they connect to the backlight, battery, and screen shown in the first image.
-
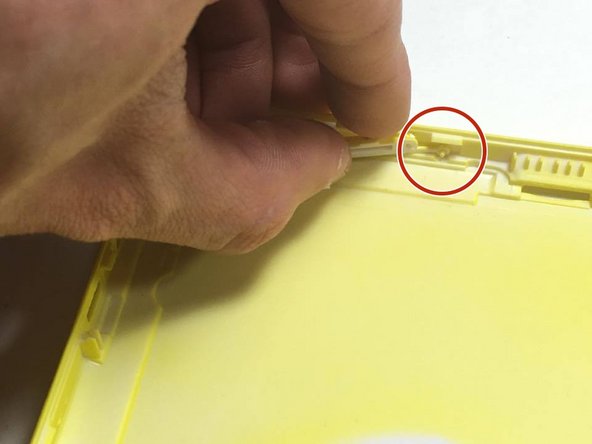
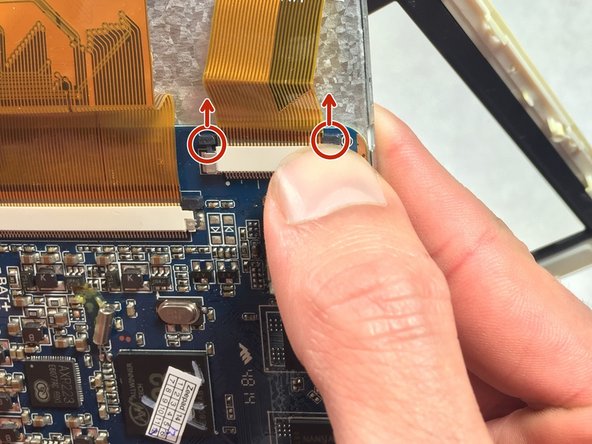
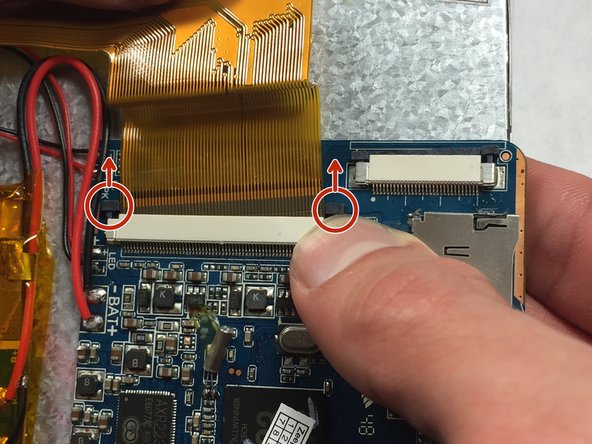
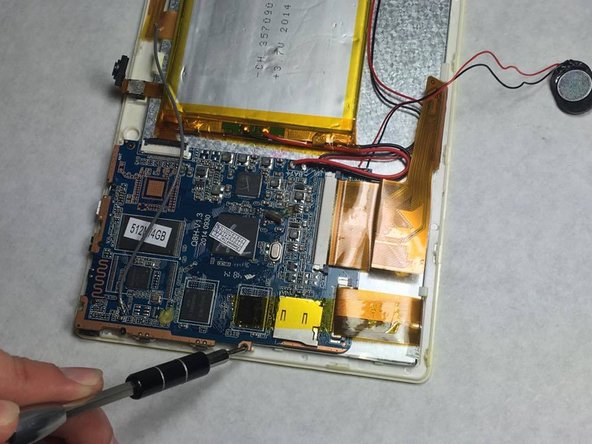
To detach the two connections on the left, for the screen and back-light, you must slide two blue tabs on either side of the wire strip upwards as shown in the second and third image.
-
-
-
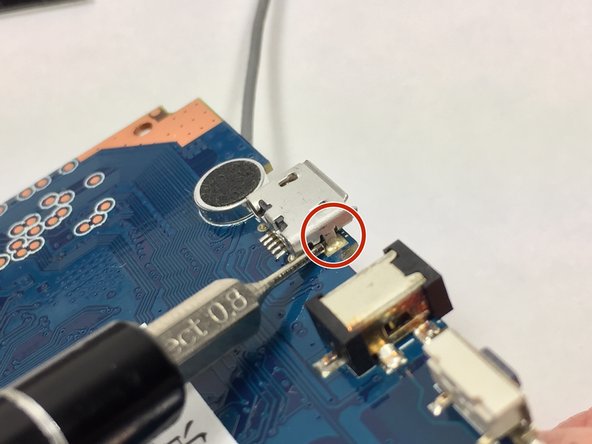
The charging port is soldered onto the motherboard in four locations.
-
There are two points on the inward facing side as shown in the first image, and there is one point on either side of the port.
-
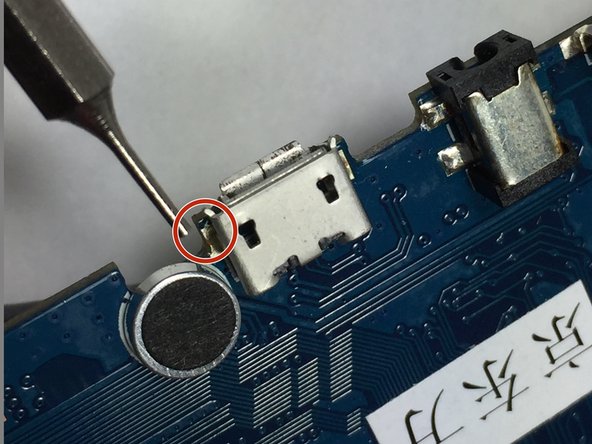
To completely remove the port, use a soldering iron to melt the solder holding on the port and gently disconnect the port form the motherboard.
-


To reassemble your device, follow these instructions in reverse order.
To reassemble your device, follow these instructions in reverse order.
Équipe

UMass Dartmouth, Team 6-8, Martin Fall 2016 Membre de l'équipe UMass Dartmouth, Team 6-8, Martin Fall 2016
UMASSD-MARTIN-F16S6G8
3 membres
10 tutoriels rédigés