Ce tutoriel a des changements plus récents. Passer à la dernière version non vérifiée.
Introduction
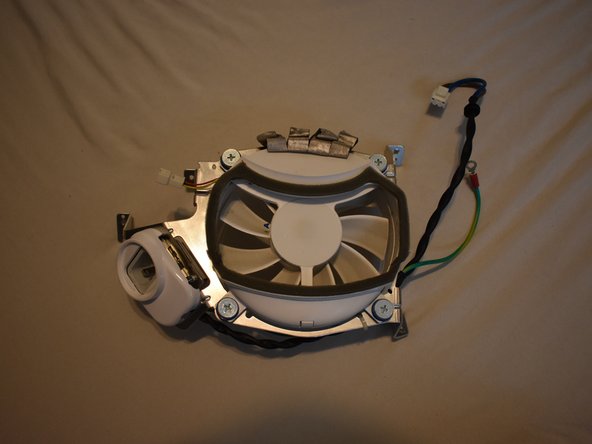
The fan assembly contains the AC jack, and must be removed to remove the motherboard.
Ce dont vous avez besoin
-
-
It should be noted that these guides are written based on a late-model eMac (2005, 1.42GHz, DDR). They will differ slightly from the older model eMacs that use PC-133 RAM.
-
Lay the eMac screen-down on a flat surface. I've found it convenient to use a carpeted floor because the computer is so heavy.
-
Remove the single phillips #2 screw on the RAM door, and remove the door
-
The screw is captive in the door, so don't worry about losing it.
-
-
-
You can read more about CRT safety procedures here. If you aren't experienced with working on devices featuring a CRT, it's recommended that you don't proceed any further.
-
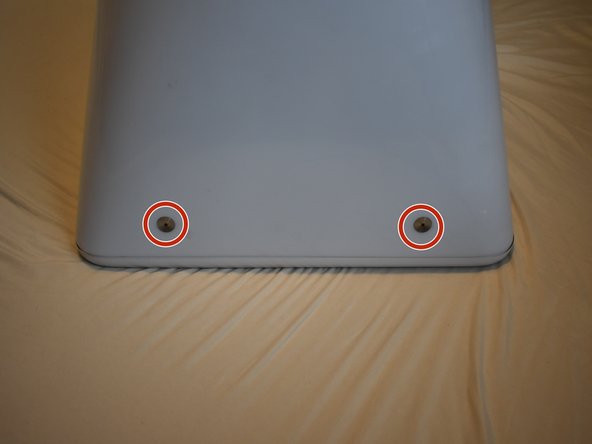
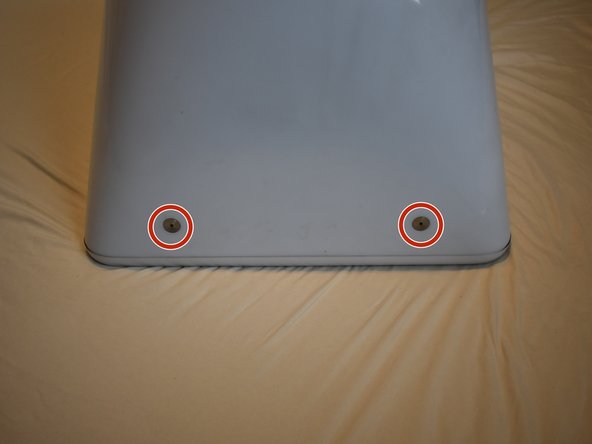
On the bottom side of the eMac, remove the following screws:
-
A single 2.5mm hex screw
-
Two #2 phillips screws
-
-
-
Remove two 2.5mm hex screws from each of the other sides of the computer.
-
-
-
Now, the shell can almost be separated from the computer.
-
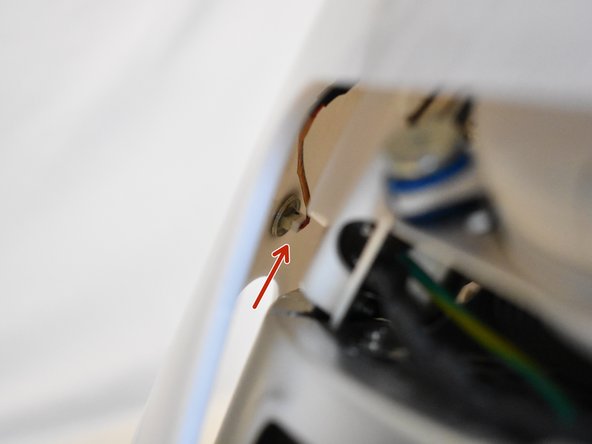
Lift the housing enough to allow you to fit your hand through the access door, and disconnect the cable at the power button.
What happens if you pull the shell off before does couldn’t connecting the power button and completely rip the wires right out of the quick connect,, well that’s exactly what I did and I need to know how to fix it please thank you
-
-
-
-
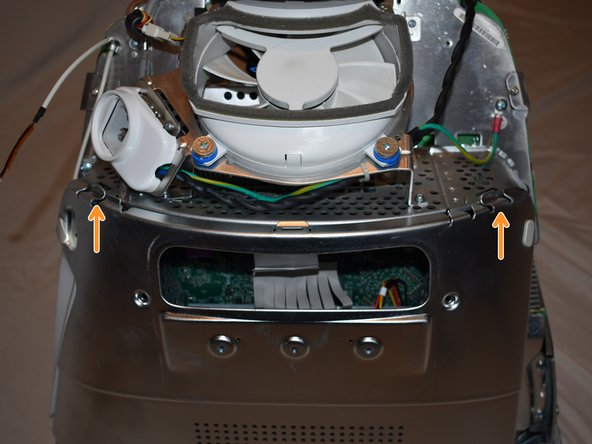
The motherboard access panel is held on by 4 phillips #2 screws.
-
Remove the screws, then use your fingers to pull on the top tabs to separate the panel from the computer frame.
-
-
-
To remove the fan assembly, several cables must be disconnected first:
-
3-pin fan cable
-
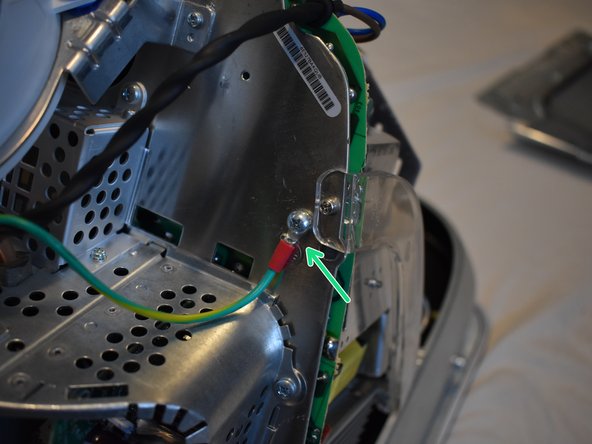
Ground wire, requires phillips #2 screwdriver
-
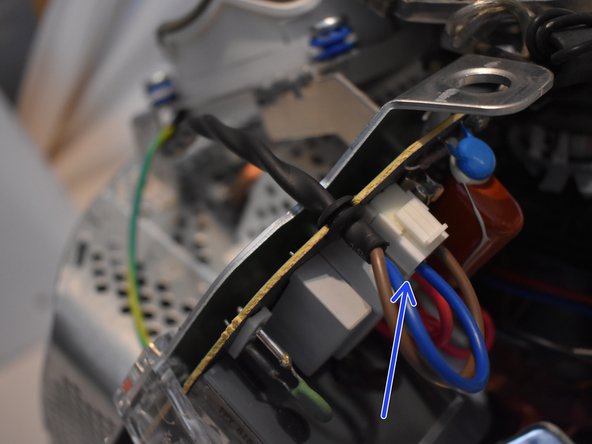
2-pin AC cable to power supply
-
-
-
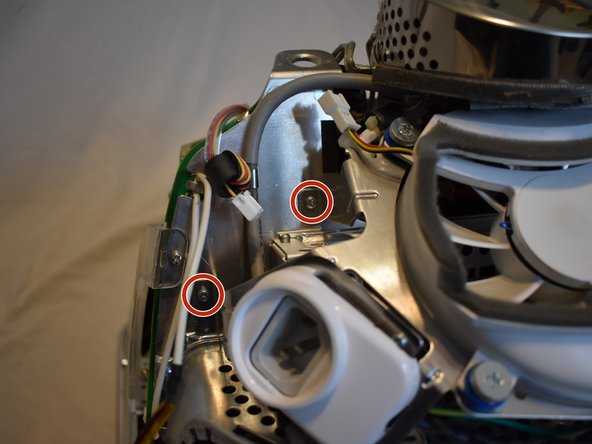
Now remove the following screws securing the fan assembly:
-
3x course thread phillips #2
-
1x machine thread phillips #2
-


To reassemble your device, follow these instructions in reverse order.
To reassemble your device, follow these instructions in reverse order.
Annulation : je n'ai pas terminé ce tutoriel.
2 autres ont terminé cette réparation.

Équipe

Un commentaire
Does anyone know the names of connectors for the fan? I would like to power one externally if possible.
Thanks :)
carpet or towel is the way to go. don’t put on bare hardwood floor or table as you may scratch it
Duck - Réponse