Aller au contenu principal

iBook G4 14" 933 MHz-1.33 GHz Rear Display Bezel Replacement

Conditions préalables uniquement
Ce tutoriel est uniquement destiné à être utilisé comme prérequis d'autres tutoriels. Il ne se suffit pas à lui-même.

Ce dont vous avez besoin

  1. iBook G4 14" 933 MHz-1.33 GHz Rear Display Bezel Replacement, Rear Display Bezel: étape 1, image 1 de 1
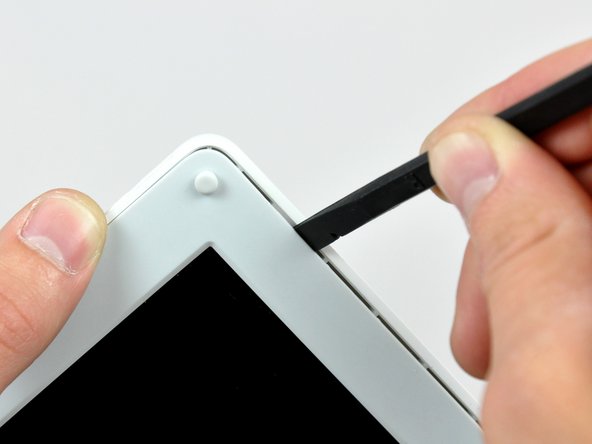
    • Use a 1.5 mm hex screwdriver to remove the two hex screws on either side of the display (four screws total).

    • If you don't have a 1.5 mm hex driver, you can probably get these screws out with a T6 Torx screwdriver. However, if you use a T6 Torx driver you'll be more likely to strip the screws.

  2. iBook G4 14" 933 MHz-1.33 GHz Rear Display Bezel Replacement: étape 2, image 1 de 1
    • Use your thumbs to slightly separate the rear bezel from the front bezel.

    • It is helpful to hold the opposing corner of the display stationary to aid in flexing the rear bezel away from the display.

  3. iBook G4 14" 933 MHz-1.33 GHz Rear Display Bezel Replacement: étape 3, image 1 de 3 iBook G4 14" 933 MHz-1.33 GHz Rear Display Bezel Replacement: étape 3, image 2 de 3 iBook G4 14" 933 MHz-1.33 GHz Rear Display Bezel Replacement: étape 3, image 3 de 3
    • Insert the flat end of a spudger into the gap between the front and rear bezels.

    • Rotate your spudger until it is parallel to the front face of the display.

    • Run the spudger around the perimeter of the display to separate the rear bezel from its retaining clips.

  4. iBook G4 14" 933 MHz-1.33 GHz Rear Display Bezel Replacement: étape 4, image 1 de 1
    • Lift the rear bezel off the display.

Conclusion

To reassemble your device, follow these instructions in reverse order.

0 commentaires

Ajouter un commentaire

Nombre de vues :

Dernières 24 heures : 0

7 derniers jours : 0

30 derniers jours : 0

Total : 481