Aller au contenu principal

iFixit Side Stack Retail Display Assembly

Ce dont vous avez besoin

  1. iFixit Side Stack Retail Display Assembly, Empty Box Components: étape 1, image 1 de 1
    • Box should include:

    • Set of screws/driver

    • Metal rods

    • Honeycomb Base/Feet

    • Main stand (back/sides)

    • Two large, one small foldable shelf insert

    • Two large, one small black rectangular insert

    • "You can fix it" panel and iFixit topper (not pictured)

  2. iFixit Side Stack Retail Display Assembly, Build Honeycomb Base: étape 2, image 1 de 3 iFixit Side Stack Retail Display Assembly, Build Honeycomb Base: étape 2, image 2 de 3 iFixit Side Stack Retail Display Assembly, Build Honeycomb Base: étape 2, image 3 de 3
    • The three angled supports fit into the two rectangular supports.

    • Place the fully constructed honeycomb base into the display.

  3. iFixit Side Stack Retail Display Assembly, "You can fix it": étape 3, image 1 de 3 iFixit Side Stack Retail Display Assembly, "You can fix it": étape 3, image 2 de 3 iFixit Side Stack Retail Display Assembly, "You can fix it": étape 3, image 3 de 3
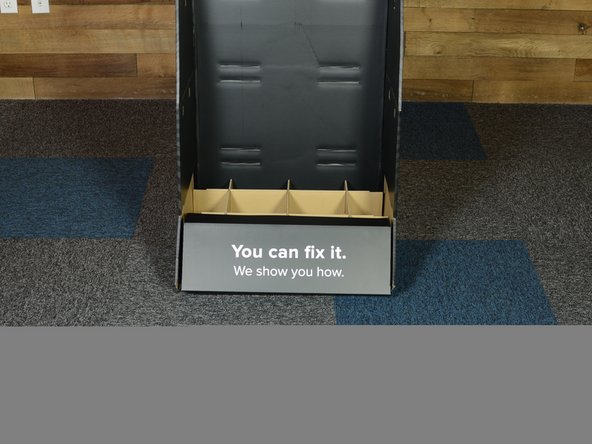
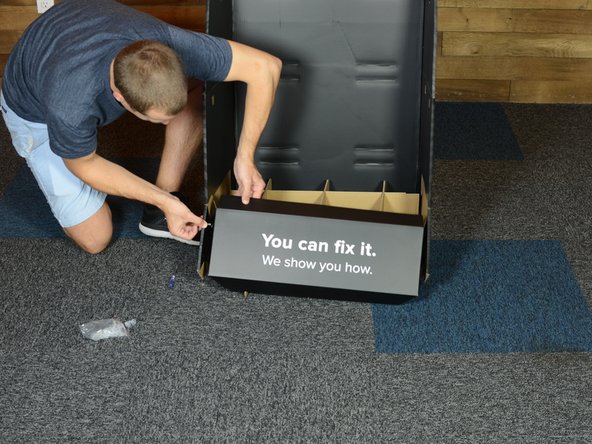
    • Fit “You can fix it” panel over front of honeycomb base

    • “You can fix it” panel sides fit INSIDE of base walls

    • Use screws to fasten

  4. iFixit Side Stack Retail Display Assembly, Build Shelf Insert: étape 4, image 1 de 3 iFixit Side Stack Retail Display Assembly, Build Shelf Insert: étape 4, image 2 de 3 iFixit Side Stack Retail Display Assembly, Build Shelf Insert: étape 4, image 3 de 3
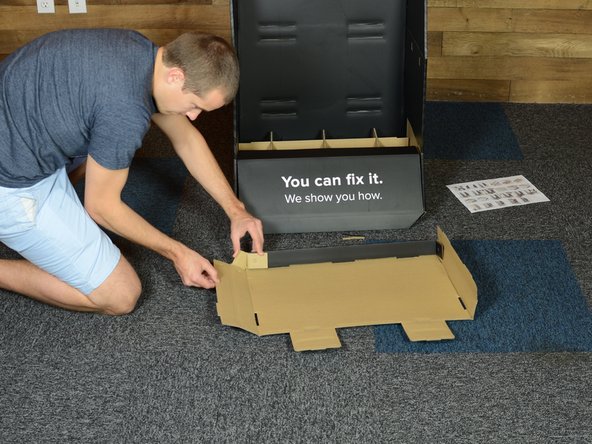
    • Build bottom shelf, using one of two larger foldable shelves

    • Tabs fit together, fit side tabs along back, then fold over and secure

  5. iFixit Side Stack Retail Display Assembly, Install Metal Supports: étape 5, image 1 de 2 iFixit Side Stack Retail Display Assembly, Install Metal Supports: étape 5, image 2 de 2
    • Install two metal support for middle shelf

    • Metal rods fit into provided holes

  6. iFixit Side Stack Retail Display Assembly, Insert Bottom Shelf: étape 6, image 1 de 3 iFixit Side Stack Retail Display Assembly, Insert Bottom Shelf: étape 6, image 2 de 3 iFixit Side Stack Retail Display Assembly, Insert Bottom Shelf: étape 6, image 3 de 3
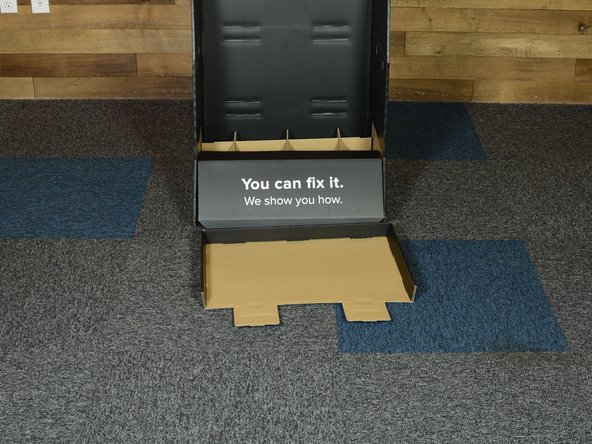
    • Fit bottom shelf into bottom shelf slots cut into back of display

    • Tabs go out the back and then back in towards the front

    • Lay black shelf insert into shelf

    • Fit screws together to hold shelf in place

    • Repeat for middle and top shelves

    • Top shelf and insert are smaller than bottom and middle shelves

  7. iFixit Side Stack Retail Display Assembly, Fold Sides into Honeycomb Base: étape 7, image 1 de 1
    • Like so.

    • (Go Angels!)

  8. iFixit Side Stack Retail Display Assembly, iFixt Header Sign: étape 8, image 1 de 2 iFixit Side Stack Retail Display Assembly, iFixt Header Sign: étape 8, image 2 de 2
    • Fold top section down to make holes match

    • Align iFixit sign and install using screws

Conclusion

To reassemble your device, follow these instructions in reverse order.

Eric Essen

Membre depuis le 06/04/10

17 804 Réputation

8 tutoriels rédigés

Équipe

iFixit Membre de l'équipe iFixit

Staff

135 membres

16 817 tutoriels rédigés

0 commentaires

Ajouter un commentaire

Nombre de vues :

Dernières 24 heures : 0

7 derniers jours : 1

30 derniers jours : 2

Total : 277