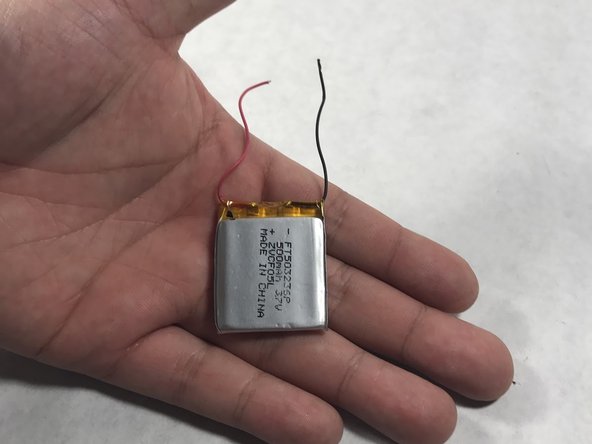
Aller au contenu principal

iHome iM71SC Battery Replacement

Ce dont vous avez besoin

  1. iHome iM71SC Battery Replacement, iHome iM71SC Disassembly: étape 1, image 1 de 1
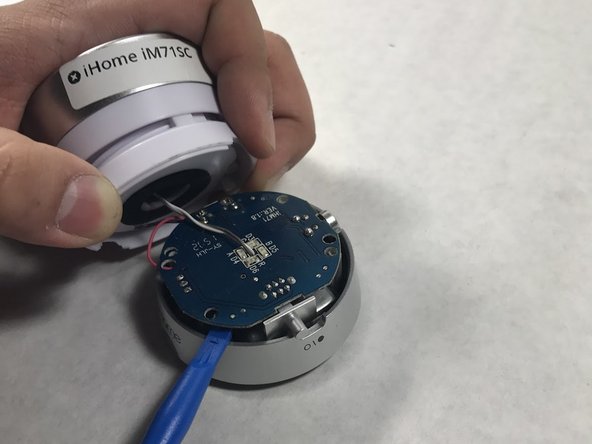
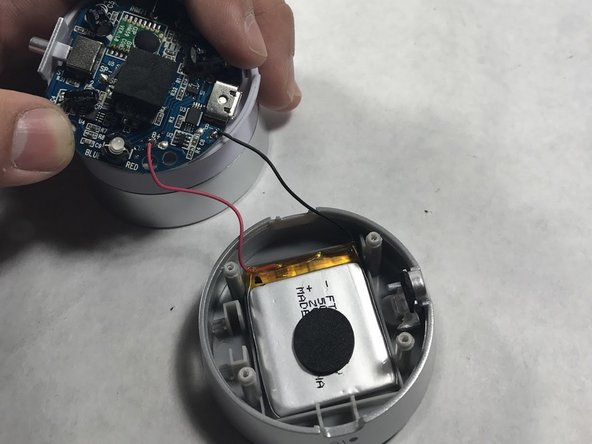
    • Push down and turn the top of the speaker clockwise. This will release the clips and expand the speaker.

  2. iHome iM71SC Battery Replacement: étape 2, image 1 de 1
    • Use a #000 Phillips screwdriver to remove the four 1 mm screws from the bottom half of the speaker.

  3. iHome iM71SC Battery Replacement: étape 3, image 1 de 1
    • Flip the speaker over and use a #000 Phillips screwdriver to remove three 1mm screws . Unscrew these to unfasten the top.

  4. iHome iM71SC Battery Replacement: étape 4, image 1 de 1
    • Remove the now unfastened coverings to expose the internals of the speaker.

  5. iHome iM71SC Battery Replacement, Battery: étape 5, image 1 de 3 iHome iM71SC Battery Replacement, Battery: étape 5, image 2 de 3 iHome iM71SC Battery Replacement, Battery: étape 5, image 3 de 3
    • Locate the battery underneath the circuit board.

  6. iHome iM71SC Battery Replacement: étape 6, image 1 de 2 iHome iM71SC Battery Replacement: étape 6, image 2 de 2
    • Unsolder the batterie's wires from the circuit board to remove the old battery.

    • Check out this awesome guide for soldering & desoldering instructions.

Conclusion

To reassemble your device, follow Steps 1-4 in reverse order.

Sarah Brown

Membre depuis le 03/21/17

301 Réputation

3 tutoriels rédigés

Équipe

UMass Dartmouth, Team S7-G5, Julie Spring 2017 Membre de l'équipe UMass Dartmouth, Team S7-G5, Julie Spring 2017

UMASSD-JULIE-S17S7G5

5 membres

4 tutoriels rédigés

0 commentaires

Ajouter un commentaire

Nombre de vues :

Dernières 24 heures : 0

7 derniers jours : 0

30 derniers jours : 0

Total : 247