Aller au contenu principal

iHome iP1 Buttons Replacement

Ce dont vous avez besoin

  1. iHome iP1 Buttons Replacement, Dock Cover: étape 1, image 1 de 1
    • Orient the iHome upside down with the speakers facing you.

  2. iHome iP1 Buttons Replacement: étape 2, image 1 de 1
    • Remove the two 9.5 mm Phillips #1 screws from the dock cover.

  3. iHome iP1 Buttons Replacement: étape 3, image 1 de 3 iHome iP1 Buttons Replacement: étape 3, image 2 de 3 iHome iP1 Buttons Replacement: étape 3, image 3 de 3
    • Remove the dock cover by grabbing its sides and pulling it up and away from the faceplate.

  4. iHome iP1 Buttons Replacement, Buttons: étape 4, image 1 de 2 iHome iP1 Buttons Replacement, Buttons: étape 4, image 2 de 2
    • Disconnect the silver ribbon cable on the left-hand side by pulling away from the command buttons.

  5. iHome iP1 Buttons Replacement: étape 5, image 1 de 3 iHome iP1 Buttons Replacement: étape 5, image 2 de 3 iHome iP1 Buttons Replacement: étape 5, image 3 de 3
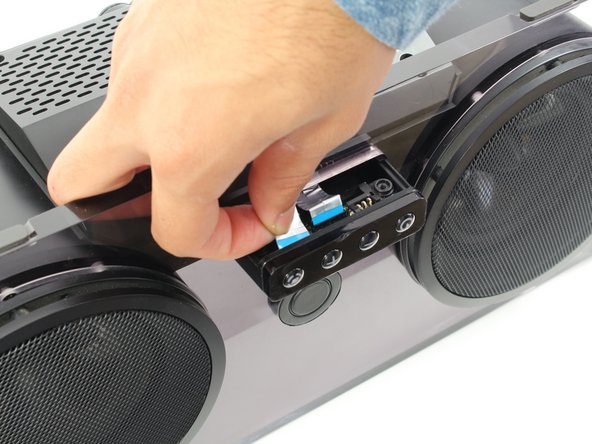
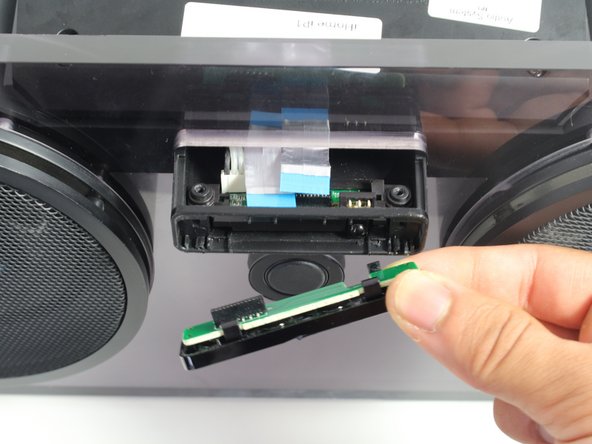
    • Remove the command buttons by pulling the small black panel containing them downward and away from the faceplate.

Conclusion

To reassemble your device, follow these instructions in reverse order.

Une autre personne a terminé cette réparation.

Wen Sullivan

Membre depuis le 10/06/16

518 Réputation

4 tutoriels rédigés

Équipe

Cal Poly, Team 20-1, Livingston Fall 2016 Membre de l'équipe Cal Poly, Team 20-1, Livingston Fall 2016

CPSU-LIVINGSTON-F16S20G1

4 membres

7 tutoriels rédigés

Un commentaire

Where can I buy the button PCB

David Ivar - Réponse

Ajouter un commentaire

Nombre de vues :

Dernières 24 heures : 1

7 derniers jours : 4

30 derniers jours : 13

Total : 531