Cette version peut contenir des modifications incorrectes. Passez au dernier aperçu vérifié.
Ce dont vous avez besoin
-
-
Débranchez tous les câbles de l'ordinateur, y compris le câble d'alimentation. Posez l'ordinateur face cachée, en appuyant le cou et la base avec un chiffon doux sous l'écran.
-
-
-
Cette étape n’est pas traduite. Aidez à la traduire
-
Open the housing plate.
-
A fixed plug connector between the logic board and upper unit will cause some resistance. Pull gently but firmly.
-
-
Cette étape n’est pas traduite. Aidez à la traduire
-
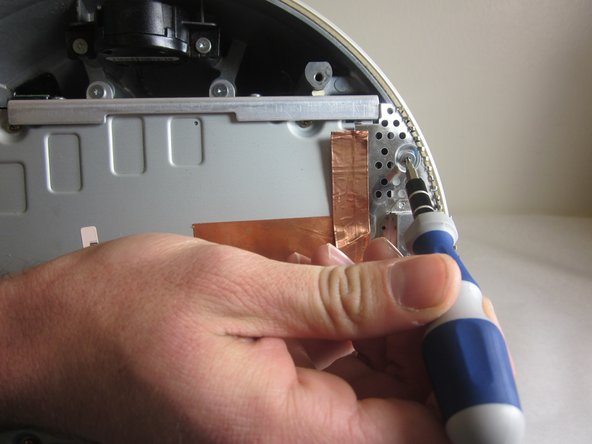
Remove the 2 torx 10mm screws on the EMI shield
-
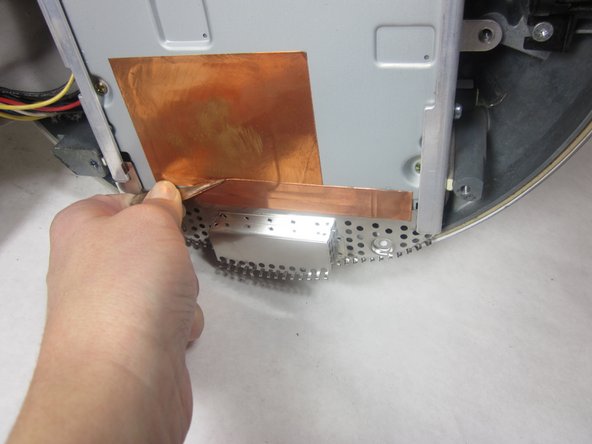
Carefully remove shield and copper tape
-
-
Cette étape n’est pas traduite. Aidez à la traduire
-
Remove the 4 10mm torx screws attatched to the drive carrier.
-
-
Cette étape n’est pas traduite. Aidez à la traduire
-
Grasp the carrier with both hands on each side.
-
Remove the carrier by lifting up and out.
-
-
Cette étape n’est pas traduite. Aidez à la traduire
-
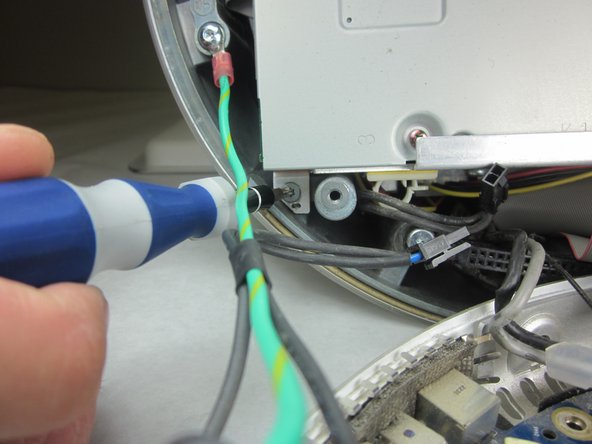
Flip the removed carrier to the right and pull out power cables.
-


Annulation : je n'ai pas terminé ce tutoriel.
3 autres ont terminé cette réparation.
Équipe

Cal Poly, Team 21-22, Maness Fall 2011 Membre de l'équipe Cal Poly, Team 21-22, Maness Fall 2011
CPSU-MANESS-F11S21G22
4 membres
13 tutoriels rédigés
2 commentaires
What two screws in step 6
We need a "action" shot; we need to show an actual screwdriver unscrewing the screw.