Aller au contenu principal

iPad 7 Glass Digitizer Replacement

Ce dont vous avez besoin

  1. iPad 7 Glass Digitizer Replacement, Glass Digitizer: étape 1, image 1 de 1
    • Apply heat to screen my rule is to hot to touch is the best heat

    • I use a heating pad

  2. iPad 7 Glass Digitizer Replacement: étape 2, image 1 de 3 iPad 7 Glass Digitizer Replacement: étape 2, image 2 de 3 iPad 7 Glass Digitizer Replacement: étape 2, image 3 de 3
    • Pry around edges as shown be careful of parts at the bottom such as home button, Wifi, GPS antennas

  3. iPad 7 Glass Digitizer Replacement: étape 3, image 1 de 1
    • Lift and giggle from the top left

    • The direction the screen opens

  4. iPad 7 Glass Digitizer Replacement: étape 4, image 1 de 3 iPad 7 Glass Digitizer Replacement: étape 4, image 2 de 3 iPad 7 Glass Digitizer Replacement: étape 4, image 3 de 3
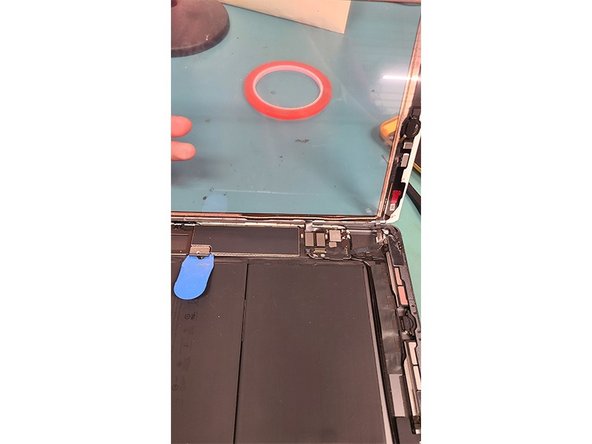
    • I prop up the glass digitizer next to something to have both hands free

    • Unscrew 4 PH000 Screws

    • Use a metal tool to pry up LCD from top left and right corners

  5. iPad 7 Glass Digitizer Replacement: étape 5, image 1 de 1
    • Lift from the top

  6. iPad 7 Glass Digitizer Replacement: étape 6, image 1 de 2 iPad 7 Glass Digitizer Replacement: étape 6, image 2 de 2
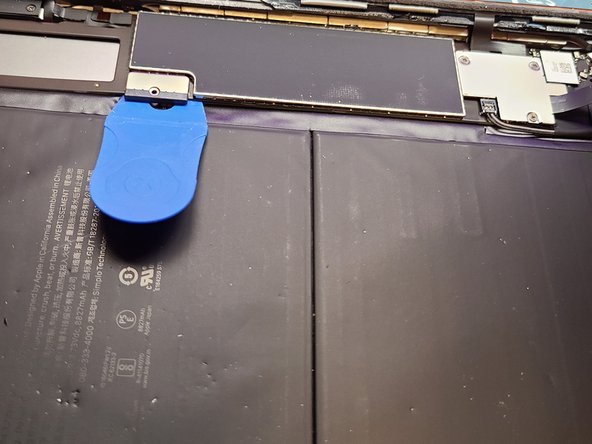
    • Unscrew 1 PH000 screws from the battery connection

    • Slide plastic pick under battery connection

    • Unscrew 3 PH000 screws from display cable bracket

  7. iPad 7 Glass Digitizer Replacement: étape 7, image 1 de 3 iPad 7 Glass Digitizer Replacement: étape 7, image 2 de 3 iPad 7 Glass Digitizer Replacement: étape 7, image 3 de 3
    • Disconnect the LCD connection

    • Digitizer Connection should get disconnected

    • Remove Home button seal

    • Disconnect Home button with flat end of plastic spudger

    • Use tweezers to slide out home button connection

  8. iPad 7 Glass Digitizer Replacement: étape 8, image 1 de 1
    • Remove keep rubber covering over home button connection

    • Now its safe to remove glass digitizer

  9. iPad 7 Glass Digitizer Replacement: étape 9, image 1 de 3 iPad 7 Glass Digitizer Replacement: étape 9, image 2 de 3 iPad 7 Glass Digitizer Replacement: étape 9, image 3 de 3
    • Use heat gun to heat up home button for removal

    • Lift home button upwards pulling gently on ribbon cable

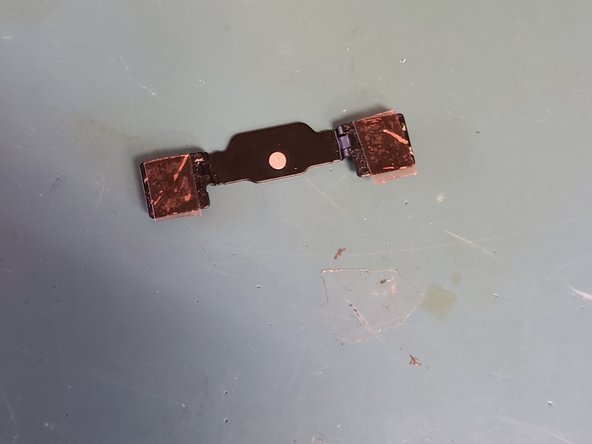
    • Gently pry off metal home button bracket with metal pry tool

  10. iPad 7 Glass Digitizer Replacement: étape 10, image 1 de 3 iPad 7 Glass Digitizer Replacement: étape 10, image 2 de 3 iPad 7 Glass Digitizer Replacement: étape 10, image 3 de 3
    • The home button and bracket should come off like this too place home button the way I seat it to new digitizer

    • Prep home button bracket

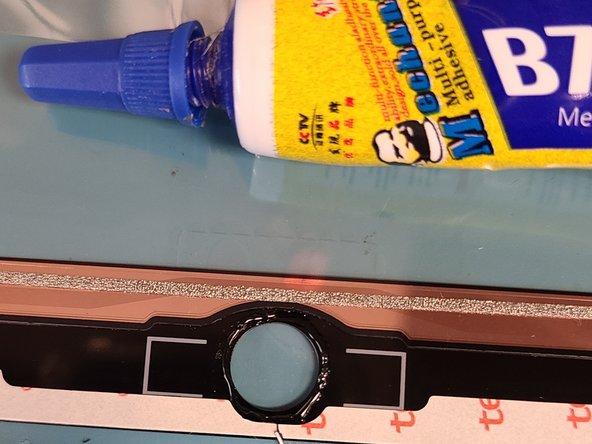
    • Apply liquid adhesive around new glass digitizer home button hole

  11. iPad 7 Glass Digitizer Replacement: étape 11, image 1 de 3 iPad 7 Glass Digitizer Replacement: étape 11, image 2 de 3 iPad 7 Glass Digitizer Replacement: étape 11, image 3 de 3
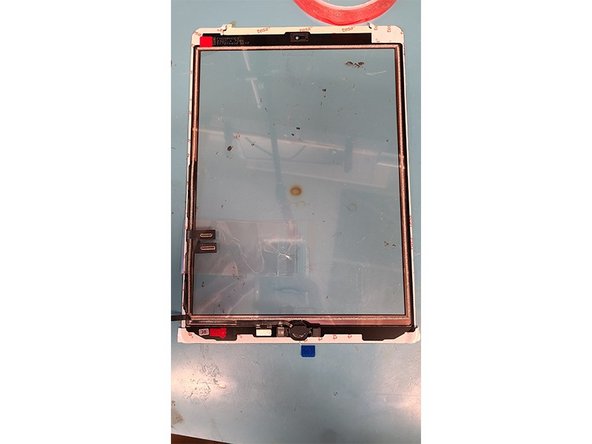
    • Put home button down 1st then put down metal bracket give it some test clicks

    • Prepare for testing connect home button and glass digitzer

    • Make sure you clean the edges before clapping screen down can cause it to crack

    • Test home button and digitizer before fully assembling the device.

    • I will have more pictures of assembly just need to wait on when I work on my next one

Conclusion

To reassemble your device, follow these instructions in reverse order.
I will post more pictures of the reassembly

15 autres ont terminé cette réparation.

Mark D Schlossman

Membre depuis le 09/25/19

5 537 Réputation

8 tutoriels rédigés

Un commentaire

Great guide! This applies to the iPad 8 identically.

Benjamin Klenklen - Réponse

Ajouter un commentaire

Nombre de vues :

Dernières 24 heures : 26

7 derniers jours : 147

30 derniers jours : 693

Total : 18,401