Introduction
C'est le vibreur de l'iPhone.
Ce dont vous avez besoin
-
-
Lorsque la vitre de votre iPhone est brisée, évitez toute autre casse ainsi que des blessures éventuelles en scotchant la vitre.
-
Posez des bandes adhésives transparentes se chevauchant sur la vitre de façon à la couvrir complètement.
-
-
-
Retirez les deux vis cruciformes #00 situées près du connecteur de dock de l'iPhone.
-
-
-
-
Retirez les 8 vis suivantes :
-
Cinq vis cruciformes #00 de 2,3 mm à filetage partiel, qui attachent la carte mère au boîtier arrière.
-
Deux vis cruciformes #00 de 2,3 mm à filetage total, qui maintiennent la carte mère et la caméra.
-
Une vis cruciforme #00 de 2,9 mm sous l'autocollant "Do not remove".
-
-
-
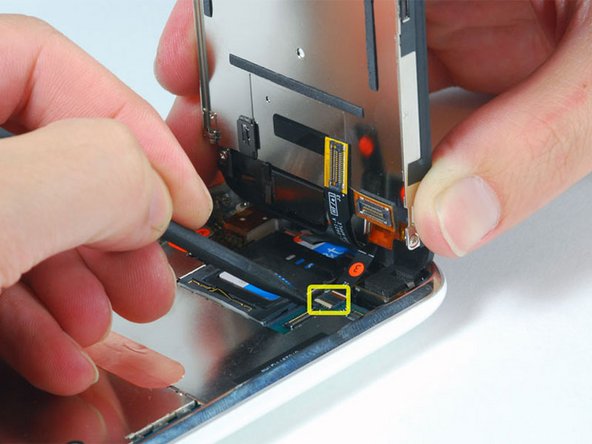
A l'aide d'une spatule (spudger), retirez le clip (maintenu auparavant par les vis) qui retient la caméra, faites levier sur la caméra pour la soulever et retirez-la de son emplacement dans le boîtier arrière. La caméra ne peut pas encore être enlevée complètement, car elle est connectée au fond de la carte mère.
-


Pour remonter votre appareil, suivez les étapes dans l'ordre inverse.
Pour remonter votre appareil, suivez les étapes dans l'ordre inverse.
Annulation : je n'ai pas terminé ce tutoriel.
54 autres ont terminé cette réparation.
Merci à ces traducteurs :
100%


Ces traducteurs nous aident réparer le monde ! Vous voulez contribuer ?
Commencez à traduire ›

5 commentaires
After you are done with the replacement and get everything back in place, hard reset the phone as it is the only way to turn it on.
I have just successfully replaced the motor, remarkably straightforward (though in parts very fiddly), and an excellent guide up to step 6.
Couple of tips -
Step 2: The screen really comes up with a jerk, I actually pulled off a connector with the initial separation and was very lucky nothing broke. Be very gentle with the initial separation.
Step 6: The white/black parts were reversed on mine, I guess it's fairly random. But all you need to know is that you very carefully flip up the smaller section, whichever colour it may be.
At this point, I had access to the motor so I tried my luck. It came out, and the next one went in, with great ease. You do not need to go any further than step 6 to do this fix. The small section of the motor still covered just slides out with a gentle tug, and my replacement is working fine.
After step 6, you can replace the vibration motor by loosening the two screws. You can then tilt the motor from below the motherboard. All the other steps are unnecessary.
I just replaced a 3GS vibration motor with a 3G vibration motor, and yes, it works.
apple 3g ear speaker is not working
thank you so much