Introduction
If you have a problem with charging, connecting with iTunes, don't hear you in a phone call, connecting with WiFi, ringing.
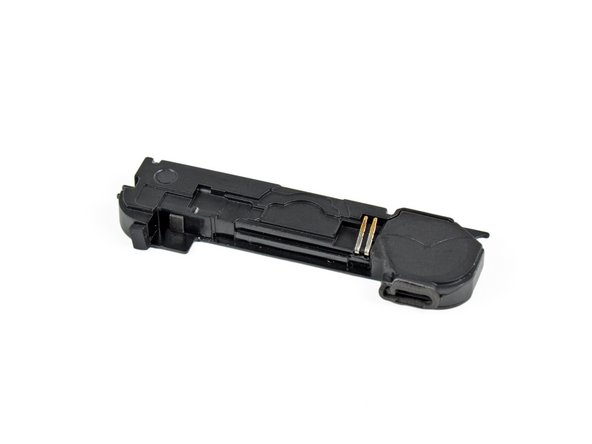
In this video manual we will show you how to change / replace the iPhone 4S USB Charging Port Dock Connector Flex Cable with Mic and inner Ringer / Loud Speaker & WiFi Antenna flex.
Ce dont vous avez besoin
Vidéo d'introduction
-
-
If present, remove the small strip of tape covering one of the dock connector screws.
-
-


To reassemble your device, follow these instructions in reverse order.
To reassemble your device, follow these instructions in reverse order.
Annulation : je n'ai pas terminé ce tutoriel.
19 autres ont terminé cette réparation.

Équipe
