Ce dont vous avez besoin
-
-
Retirez les trois vis qui sécurisent le vibreur et la fixation du vibreur au boîtier :
-
une vis cruciforme 2,3 mm
-
une vis cruciforme 1,7 mm
-
une vis cruciforme 1,6 mm qui sécurise le vibreur en haut, à l'intérieur du boîtier.
-
-
-
-
Retirez les vis suivantes qui sécurisent les fixations du bouton de volume et du bouton de sonnerie au côté du boîtier :
-
une vis cruciforme 1,5 mm
-
deux vis cruciformes 1,8 mm
The middle one 1,8 = 1,2 mm
yes, it is like you say
When reassembled I noticed that when I firmly tightened these two screws tagged with orange circle , my ringer switch was stuck and didn't move. So I left these two screws little loose and ringer switch worked fine. Now I have used my phone couple weeks and there has been no problem with these loose screws.
on my device the red circled screw is completely different. Under my magnifying glass the head is round. Don’t know how to unscrew. There is no fitting bit in my ifixit Pro Tech Toolkit. :(
-
-
-
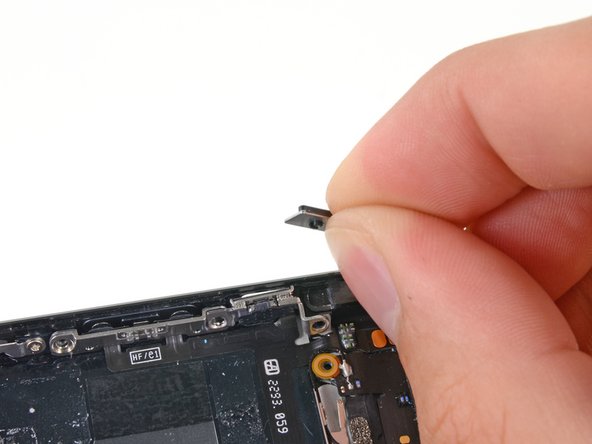
Utilisez la pointe d'un spudger pour soulever la fixation du bouton de sonnerie sur le côté intérieur du boîtier.
-
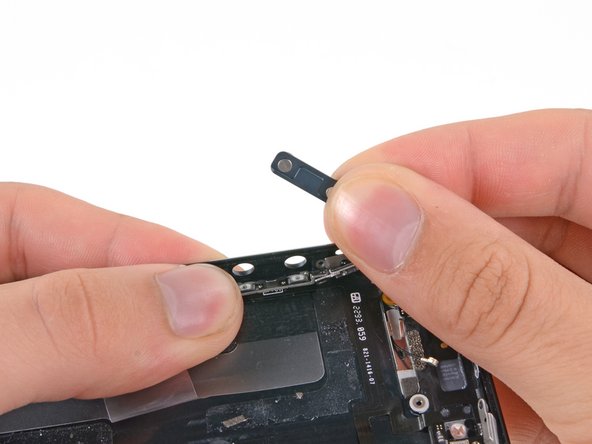
Retirez le bouton de sonnerie.
I found removing the hinge that secures the power button to require more force than I thought necessary. Seemed to be the most difficult part of the repair. When installing the new AC/PB cable, i started with this assembly and worked backwards. Would have been helpful to include a good set of tweezers in the repair kits for those with fat fingers like mine or who don't have a pair at home.
-


Pour remonter votre appareil, suivez ces instructions dans l'ordre inverse.
Pour remonter votre appareil, suivez ces instructions dans l'ordre inverse.
Annulation : je n'ai pas terminé ce tutoriel.
Une autre personne a terminé cette réparation.
Merci à ces traducteurs :
100%


Ces traducteurs nous aident réparer le monde ! Vous voulez contribuer ?
Commencez à traduire ›

How do I remove the 1.6mm screw?
Alexei - Réponse