Introduction
Is your iPhone restarting with no apparent cause, stuck in a boot loop, or simply refusing to power on at all? If you've tried all the software solutions to no avail, you've got a problem with some physical part of your phone. But which one? There's no need to guess. Try this method to suss out which component is giving you trouble.
Note: The images in this guide reference an iPhone XR, but can be applied in principle to any iPhone (or cell phone).
Ce dont vous avez besoin
-
-
Open up your iPhone. Reference the relevant guide for your model for more details.
-
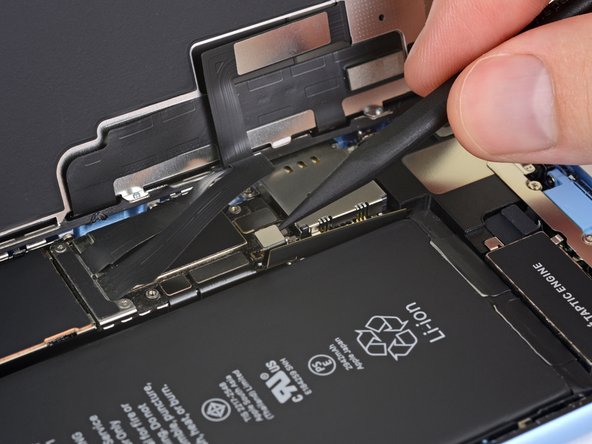
Disconnect the battery before any other component. If you aren't sure which connector is for the battery, the battery replacement guide for your model will point you in the right direction.
-
-
-
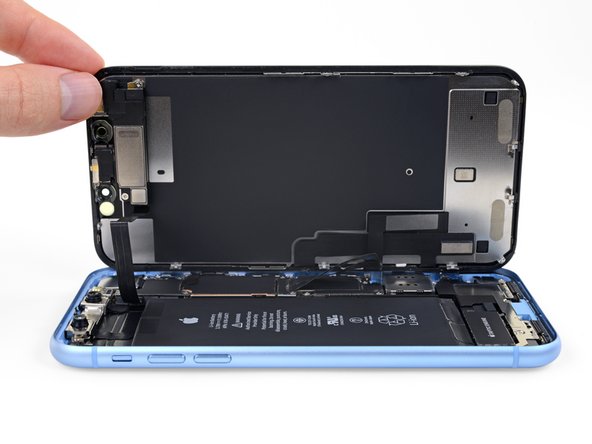
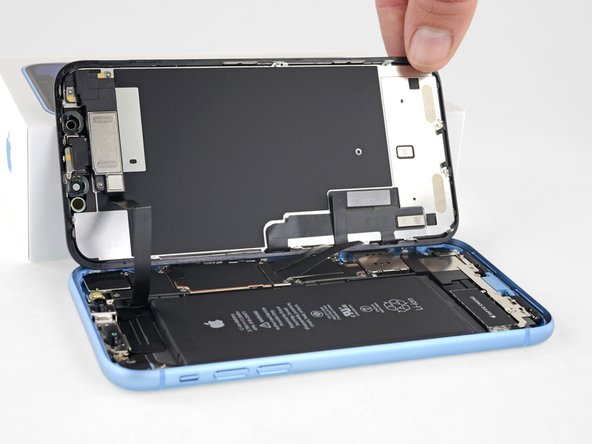
Once the battery is disconnected, remove the screen for the best access to your iPhone's internals.
-
-
-
-
Once you have disconnected everything, reconnect the bare minimum required to boot up the phone (and know it's booting). In most cases this will mean a display, a battery and either the power button cable or the charge port assembly to trigger boot.
-
With only the fewest number of necessary parts connected, try to recreate the issue. If your issue has resolved, start reconnecting parts one by one until the issue reappears (be sure to disconnect the battery in between).
-


Once you have determined which part is the issue, replace it and reassemble your iPhone!
Once you have determined which part is the issue, replace it and reassemble your iPhone!
Annulation : je n'ai pas terminé ce tutoriel.
Une autre personne a terminé cette réparation.

Équipe
