Aller au contenu principal
Pour réparer ensemble - Je crée un compte

iRobot Roomba 551 Bumper Sensor Replacement

Ce dont vous avez besoin

    1. iRobot Roomba 551 Bumper Sensor Replacement, Side Brush: étape 1, image 1 de 1
      • Place your Roomba upside-down on a hard surface.

      Demander à FixBot

      Ajouter un commentaire

    2. iRobot Roomba 551 Bumper Sensor Replacement: étape 2, image 1 de 1
      • While holding the side brush in place, use a Phillips #1 screwdriver to remove the 4.5mm screw from the center of the brush.

      Demander à FixBot

      Ajouter un commentaire

    3. iRobot Roomba 551 Bumper Sensor Replacement: étape 3, image 1 de 1
      • Gently pull upwards on the brush to remove it.

      Demander à FixBot

      Ajouter un commentaire

    1. iRobot Roomba 551 Bumper Sensor Replacement, Bottom Plate: étape 4, image 1 de 1
      • Rotate the Roomba upside-down so the bottom is facing towards you.

      Demander à FixBot

      Ajouter un commentaire

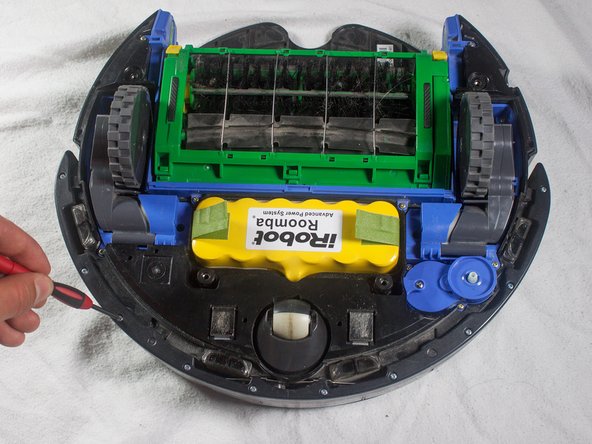
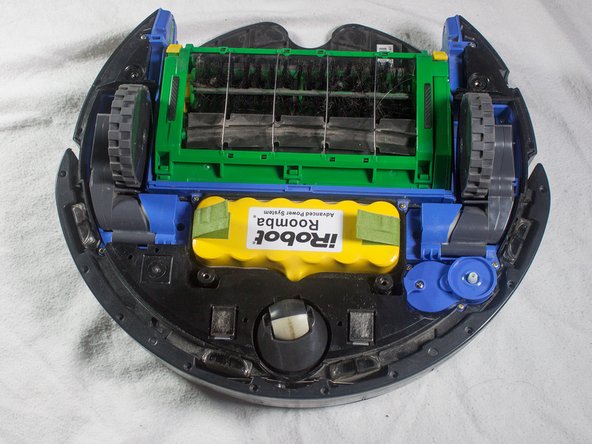
    2. iRobot Roomba 551 Bumper Sensor Replacement: étape 5, image 1 de 2 iRobot Roomba 551 Bumper Sensor Replacement: étape 5, image 2 de 2
      • Using a Phillips #2 screwdriver, remove the captive screws that hold the bottom plate in place.

      Demander à FixBot

      Ajouter un commentaire

    3. iRobot Roomba 551 Bumper Sensor Replacement: étape 6, image 1 de 1
      • Carefully lift the bottom plate.

      • The battery is only secured in place by the bottom plate, and may fall out once the bottom plate is removed.

      Demander à FixBot

      Ajouter un commentaire

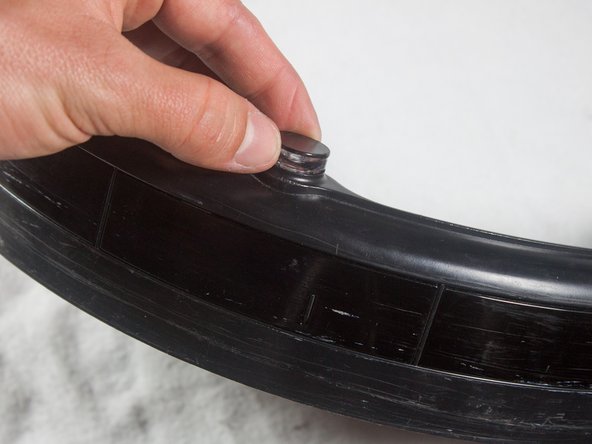
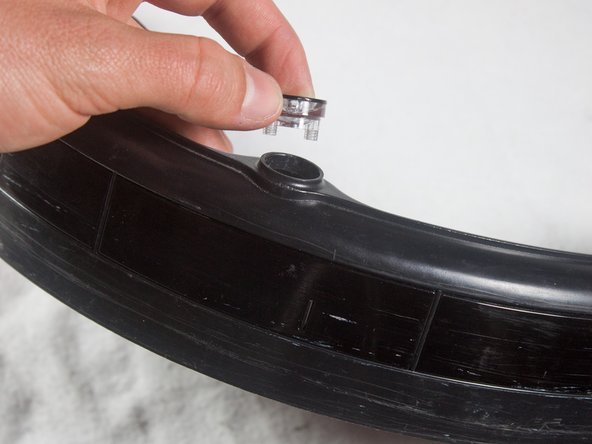
    1. iRobot Roomba 551 Bumper Sensor Replacement, Bumper: étape 7, image 1 de 3 iRobot Roomba 551 Bumper Sensor Replacement, Bumper: étape 7, image 2 de 3 iRobot Roomba 551 Bumper Sensor Replacement, Bumper: étape 7, image 3 de 3
      • With a Phillips #1 screwdriver, remove the ten 12mm screws located along the bottom of the bumper.

      Demander à FixBot

      Ajouter un commentaire

    2. iRobot Roomba 551 Bumper Sensor Replacement: étape 8, image 1 de 1
      • Lift the bottom cover and set it to the side.

      Demander à FixBot

      Ajouter un commentaire

    3. iRobot Roomba 551 Bumper Sensor Replacement: étape 9, image 1 de 2 iRobot Roomba 551 Bumper Sensor Replacement: étape 9, image 2 de 2
      • Flip the Roomba over, grasp the bumper, and gently lift to remove.

      • The battery is not secured in place once the bottom plate has been removed, and may fall out when the Roomba is turned right-side up.

      Demander à FixBot

      Ajouter un commentaire

    1. iRobot Roomba 551 Bumper Sensor Replacement, Bumper Sensor: étape 10, image 1 de 1
      • Flip the Roomba so that the bottom is facing you.

      Demander à FixBot

      Ajouter un commentaire

    2. iRobot Roomba 551 Bumper Sensor Replacement: étape 11, image 1 de 2 iRobot Roomba 551 Bumper Sensor Replacement: étape 11, image 2 de 2
      • Remove the two 5mm screws located near the center of the bumper using a Phillips #1 screwdriver.

      Demander à FixBot

      Ajouter un commentaire

    3. iRobot Roomba 551 Bumper Sensor Replacement: étape 12, image 1 de 1
      • Pull gently on the bottom of the sensor to remove.

      Demander à FixBot

      Ajouter un commentaire

    4. iRobot Roomba 551 Bumper Sensor Replacement: étape 13, image 1 de 3 iRobot Roomba 551 Bumper Sensor Replacement: étape 13, image 2 de 3 iRobot Roomba 551 Bumper Sensor Replacement: étape 13, image 3 de 3
      • Flip the bumper over and lift the sensor from its compartment.

      • You are now free to replace the bumper sensor.

      Demander à FixBot

      Ajouter un commentaire

Conclusion

To reassemble your device, follow these instructions in reverse order.

Annulation : je n'ai pas terminé ce tutoriel.

4 autres ont terminé cette réparation.

Cody Rhoads

Membre depuis le 01/16/14

348 Réputation

2 tutoriels rédigés

Équipe

Cal Poly, Team 13-14, Regan Winter 2014 Membre de l'équipe Cal Poly, Team 13-14, Regan Winter 2014

CPSU-REGAN-W14S13G14

4 membres

32 tutoriels rédigés

0 commentaires de tutoriel

Ajouter un commentaire

Nombre de vues :

Dernières 24 heures : 0

7 derniers jours : 4

30 derniers jours : 23

Total : 5,013