Aller au contenu principal
Pour réparer ensemble - Je crée un compte

iRobot Roomba 630 Top Bumper Infrared Sensor Replacement

Ce dont vous avez besoin
    1. iRobot Roomba 630 Top Bumper Infrared Sensor Replacement, Front Sensor: étape 1, image 1 de 2 iRobot Roomba 630 Top Bumper Infrared Sensor Replacement, Front Sensor: étape 1, image 2 de 2
      • Press the bin button and pull the bin out.

      Demander à FixBot

      Ajouter un commentaire

    2. iRobot Roomba 630 Top Bumper Infrared Sensor Replacement: étape 2, image 1 de 2 iRobot Roomba 630 Top Bumper Infrared Sensor Replacement: étape 2, image 2 de 2
      • FIip the device over and unscrew the side brush screw using the Phillips #2 screwdriver.

      Demander à FixBot

      Ajouter un commentaire

    3. iRobot Roomba 630 Top Bumper Infrared Sensor Replacement: étape 3, image 1 de 2 iRobot Roomba 630 Top Bumper Infrared Sensor Replacement: étape 3, image 2 de 2
      • Unscrew the (4) four back plate screws using the Phillips #2 screwdriver.

      • Lift the back plate off of the device.

      Demander à FixBot

      Ajouter un commentaire

    4. iRobot Roomba 630 Top Bumper Infrared Sensor Replacement: étape 4, image 1 de 2 iRobot Roomba 630 Top Bumper Infrared Sensor Replacement: étape 4, image 2 de 2
      • Unscrew the screws on the bottom of the front bumper.

      Demander à FixBot

      Ajouter un commentaire

    5. iRobot Roomba 630 Top Bumper Infrared Sensor Replacement: étape 5, image 1 de 2 iRobot Roomba 630 Top Bumper Infrared Sensor Replacement: étape 5, image 2 de 2
      • Flip the device over and lift the front bumper up and off.

      • Lift with care so the sensor wires aren't damaged.

      Demander à FixBot

      Ajouter un commentaire

    6. iRobot Roomba 630 Top Bumper Infrared Sensor Replacement: étape 6, image 1 de 2 iRobot Roomba 630 Top Bumper Infrared Sensor Replacement: étape 6, image 2 de 2
      • Flip the Roomba back over and unscrew the 2 screws that connect the sensor to the bumper.

      Demander à FixBot

      Ajouter un commentaire

    7. iRobot Roomba 630 Top Bumper Infrared Sensor Replacement: étape 7, image 1 de 3 iRobot Roomba 630 Top Bumper Infrared Sensor Replacement: étape 7, image 2 de 3 iRobot Roomba 630 Top Bumper Infrared Sensor Replacement: étape 7, image 3 de 3
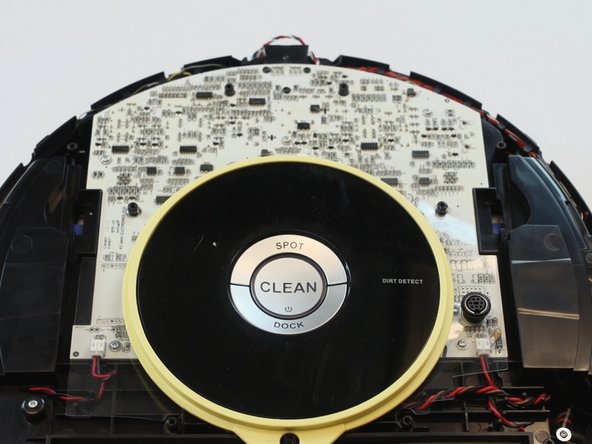
      • Flip Roomba back over and pry the top cover off.

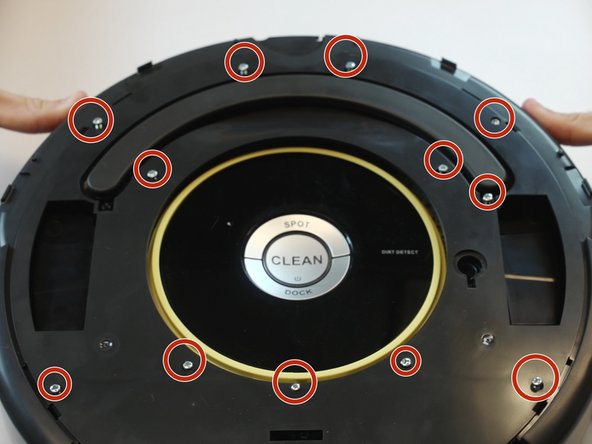
      • Unscrew the screws to the top plate and lift off.

      Demander à FixBot

      Ajouter un commentaire

    8. iRobot Roomba 630 Top Bumper Infrared Sensor Replacement: étape 8, image 1 de 3 iRobot Roomba 630 Top Bumper Infrared Sensor Replacement: étape 8, image 2 de 3 iRobot Roomba 630 Top Bumper Infrared Sensor Replacement: étape 8, image 3 de 3
      Outil utilisé dans cette étape :
      Tweezers
      $4.99
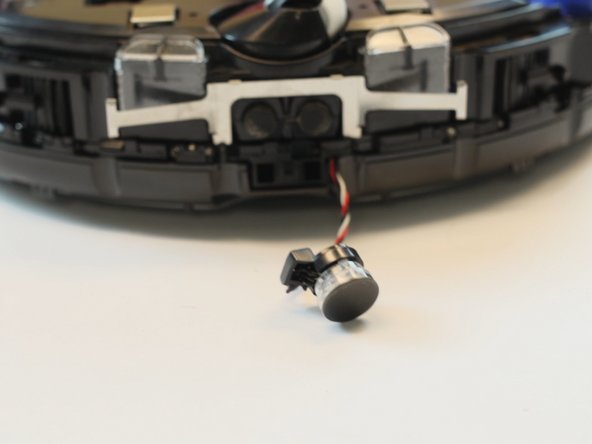
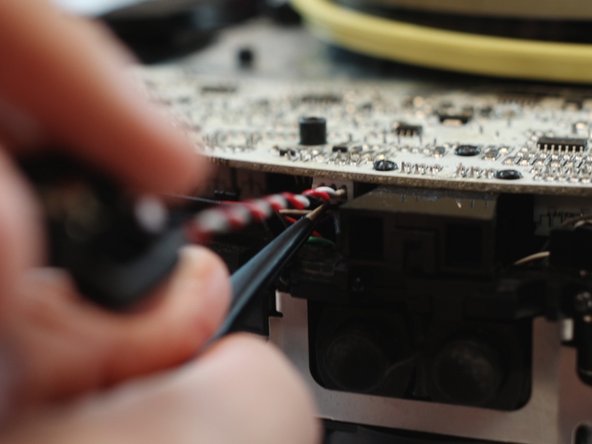
      • Use tweezers or another tool to push up on the insert while gently pulling the sensor out by its wires.

      • Remove the sensor.

      Demander à FixBot

      Ajouter un commentaire

Conclusion

To reassemble your device, follow these instructions in reverse order.

Annulation : je n'ai pas terminé ce tutoriel.

4 autres ont terminé cette réparation.

Jeffrey Rook

Membre depuis le 10/03/17

125 Réputation

1 tutoriel rédigé

Équipe

USF Tampa, Team S5-G3, Walkup Fall 2017 Membre de l'équipe USF Tampa, Team S5-G3, Walkup Fall 2017

USFT-WALKUP-F17S5G3

4 membres

15 tutoriels rédigés

4 commentaires de tutoriel

Exact same instructions for a Roomba 690. Great guide and much cheaper than sending it in for out of warranty repair at $135 bucks!!!

Jeff Brockway - Réponse Partager

Outstanding! I would only add to note position of the 12 top plate screws as they are removed since 3 are smaller/shorter (although not noticeably so) and need to be returned to their exact location. I would not call this difficult. Simply tedious. Thank you very much for the instrucitons.

Linda Marsh - Réponse Partager

Thanks for this. Roomba wanted me to send my unit in for repairs costing $130. I bought a replacement Rcon at eBay for $10. Turned out, as others have posted, the red wire was broken! That’s on Roomba!! Works like new, will repair the red wire, and save the rcon for future use.

natenaybore - Réponse Partager

This is very helpful! Thank you. In my case, all the 3 wires were thorn from the sensor head. I could resolver them but I can’t tell which is which. Can someone post where the 3 wires connect in the sensor head? There are 3 leads coming out of the sensor head but no insulation left on them so I can match with the correct wire. Much appreciated!

GandaFix - Réponse Partager

Ajouter un commentaire

Nombre de vues :

Dernières 24 heures : 0

7 derniers jours : 7

30 derniers jours : 52

Total : 10,822