Introduction
This component is what drives the side brush in action. When the motor is damaged, replacement is needed in order for the side brush to work properly. The side brush motor is housed underneath the bottom panel inside a gearbox.
Ce dont vous avez besoin
-
-
With the Roomba upside down and turned off, use the Phillip's 02 screwdriver to remove the one 3.5 mm screw from the center of the side-brush.
-
Set the screw aside and pull the brush out.
-
-
-
Unscrew the four screws that hold the bottom panel using the Phillips 02 screwdriver.
-
Once you are sure that all the screws have been loosened as much as possible, then lift the bottom panel up off the Roomba.
-
-
-
-
Locate and loosen the two small screws fastened to the motor housing with the Phillip's 00 Screwdriver. Like the bottom panel screws, these will not come out completely.
-
-
-
Remove the screw on top of the housing. The small plastic piece should come right off.
-
Carefully pry open the gear box by inserting a flat head screwdriver in the slot on the end of the box. This might be difficult and require some wiggling of the screwdriver.
-
The cover should come right off.
-
-
-
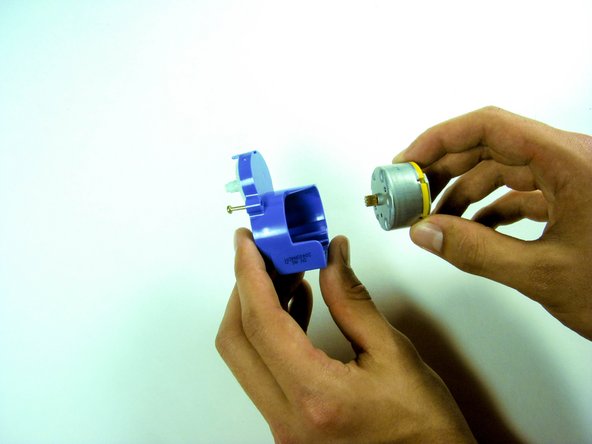
Locate and loosen the two screws inside the gearbox with the Phillips 00 Screwdriver. The motor should come right out the bottom.
-


To reassemble your device, follow these instructions in reverse order.
To reassemble your device, follow these instructions in reverse order.
Annulation : je n'ai pas terminé ce tutoriel.
5 autres ont terminé cette réparation.

Équipe

Cal Poly, Team 19-7, Maness Winter 2015 Membre de l'équipe Cal Poly, Team 19-7, Maness Winter 2015
CPSU-MANESS-W15S19G7
4 membres
6 tutoriels rédigés
6 commentaires
In step 4, the screw on top of the housing has an unusual head. It's similar to a Phillips screw, but it only has 3 grooves. A small flat blade screw driver can unscrew it.
When you pry off the cover of the gear box, some gears may pop out, so do this on a work surface where they won't get lost.
You may find that the brush has stopped rotating because the inside of the gear box is full of lint.
Side brush motor works hooked to7,4v battery will not work in its socket pocket. tested voltage at springs only getting 5.3 v is this low voltage issue from Roomba or voltage ok , Springs are fine in sockets.
Any idea where to get the main drive GEAR my motor is fine but the main gear is missing teeth
They can be found at Amazon/Ebay, but they ain’t cheap.
duder -
Those gears look like a pretty standard set, but need some kind of spec or part # to replace