Aller au contenu principal

iRobot Roomba 655 Pet Series Drive Wheels Replacement

Ce dont vous avez besoin

  1. iRobot Roomba 655 Pet Series Drive Wheels Replacement, Removing the Side Brush: étape 1, image 1 de 2 iRobot Roomba 655 Pet Series Drive Wheels Replacement, Removing the Side Brush: étape 1, image 2 de 2
    • Flip the device over onto its back.

    • Find the side brush, and unscrew the single screw that connects to brush motor by using the Phillips head #2 screwdriver.

    • This screw doesn't completely come out of the yellow side brush.

  2. iRobot Roomba 655 Pet Series Drive Wheels Replacement, Removing the Back Panel: étape 2, image 1 de 2 iRobot Roomba 655 Pet Series Drive Wheels Replacement, Removing the Back Panel: étape 2, image 2 de 2
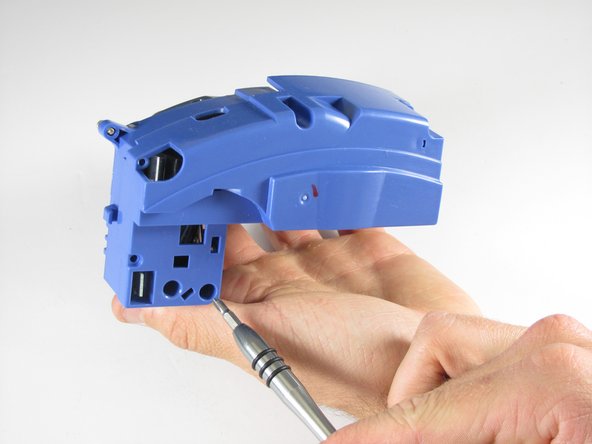
    • Using a Phillips #1 screwdriver, remove the four screws on the back panel.

    • Once the screws are loose gently pry the back plate away from the body by using the spudger tool.

    • The screws don't completely come out of the panel, but it will still come apart once unscrewed.

  3. iRobot Roomba 655 Pet Series Drive Wheels Replacement, Removing the Battery: étape 3, image 1 de 3 iRobot Roomba 655 Pet Series Drive Wheels Replacement, Removing the Battery: étape 3, image 2 de 3 iRobot Roomba 655 Pet Series Drive Wheels Replacement, Removing the Battery: étape 3, image 3 de 3
    • Grab the two pieces of green tape with your thumb and index finger

    • Pull up on the battery in an upwards direction to remove it

  4. iRobot Roomba 655 Pet Series Drive Wheels Replacement, Battery Contact Points: étape 4, image 1 de 2 iRobot Roomba 655 Pet Series Drive Wheels Replacement, Battery Contact Points: étape 4, image 2 de 2
    • These are the contact points on the Roomba for the battery

    • These are the contact points on the battery

    • If these contact points are dirty, they can be cleaned with a moist microfiber cloth (distilled water recommended)

  5. iRobot Roomba 655 Pet Series Drive Wheels Replacement, Drive Wheels: étape 5, image 1 de 3 iRobot Roomba 655 Pet Series Drive Wheels Replacement, Drive Wheels: étape 5, image 2 de 3 iRobot Roomba 655 Pet Series Drive Wheels Replacement, Drive Wheels: étape 5, image 3 de 3
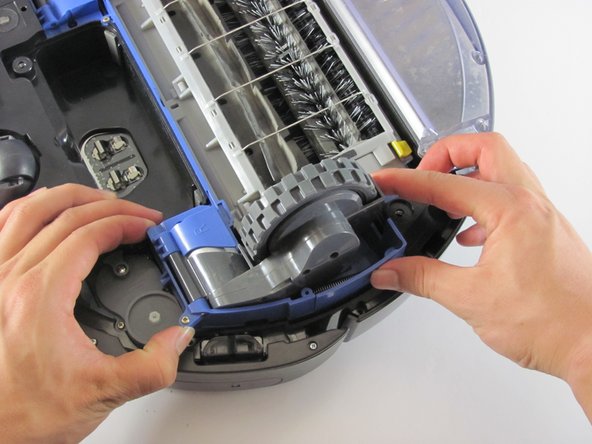
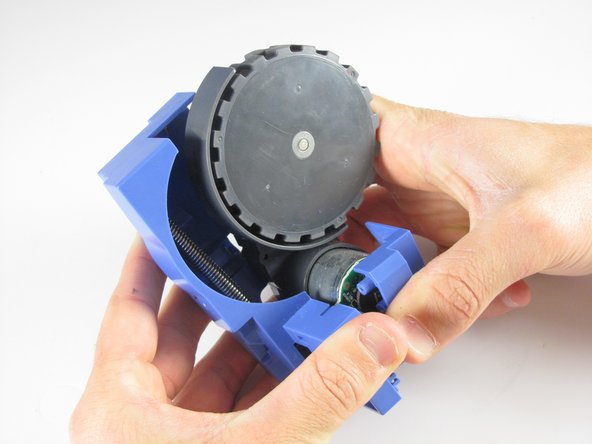
    • Remove the three screws with your Phillips head #1, holding the drive wheels in place

    • These three screws will stay in place and won't come out of the plastic

  6. iRobot Roomba 655 Pet Series Drive Wheels Replacement: étape 6, image 1 de 3 iRobot Roomba 655 Pet Series Drive Wheels Replacement: étape 6, image 2 de 3 iRobot Roomba 655 Pet Series Drive Wheels Replacement: étape 6, image 3 de 3
    • Unscrew the actual wheel from the blue plastic holder

    • Pull apart the blue holder to completely remove the wheel

  7. iRobot Roomba 655 Pet Series Drive Wheels Replacement: étape 7, image 1 de 2 iRobot Roomba 655 Pet Series Drive Wheels Replacement: étape 7, image 2 de 2
    • To go further into the holder to access the programming chips you can unscrew these compartments

Conclusion

To reassemble your device, follow these instructions in reverse order.

Une autre personne a terminé cette réparation.

Rhett

Membre depuis le 01/22/15

1 329 Réputation

7 tutoriels rédigés

Équipe

Cal Poly, Team 21-20, Maness Winter 2015 Membre de l'équipe Cal Poly, Team 21-20, Maness Winter 2015

CPSU-MANESS-W15S21G20

4 membres

14 tutoriels rédigés

0 commentaires

Ajouter un commentaire

Nombre de vues :

Dernières 24 heures : 0

7 derniers jours : 2

30 derniers jours : 7

Total : 2,251