Aller au contenu principal

iRobot Roomba 870 Side Brush Motor Replacement

Ce dont vous avez besoin

  1. iRobot Roomba 870 Side Brush Motor Replacement, Side Brush Motor: étape 1, image 1 de 3 iRobot Roomba 870 Side Brush Motor Replacement, Side Brush Motor: étape 1, image 2 de 3 iRobot Roomba 870 Side Brush Motor Replacement, Side Brush Motor: étape 1, image 3 de 3
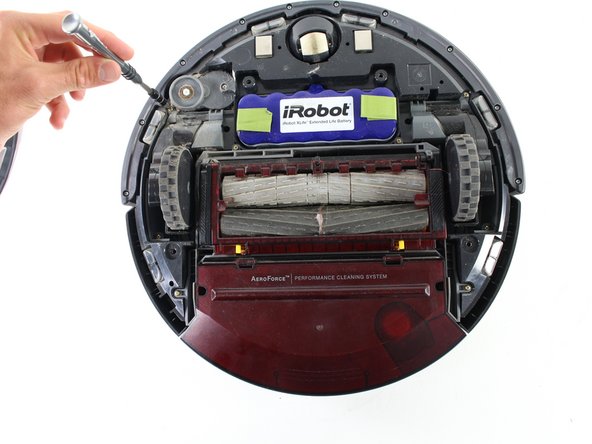
    • Turn the Roomba over so that the back side is facing up.

    • Using the Phillips #00 screwdriver, remove the 4.0mm screw in the center of the yellow side brush and lift the part out.

  2. iRobot Roomba 870 Side Brush Motor Replacement: étape 2, image 1 de 2 iRobot Roomba 870 Side Brush Motor Replacement: étape 2, image 2 de 2
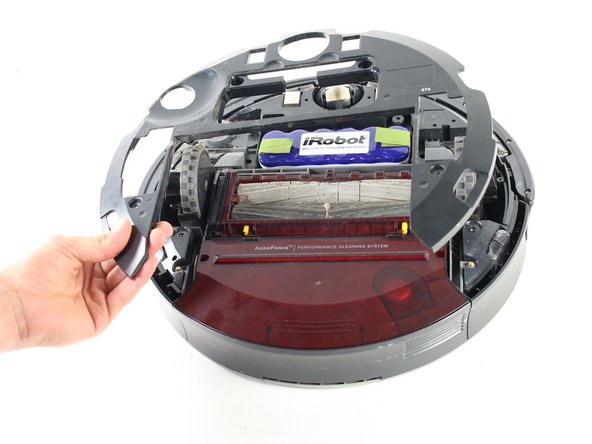
    • Use the Phillips #00 screwdriver to remove the four 3.5mm screws that hold down the battery panel and rear panel.

  3. iRobot Roomba 870 Side Brush Motor Replacement: étape 3, image 1 de 2 iRobot Roomba 870 Side Brush Motor Replacement: étape 3, image 2 de 2
    • First remove the battery panel, which is the small rectangular.

    • After removing the battery panel, remove the rear panel.

  4. iRobot Roomba 870 Side Brush Motor Replacement: étape 4, image 1 de 3 iRobot Roomba 870 Side Brush Motor Replacement: étape 4, image 2 de 3 iRobot Roomba 870 Side Brush Motor Replacement: étape 4, image 3 de 3
    • Remove the three small 3.5mm screws fastened to the motor housing.

    • After removing the screws, remove the motor housing from the rest of the Roomba.

  5. iRobot Roomba 870 Side Brush Motor Replacement: étape 5, image 1 de 3 iRobot Roomba 870 Side Brush Motor Replacement: étape 5, image 2 de 3 iRobot Roomba 870 Side Brush Motor Replacement: étape 5, image 3 de 3
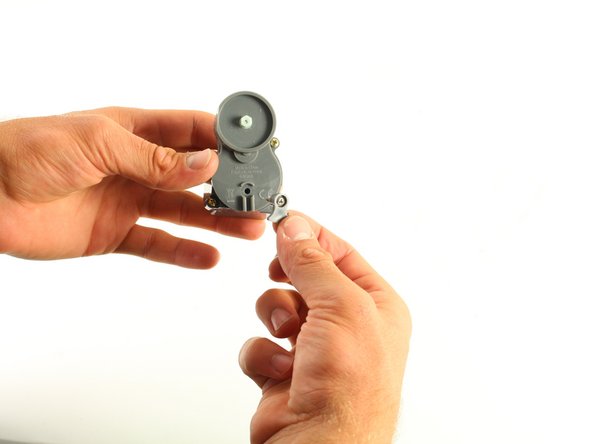
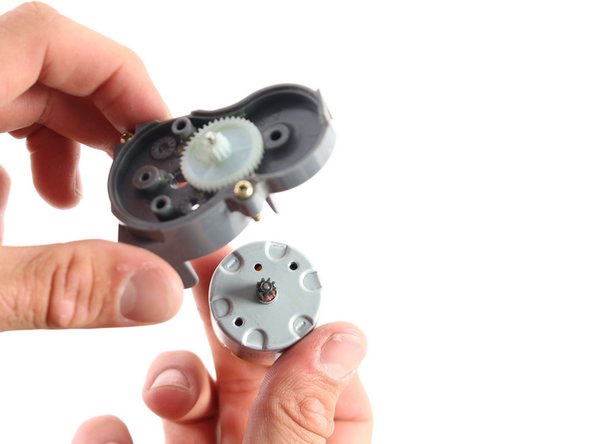
    • Remove the 2.5mm screw in the center of the motor housing using a Tri-Wing Y1 screwdriver.

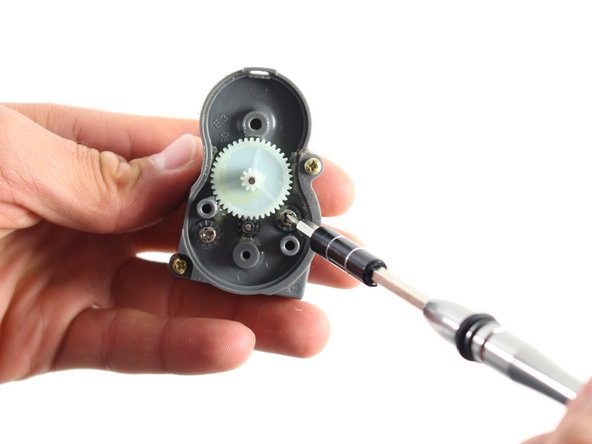
    • After removing the screw, remove the top shell casing of the motor housing. Underneath, you will see a white gear with two screws next to it.

  6. iRobot Roomba 870 Side Brush Motor Replacement: étape 6, image 1 de 3 iRobot Roomba 870 Side Brush Motor Replacement: étape 6, image 2 de 3 iRobot Roomba 870 Side Brush Motor Replacement: étape 6, image 3 de 3
    • Remove the two 2.5mm screws in the inner motor housing using a Phillips #00 screwdriver.

    • After removing the two screws, the motor will slide right out the back, and it can be replaced.

Conclusion

To reassemble your device, follow these instructions in reverse order.

2 autres ont terminé cette réparation.

Karthik Padmanabhan

Membre depuis le 04/17/17

175 Réputation

1 tutoriel rédigé

Équipe

Cal Poly, Team S14-G3, Banghart Spring 2017 Membre de l'équipe Cal Poly, Team S14-G3, Banghart Spring 2017

CPSU-BANGHART-S17S14G3

4 membres

10 tutoriels rédigés

0 commentaires

Ajouter un commentaire

Nombre de vues :

Dernières 24 heures : 2

7 derniers jours : 10

30 derniers jours : 39

Total : 3,584