Info : Vous modifiez un tutoriel prérequis. Toutes les modifications apportées affecteront les 4 tutoriels qui comprennent cette étape.
Traduction de l’étape 1
Étape 1


-
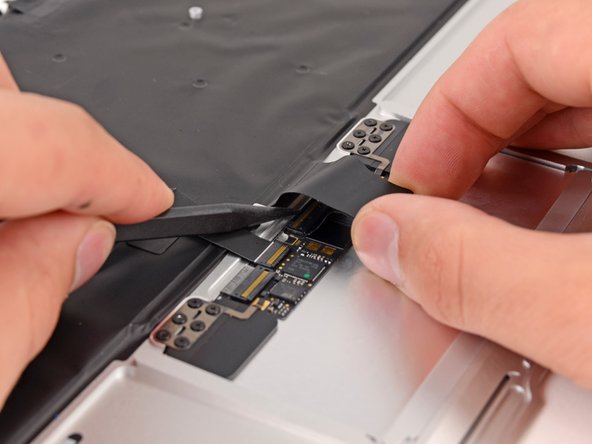
Push/lift the keyboard ribbon cable off of the upper case with one hand.
-
With the other hand, use a spudger to flip up the retaining flap on the ZIF connector.
-
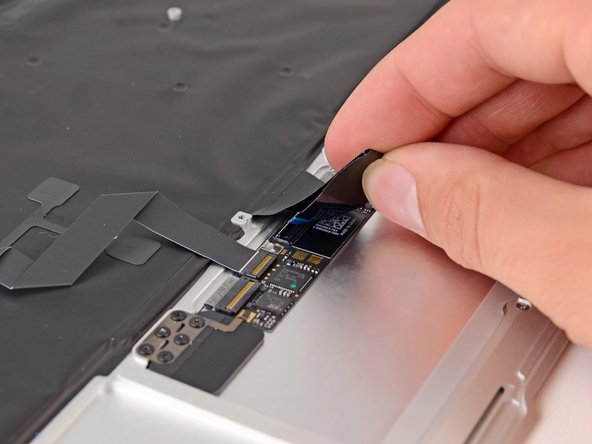
Once the retaining flap has been flipped up, carefully pull the ribbon cable straight out of its socket.
Vos contributions sont faites dans le cadre de la licence open source Creative Commons.