Aller au contenu principal

Acer Aspire ES1-711-P1UV Screen Replacement

Anglais
Français

Traduction de l’étape 3

Étape 3
Acer Aspire ES1-711-P1UV Screen Replacement: étape 0, image 1 de 2 Acer Aspire ES1-711-P1UV Screen Replacement: étape 0, image 2 de 2
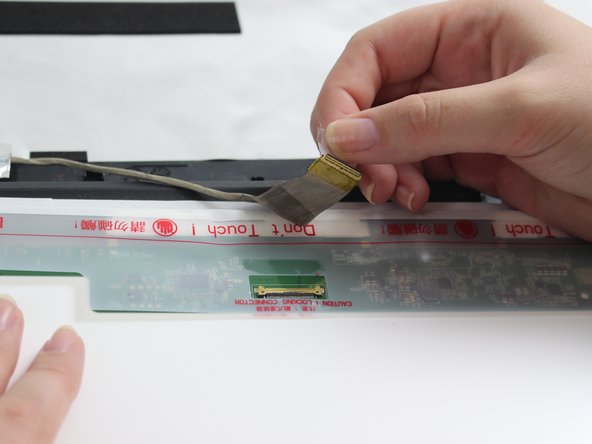
  • With the screen on the paper, detach the Zero Insertion Force (ZIF) connector attaching the screen to the video cable inside of the front cover.

  • To remove the ZIF use your finger to flip up the top cover and gently pull the cable out.

  • Be sure to pry open the hinged flap not the connector socket

  • Gently remove the screen from laptop.

Insérez ici votre traduction

Insérez ici votre traduction

Insérez ici votre traduction

Insérez ici votre traduction

Vos contributions sont faites dans le cadre de la licence open source Creative Commons.