Info : Vous modifiez un tutoriel prérequis. Toutes les modifications apportées affecteront les 7 tutoriels qui comprennent cette étape.
Traduction de l’étape 19
Étape 19


-
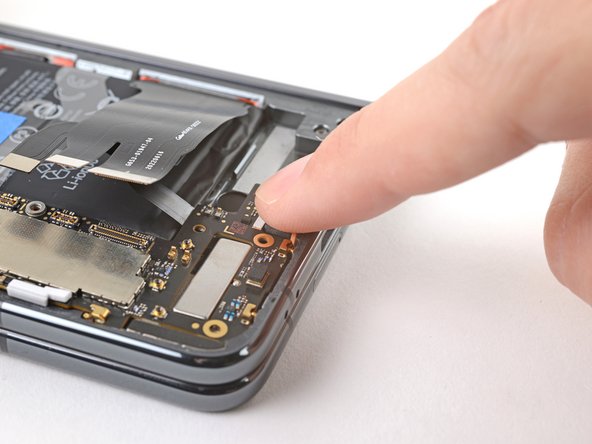
Insert the USB-C port into its cutout in the frame at a shallow angle.
-
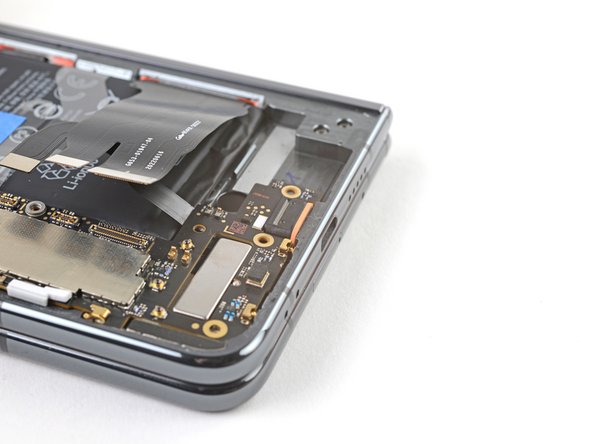
Use your finger to press the USB-C port down until the orange rubber gasket is level with its cutout—not twisted or pinched.
-
Press the bottom of the logic board over its lower alignment peg and engage its spring connectors.
Vos contributions sont faites dans le cadre de la licence open source Creative Commons.