Traduction de l’étape 4
Étape 4


-
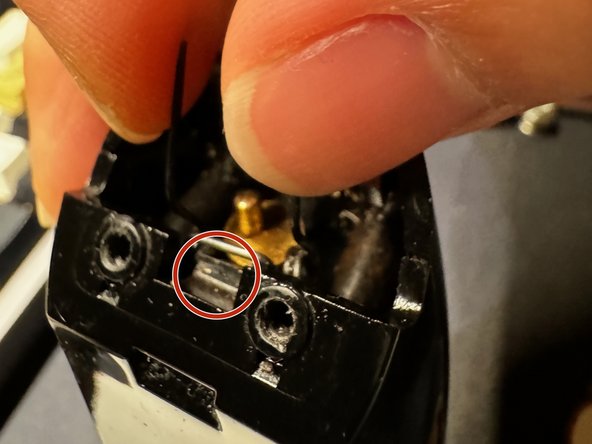
Align the flat U-shaped end of the spring to the notch on the trimmer.
-
Gently pinch the two legs of the spring with your thumb and index finger, aligning them to point towards the front of the trimmer at a 45-degree angle, then drop it into the slot.
-
Once it is successfully in, carefully let go. If it falls off the notch, you will have to wedge it out and try again. This may take multiple attempts.
Vos contributions sont faites dans le cadre de la licence open source Creative Commons.