Aller au contenu principal

Diswoe Switch-01 Battery Replacement

Info : Vous modifiez un tutoriel prérequis. Toutes les modifications apportées affecteront les 2 tutoriels qui comprennent cette étape.

Anglais
Français

Traduction de l’étape 4

Étape 4
Diswoe Switch-01 Battery Replacement: étape 0, image 1 de 3 Diswoe Switch-01 Battery Replacement: étape 0, image 2 de 3 Diswoe Switch-01 Battery Replacement: étape 0, image 3 de 3
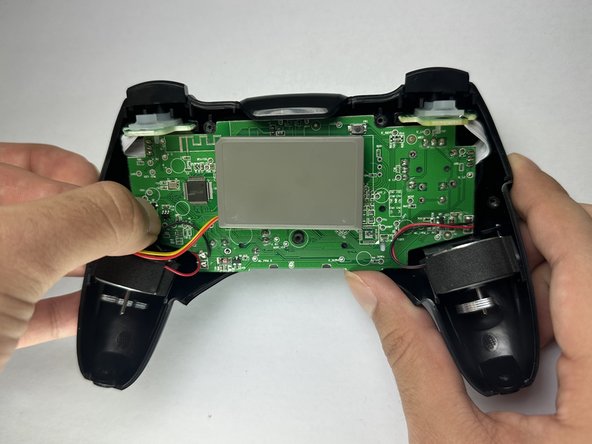
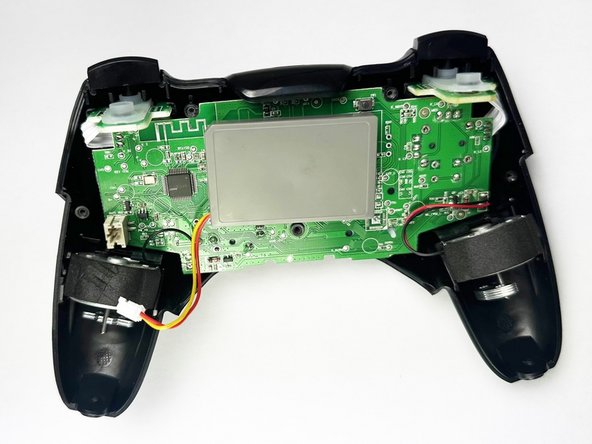
  • Push on alternating sides of the battery connector to "walk" it out of its socket.

  • It may take a lot of alternating before the connector comes out. Be patient, and don't pull on the cables.

  • If that doesn't work, use a pair of tweezers to firmly grip the sides of the connector and pull straight away from the socket. Hold the tweezers closer to the connector to get a better grip.

  • Additionally, if the previous step didn’t work, use the arms of a pair of sharp tweezers to gently push the connector out of its socket by inserting them into the cutouts.

  • If you're having trouble, try rocking the connector side-to-side to loosen it.

  • To reconnect the cable, insert the connector into its socket and push on the edges until it's fully seated

Insérez ici votre traduction

Insérez ici votre traduction

Insérez ici votre traduction

Insérez ici votre traduction

Insérez ici votre traduction

Insérez ici votre traduction

Vos contributions sont faites dans le cadre de la licence open source Creative Commons.