Traduction de l’étape 4
Étape 4


-
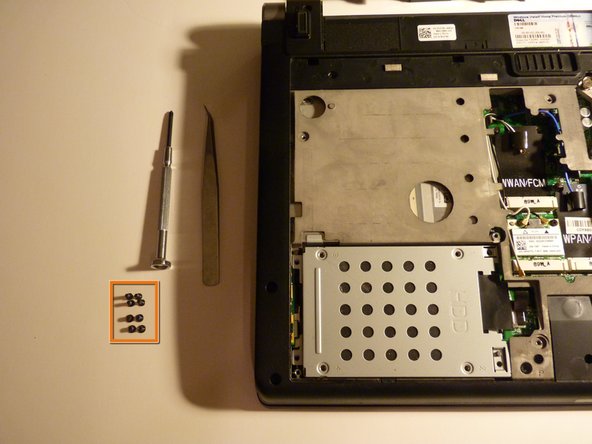
Now we remove the screws holding the drive to the caddy
-
These screws are have a flatter head, and are shorter
-
These are standard drive screws that are used to mount any hard drive to a mounting device, such as brackets to put it in a desktop computer
-
The manufacturer likes to put these in very tightly, and it may take some effort to remove. I suggest using a screwdriver with a bigger handle, not the one I am using
-
Set these screws aside, apart from the screws we removed in the last step
Vos contributions sont faites dans le cadre de la licence open source Creative Commons.