Aller au contenu principal

Dell Studio 1535 Hard Drive Replacement

Anglais
Français

Traduction de l’étape 6

Étape 6
Dell Studio 1535 Hard Drive Replacement: étape 0, image 1 de 3 Dell Studio 1535 Hard Drive Replacement: étape 0, image 2 de 3 Dell Studio 1535 Hard Drive Replacement: étape 0, image 3 de 3
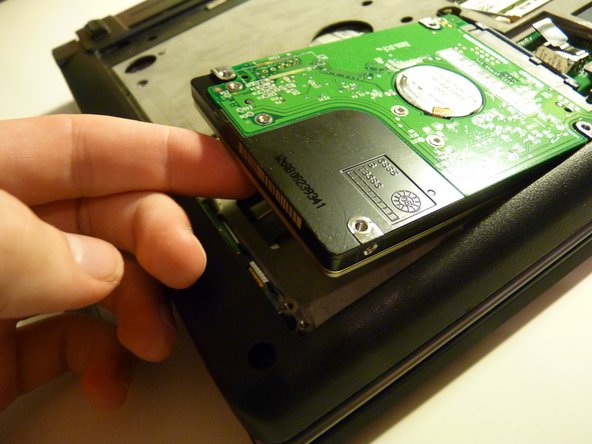
  • Now that the caddy is removed, we can lift the drive out of it's place

  • It should lift out easily, but it will still be attached with a cable

  • Set it aside on top of the optical drive (the metal surface)

Insérez ici votre traduction

Insérez ici votre traduction

Insérez ici votre traduction

Vos contributions sont faites dans le cadre de la licence open source Creative Commons.