Info : Vous modifiez un tutoriel prérequis. Toutes les modifications apportées affecteront les 4 tutoriels qui comprennent cette étape.
Traduction de l’étape 6
Étape 6
-
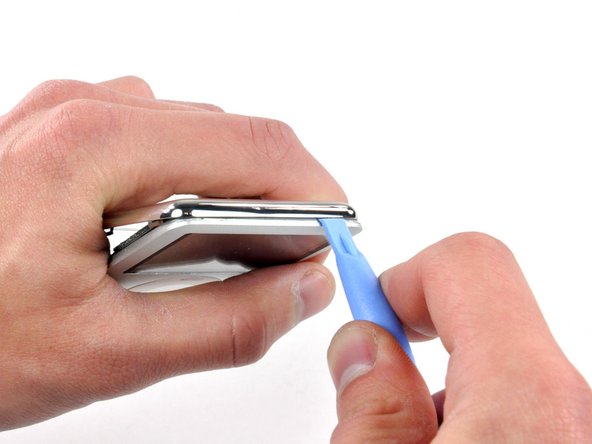
Insert an iPod opening tool into the gap near the top left corner of the Nano and work to free the three clips along the top edge of the rear panel.
-
After ensuring all tabs are free, separate the two halves of the iPod.
-
The rear panel is now free from the iPod.
Vos contributions sont faites dans le cadre de la licence open source Creative Commons.