Traduction de l’étape 3
Étape 3

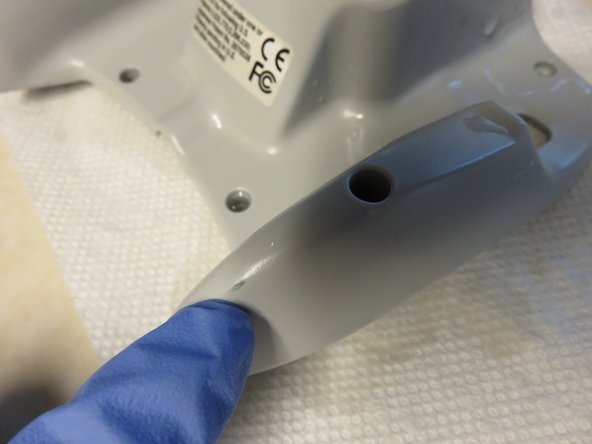
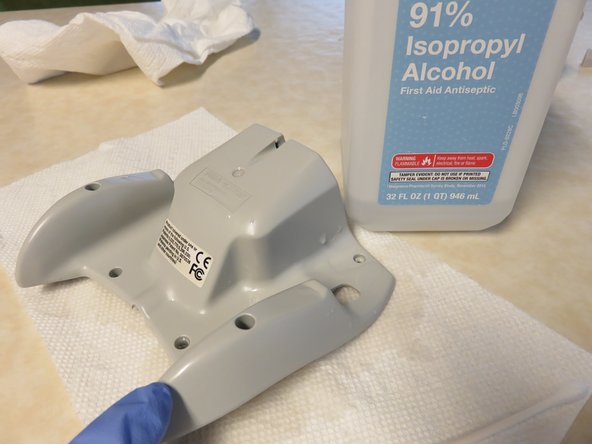


Prep the Back Controller Shell for Restaining
-
Using whatever sink suits you best use hot/warm water and antibacterial soap and clean the back cover by hand. Be sure to also clean the inside of the cover to remove any dirt/dust that's been sitting in there.
Vos contributions sont faites dans le cadre de la licence open source Creative Commons.