Aller au contenu principal

Sega Dreamcast Controller Restoration/Retro Console Restoration

Anglais
Français

Traduction de l’étape 5

Étape 5
Sega Dreamcast Controller Restoration/Retro Console Restoration, Prep/Use Black Light Room: étape 0, image 1 de 3 Sega Dreamcast Controller Restoration/Retro Console Restoration, Prep/Use Black Light Room: étape 0, image 2 de 3 Sega Dreamcast Controller Restoration/Retro Console Restoration, Prep/Use Black Light Room: étape 0, image 3 de 3
Prep/Use Black Light Room
  • This is my setup. It's only an example. Your black light room/setup doesn't need to be identical to mine in order for this to work. Just get your items to be restained as close to the UV light as possible.

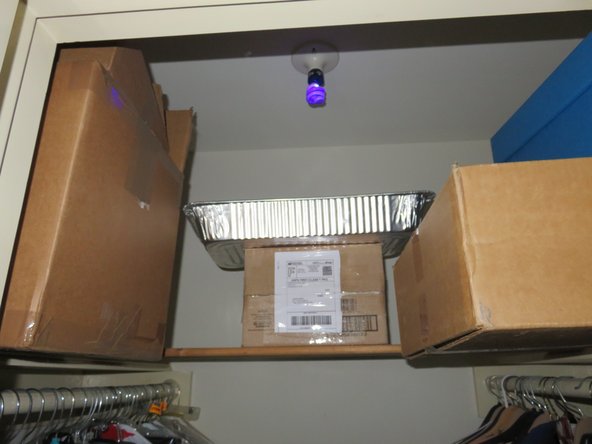
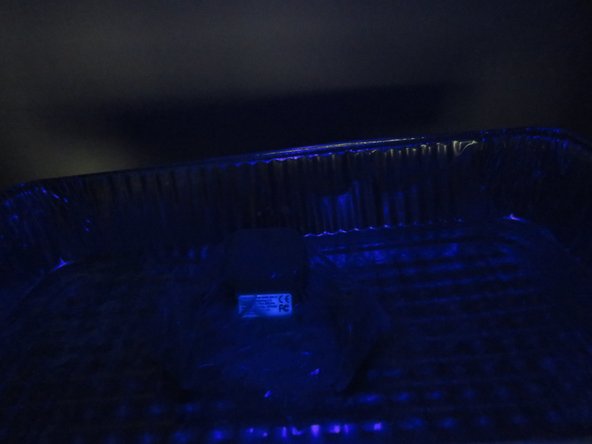
  • Here I've used a storage closet that seldom gets used as my black light room. I had to make some adjustments and shift some stuff around but my pan sits about a foot under the light. I can't explain the science behind why this works but there's a chemical reaction when the Salon Care 40 Creme sits under UV light. The end result is quite astounding.

  • Especially if your restoring a console or controller that is badly yellowed, it can restore its original color.

  • DO NOT attempt this with dark plastics as it can warp the original color.

  • The reason for doing this is simple and is done for one of two reasons. Either you have a console/controller that's yellowed or you simply want to restore the original shine to the plastic. Even if your controller isn't discolored it still adds a "new" look and feel to it. I let mine sit for 24hrs before removing it from the room.

  • Coincidentally, if the back sticker is important to you, this will also help discolor that back sticker if it's looking a little nasty from years of use/storage.

  • If time is a factor and you want to finish this ASAP these first 5 steps needs to be done in order. The staining process is simple but timely. Make the most of your time by cleaning everything else after you begin your "baking period". Otherwise, your wasting time.

  • This step is the ONLY reason that this is labeled to take 1-2 days. You can leave your shell under the UV black light as long/little as you want. Just know that the longer it's under the light the better the results.

Insérez ici votre traduction

Insérez ici votre traduction

Insérez ici votre traduction

Insérez ici votre traduction

Insérez ici votre traduction

Insérez ici votre traduction

Insérez ici votre traduction

Insérez ici votre traduction

Vos contributions sont faites dans le cadre de la licence open source Creative Commons.