Traduction de l’étape 8


-
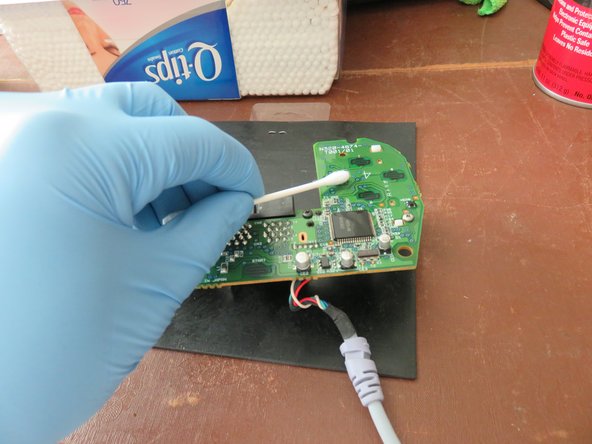
Grab your electronics cleaner, Qtips and an ESD bracelet. This part is pretty self explanatory. Spray the cleaner on the board or on a Qtip and give it a gentle scrub. You probably won't yield much filth but it's better not to have it there in the first place.
-
The thumbstick remains on the board unless you unscrew the 2 screws holding it to the board. Clean it with a Qtip and rubbing alcohol and use a toothbrush or nail brush to clean the underside of the stick if you so desire. Don't forget to clean the triggers as a lot of dirt can build up on them.
-
Spray some of your electronics cleaner into the VMU slots and then spray an airgun into the slots. This will help clean and remove any dirt that may be in there.
Vos contributions sont faites dans le cadre de la licence open source Creative Commons.