Aller au contenu principal

Demontage van de Starbucks Barista

Anglais
Néerlandais

Traduction de l’étape 9

Étape 9
Starbucks Barista Teardown: étape 0, image 1 de 3 Starbucks Barista Teardown: étape 0, image 2 de 3 Starbucks Barista Teardown: étape 0, image 3 de 3
  • We will now focus on opening the heart of the Barista: the boiler.

  • Remove the four hex bolts securing the brew head to the boiler assembly.

  • Lift the brew head off the boiler.

  • Remove the single Phillips screw securing the brew screen and gasket to the boiler housing.

  • The brew screen helps to evenly disperse water across the grounds in the basket.

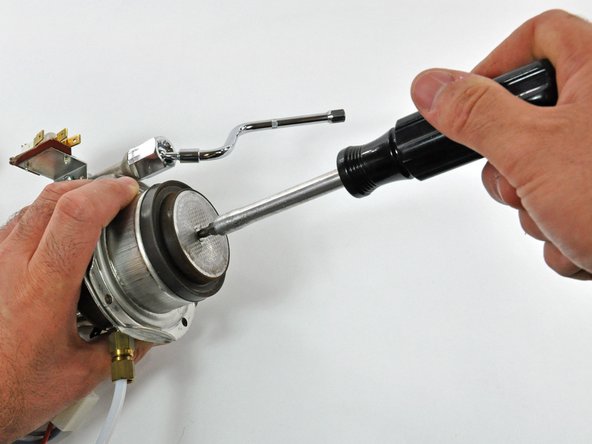
  • Use a a large standard screwdriver (we used a washer and a pair of pliers) to remove the one-way valve spring retainer from the bottom of the boiler.

  • The one-way valve spring is tuned to only allow the valve to open when the pump is running. This prevents the brew head from dripping while warming up.

We gaan ons nu richten op het openen van het hart van de Barista: de boiler.

Verwijder de vier zeskantbouten die de brouwkop aan de boilermodule bevestigen.

Til de brouwkop van de boiler af.

Verwijder de enkele kruiskopschroef die het brouwfilter en de pakking aan de boilerbehuizing bevestigt.

De functie van het brouwfilter is het water gelijkmatig over het koffiedik in het mandje te verdelen.

Gebruik een grote platkopschroevendraaier (wij gebruikten een ring in combinatie met een tang) om de veerhouder van de eenrichtingsklep, aan de onderkant van de boiler, te verwijderen.

De veer van de eenrichtingsklep is zo afgesteld dat de klep alleen opengaat als de pomp draait. Dit voorkomt dat de brouwkop druppelt tijdens het opwarmen.

Vos contributions sont faites dans le cadre de la licence open source Creative Commons.