Aller au contenu principal

Vue éclatée du Nexus 4

Anglais
Français

Traduction de l’étape 5

Étape 5
Nexus 4 Teardown: étape 0, image 1 de 3 Nexus 4 Teardown: étape 0, image 2 de 3 Nexus 4 Teardown: étape 0, image 3 de 3
  • Whenever a new Android device hits the stage, we feel obligated to see how it measures up to the latest iPhone. Let's have a look-see.

  • Both phones have their main I/O connector on the bottom, flanked by two screws. For the iPhone, it's the Lightning connector (Apple proprietary) and two Pentalobe screws (also proprietary). The Nexus 4, on the other hand, wields a micro-USB/SlimPort HDMI port (universal) and two Torx screws (quite common).

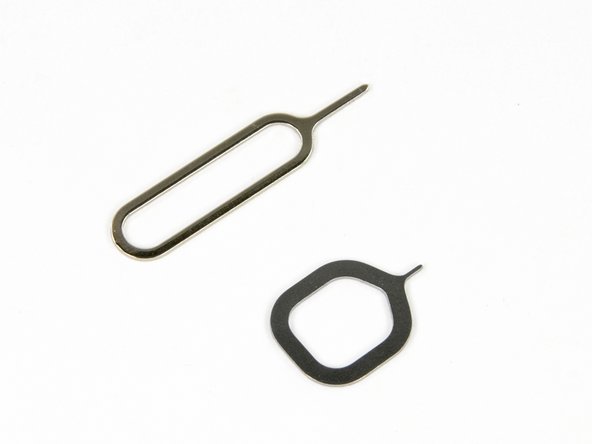
  • Rather than hide the Micro SIM card underneath the battery—a common practice in many phones—LG pushed the Micro SIM slot to the side and included their own stubby SIM eject tool. Very Cupertino.

À chaque fois qu'un nouvel appareil Android arrive sur scène, nous nous sentons obligés de le mesurer au dernier iPhone. Voyons voir un peu.

Les deux téléphones ont leur connecteur principal E/S en bas et flanqué de deux vis. Sur l'iPhone, il s'agit du connecteur Lightning (propriétaire) et de deux vis Pentalobe (également propriétaires). Le Nexus 4, lui, est muni d'un port HDMI micro-USB/SlimPort (universel) et de deux vis Torx (assez communes).

Plutôt que de cacher la carte Micro SIM sous la batterie – une pratique commune dans plusieurs téléphones – LG a positionné la fente Micro SIM sur le côté et inclus son propre éjecteur de carte SIM. Un air de Cupertino.

Vos contributions sont faites dans le cadre de la licence open source Creative Commons.