Traduction de l’étape 14
Étape 14


-
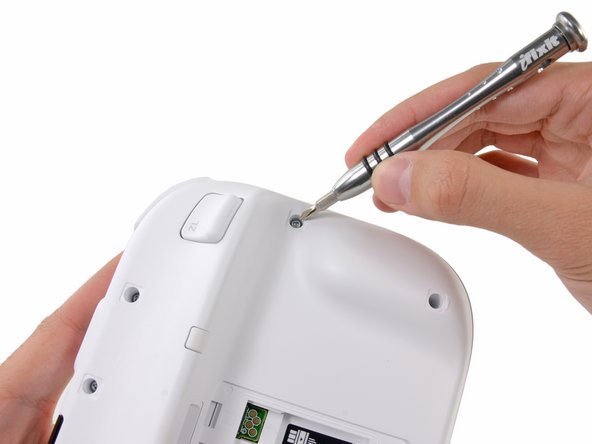
Nintendo. You're silly. Trying to hide your screws from us? Though clever, the screws are still hiding in plain sight.
-
A deca-plethora of hidden and recessed Tri-point screws are inevitably no match for our trusty tools. Some of the screws are very recessed, forcing us to use the included 4 mm nut driver attachment to extend the length of our 54 Bit Driver. It works perfectly, and we are in!
| [* black] Nintendo. You're silly. Trying to hide your screws from us? Though clever, the screws are still [http://www.youtube.com/watch?v=VbKXKaPN1ic|hiding in plain sight]. | |
| - | [* black] A deca-plethora of hidden and recessed Tri- |
| + | [* black] A deca-plethora of hidden and recessed Tri-point screws are inevitably no match for our trusty tools. Some of the screws are very recessed, forcing us to use the included 4 mm nut driver attachment to extend the length of our [product|IF145-022|54 Bit Driver]. It works perfectly, and we are in! |
Vos contributions sont faites dans le cadre de la licence open source Creative Commons.