Info : Vous modifiez un tutoriel prérequis. Toutes les modifications apportées affecteront les 42 tutoriels qui comprennent cette étape.
Traduction de l’étape 8
Étape 8


-
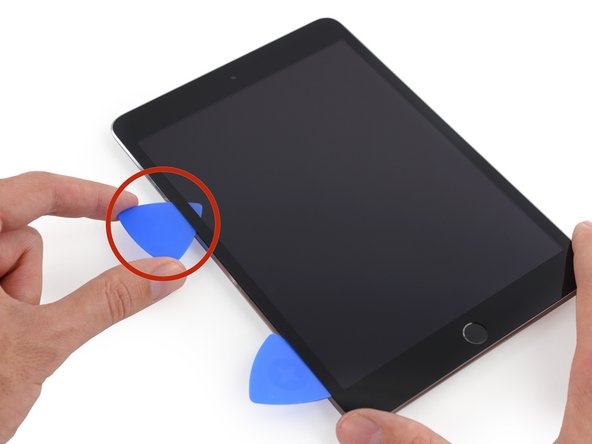
Take the first pick you inserted and slide it up toward the top corner of the iPad.
-
If you can see the tip of the opening pick through the front glass, don't panic—just pull the pick out a little bit. Most likely, everything will be fine, but try to avoid this as it may deposit adhesive on the front of the LCD that is difficult to clean off.
Vos contributions sont faites dans le cadre de la licence open source Creative Commons.