Info : Vous modifiez un tutoriel prérequis. Toutes les modifications apportées affecteront les 3 tutoriels qui comprennent cette étape.
Traduction de l’étape 9
Étape 9


-
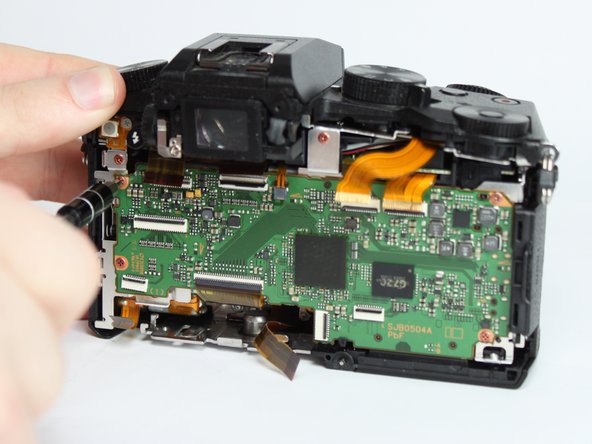
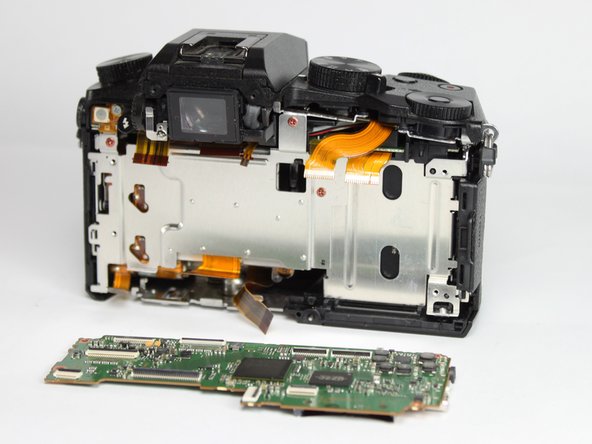
Remove the 4 indicated red 3.0mm long screws from the corners of mainboard using a Phillips PH0 screwdriver.
-
With the eyepiece facing away from you, pull up on the main PCB from the left side and then pull it away from the chassis.
-
There is a plastic locking tab on the bottom of the camera that holds the mainboard PCB.
Vos contributions sont faites dans le cadre de la licence open source Creative Commons.