Info : Vous modifiez un tutoriel prérequis. Toutes les modifications apportées affecteront le tutoriel qui comprend ces étapes.
Traduction de l’étape 3
Étape 3

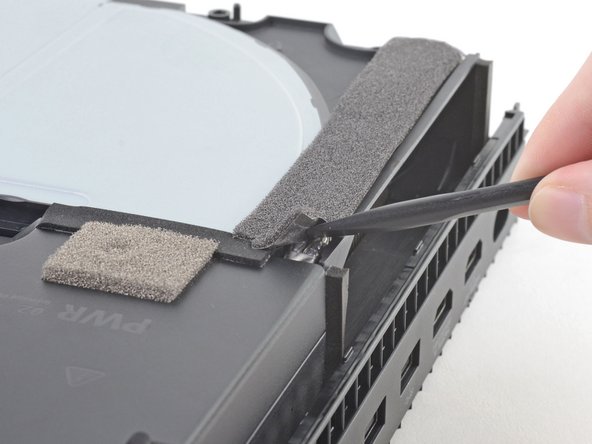


Unstick the foam tape near the power supply
-
Insert the flat end of the spudger underneath the dark grey foam tape starting at the corner closest to the power supply and edge of the console.
-
Lift up the corner.
-
Slowly push the spudger through to the other side of the tape until you can see the flat end emerge.
Vos contributions sont faites dans le cadre de la licence open source Creative Commons.