Info : Vous modifiez un tutoriel prérequis. Toutes les modifications apportées affecteront les 7 tutoriels qui comprennent cette étape.
Traduction de l’étape 1
Étape 1


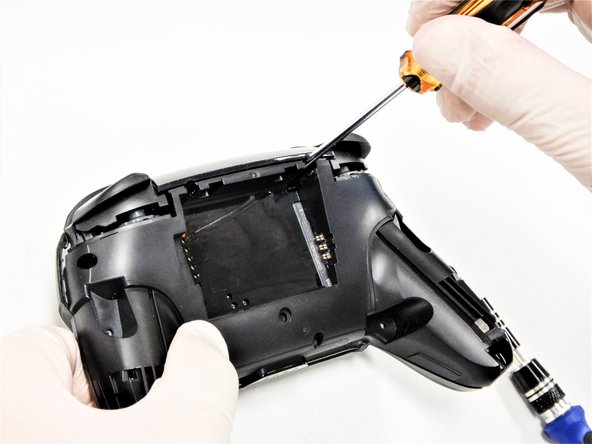


Remove the screws
-
Use a Phillips #1 screwdriver to remove the five 5 mm screws from the back of the controller.
-
The two case screws above the handgrips and the single case screw below the battery bay have a shallow seat. These three screws can be easily removed.
-
The two case screws adjacent to the ZR and ZL shoulder buttons have a deep seat. Use an extension or a Phillips screwdriver with a longer shaft to reach these screws.
Vos contributions sont faites dans le cadre de la licence open source Creative Commons.