Info : Vous modifiez un tutoriel prérequis. Toutes les modifications apportées affecteront le tutoriel qui comprend ces étapes.
Traduction de l’étape 5
Étape 5


-
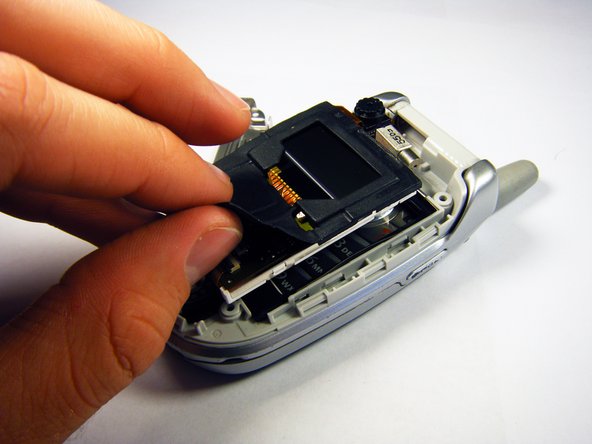
Carefully remove the protective cover from the circuitry.
-
Slowly peel the black rubber gasket off of the circuit board.
-
Carefully move the camera out of the way using your hand.
-
Use a flat tool to disconnect the upper and lower circuit boards.
| - | [* |
|---|---|
| - | [* black] Slowly peel the black rubber gasket |
| - | [* |
| - | [* |
| + | [* black] Carefully remove the protective cover from the circuitry. |
| + | [* black] Slowly peel the black rubber gasket off of the circuit board. |
| + | [* black] Carefully move the camera out of the way using your hand. |
| + | [* black] Use a flat tool to disconnect the upper and lower circuit boards. |
Vos contributions sont faites dans le cadre de la licence open source Creative Commons.