Aller au contenu principal

iPhone 13 Pro Max Akku tauschen

Anglais
Allemand

Traduction de l’étape 6

Étape 6
iPhone 13 Pro Max Battery Replacement: étape 0, image 1 de 3 iPhone 13 Pro Max Battery Replacement: étape 0, image 2 de 3 iPhone 13 Pro Max Battery Replacement: étape 0, image 3 de 3
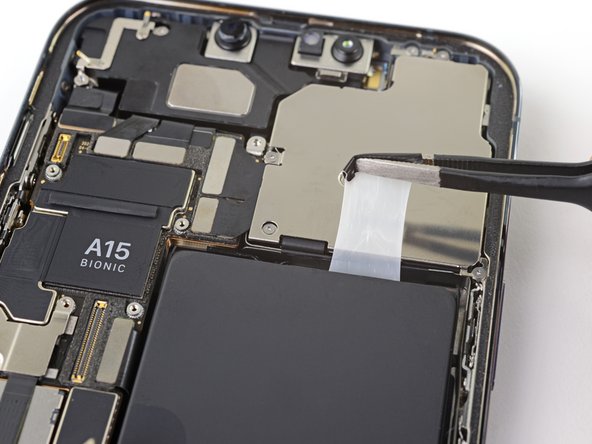
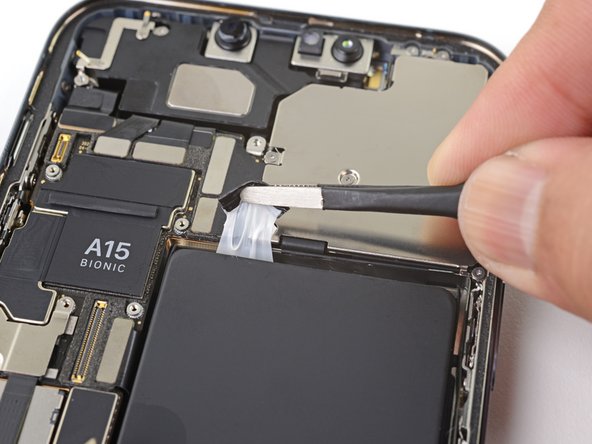
  • Using the same procedure as before, pull the remaining two tabs, one at a time, to stretch and remove the remaining adhesive strips holding the battery in place. Try not to snag the adhesive on anything.

  • Be careful not to fling the battery from the iPhone as the final adhesive strip comes out.

  • If you removed all the adhesive strips successfully, skip the next step.

  • Otherwise, continue with the next step below.

Ziehe die letzten beiden Zuglaschen im gleichen Verfahren wie vorher nacheinander heraus, so dass die Streifen und der Akku sich lösen. Achte darauf, dass sie nirgendwo hängen bleiben.

Passe auf, dass der Akku beim Entfernen des letzten Streifens nicht herausfliegt.

Wenn du alle Streifen erfolgreich herausgeholt hast, dann überspringe den nächsten Schritt.

Anderenfalls fahre mit dem nachfolgenden Schritt fort.

Vos contributions sont faites dans le cadre de la licence open source Creative Commons.