Aller au contenu principal

Reemplazo del marco frontal de Nintendo Switch

Info : Vous modifiez un tutoriel prérequis. Toutes les modifications apportées affecteront les 2 tutoriels qui comprennent cette étape.

Anglais
Espagnol

Traduction de l’étape 27

Étape 27
Nintendo Switch Front Frame Replacement: étape 0, image 1 de 3 Nintendo Switch Front Frame Replacement: étape 0, image 2 de 3 Nintendo Switch Front Frame Replacement: étape 0, image 3 de 3
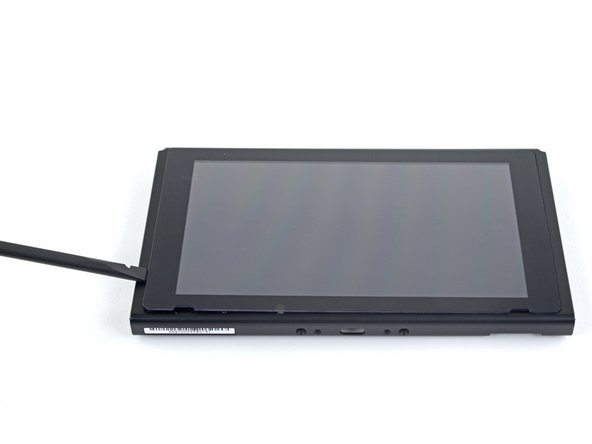
  • Heat the right edge of the screen for around two minutes to help soften the adhesive.

  • Place the flat end of a spudger into the gap along the left edge of the screen.

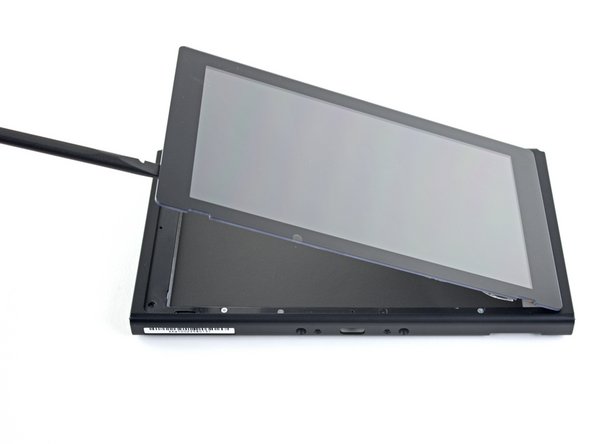
  • Carefully and slowly lift the left edge of the screen, opening it like a book.

Calienta el borde derecho de la pantalla alrededor de dos minutos para ablandar el adhesivo.

Coloca el lado plano de un puntero en la separación a lo largo del borde izquierdo de la pantalla.

Muy suavemente deslízalo despacio por el borde izquierdo de la pantalla, separándola como si abrieras un libro.

Vos contributions sont faites dans le cadre de la licence open source Creative Commons.