Info : Vous modifiez un tutoriel prérequis. Toutes les modifications apportées affecteront les 9 tutoriels qui comprennent cette étape.
Traduction de l’étape 10
Étape 10
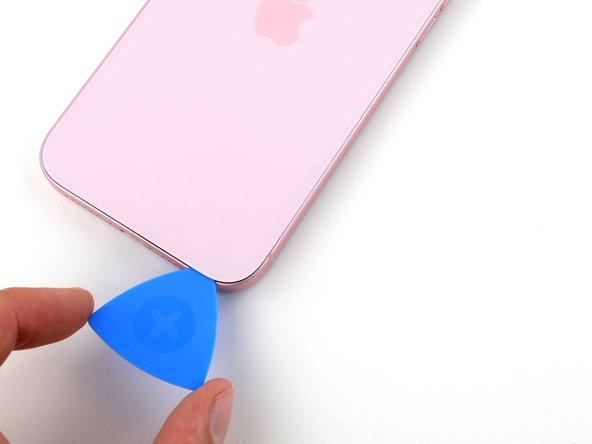


Separate the bottom right corner adhesive
-
Rotate your pick around the bottom right corner and slide it halfway up the right edge or until you feel a hard stop at a clip securing the back glass.
-
Leave this pick inserted to prevent the adhesive from resealing.
Vos contributions sont faites dans le cadre de la licence open source Creative Commons.