Traduction de l’étape 1
Étape 1

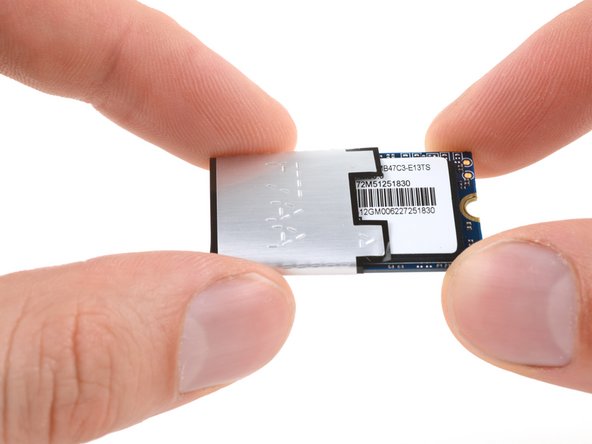


Remove the SSD shielding
-
Slide the shielding off the SSD.
-
If the shielding feels stuck, peel the shielding off and remove it. Take care to keep it in the best condition possible if you want to reuse it.
-
Only the SSD remains.
Vos contributions sont faites dans le cadre de la licence open source Creative Commons.